Preflight – Top Flite TOPA0415 User Manual
Page 59
Set the control surface throws
❏
1. If you haven’t already done so, center all the
servos. The servo arms on the flap servos should be
positioned so the flaps are up when the switch on the
transmitter is in the “up” position.
❏
2. Make certain all the controls move in the correct
direction.
❏
3. Adjust your pushrod hookups as necessary to
provide the proper control surface movements as shown.
CONTROL SURFACE THROWS
We recommend the following control surface throws:
NOTE: Throws are measured at the widest part of
the elevators, rudder, ailerons and flaps.
TRIM MIXING
Mix 1/16" of down elevator at full flaps to eliminate
pitch-up that occurs when the flaps are extended.
The balance point and control surface throws listed
in this manual are the ones at which the P-47 flies
best. Set up your aircraft to those specifications. If,
after a few flights, you would like to adjust the
throws or C.G. to suit your tastes, that is fine. Too
much control surface throw can make your model
difficult to control or force it into a stall, so
remember...More is not better.
PREFLIGHT
Identify your model
No matter if you fly at an AMA sanctioned R/C club
site or if you fly somewhere on your own, you should
always have your name, address, telephone number
and AMA number on or inside your model. It is
required at all AMA R/C club flying sites and AMA
sanctioned flying events. Fill out the identification
sticker included with this kit and place it on or inside
your model.
Charge your batteries
Follow the battery charging procedures in your radio
instruction manual. You should always charge your
transmitter and receiver batteries the night before
you go flying and at other times as recommended by
the radio manufacturer.
NOTE: Checking the condition of your receiver battery
pack is highly recommended. This is especially
important on a large scale model such as this. All
battery packs, whether it’s a trusty pack you’ve just
taken out of another model, or a new battery pack you
just purchased, should be cycled, noting the discharge
capacity. Oftentimes a weak battery pack can be
identified (and a valuable model saved!) by comparing
its actual capacity to its rated capacity. Refer to the
instructions and recommendations that come with your
cycler. If you don’t own a battery cycler, perhaps you
can have a friend cycle your pack and note the capacity
for you.
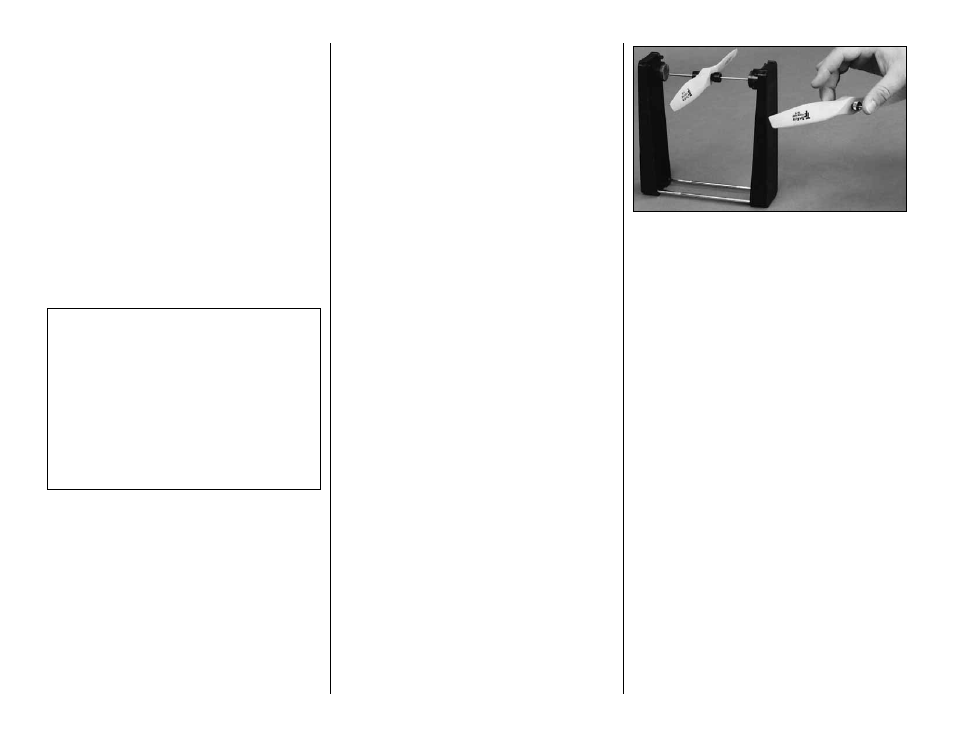
Balance your propellers
Carefully balance your propellers before you fly. An
unbalanced prop is the single most significant cause
of vibration that can damage your model. Not only
will engine mounting screws and bolts loosen,
possibly with disastrous effect, but vibration may
also damage your radio receiver and battery.
Vibration can also cause your fuel to foam, which
will, in turn, cause your engine to run hot or quit.
We use a Top Flite Precision Magnetic Prop Balancer
™
(TOPQ5700) in the workshop and keep a Great
Planes Fingertip Prop Balancer (GPMQ5000) in our
flight box.
Ground check your model
Follow the engine manufacturer’s instructions to
break-in your engine. After you run the engine on
your model, inspect your model closely to make sure
all screws remain tight and your pushrods and
connectors are secure.
Range check your radio
Ground check the operational range of your radio
before the first flight of the day. With the transmitter
antenna collapsed and the receiver and transmitter
on, you should be able to walk at least 100 feet away
from the model and still have control. Have an
assistant stand by your model and, while you work
the controls, tell you what the control surfaces are
doing. Repeat this test with the engine running at
various speeds with an assistant holding the model,
using hand signals to show you what is happening.
If the control surfaces do not respond correctly, do
not fly! Find and correct the problem first. Look for
loose servo connections or broken wires, corroded
wires on old servo connectors, poor solder joints in
your battery pack or a defective cell, or a damaged
receiver crystal from a previous crash.
High Rate
Low Rate
ELEVATOR:
3/4" up
1/2" up
3/4" down
1/2" down
AILERONS:
3/4" up
1/2" up
3/4" down
1/2" down
RUDDER:
1-3/4" right
1-3/4" left
FLAPS:
3-1/4" down
-59-