Top Flite TOPA0415 User Manual
Page 12
❏
17. Glue two stab skins to the top of the stab using
aliphatic resin or medium or thick CA. Our preferred
method is to apply aliphatic resin to the tops of the
ribs and the TE, then position the skin and hold it
down with weights and T-pins where necessary.
Before the glue dries, use thin or medium CA to glue
the front of the skin to the LE.
❏
18. Use the template on the plan to make the
elevator skins from two 3/32" x 4" x 24" balsa sheets.
Hint: Use 3M 75 Repositionable Spray Adhesive to
stick the paper template to the balsa sheet, then cut
it out. If you have a band saw or a scroll saw, stack
all four sheets together with 3M 75 and cut them out
all at once.
❏
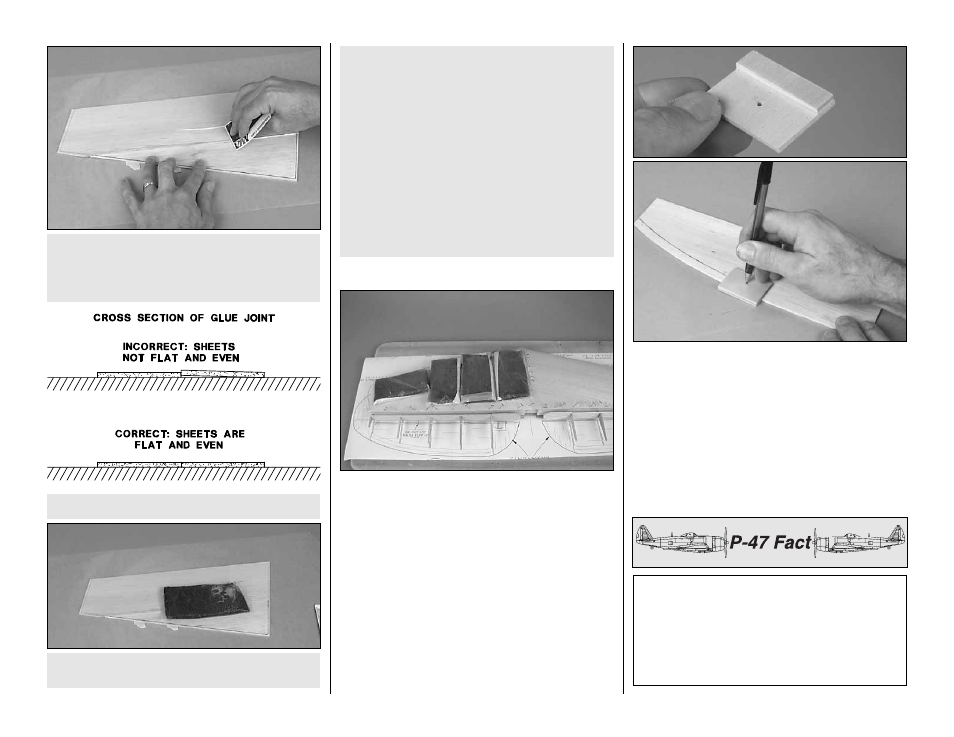
19. Make the bevel gauge from the die-cut 1/8"
plywood pieces, then drill a hole at the punch mark
just large enough to fit the tip of a ballpoint pen. Use
the bevel gauge to mark the bevel lines on the inside
of the TE of all four elevator skins with a ball-point pen.
❏
20. Using the line as a guide, bevel the elevator
skins down to approximately 1/32" at the trailing edge.
The P-47 had many attributes that led to its
reputation. One of the most important was its
durability in combat. Oftentimes the P-47 would
bring pilots home with missing cylinders, blown-off
wing tips and large portions of tail surfaces missing.
The P-47’s internal systems were also durable and
well protected.
G. After the glue dries, sand the skins flat and
even. Little sanding should be required.
Note: Some modelers tend to sand the sheeting
too much after it is applied to the structure,
making thin spots where fingers can easily go
through. By following the procedure above
(specifically, by aligning the skins as shown in
step E), little sanding should be required. Most of
the sanding that
is required should be done
before the sheeting is glued in place. The only
sanding that should be required after the skin is
glued to the structure is final sanding with 320- or
400-grit sandpaper.
F. Place a weight on top of the skin to hold it flat
while the glue dries.
E. Press the edges down so they are even.
D. Cover your workbench with wax paper and lay
the skin on it. Use a credit card or something
similar as a squeegee to simultaneously press the
sheets flat as you wipe the glue from the seam.
-12-