Top Flite TOPA0415 User Manual
Page 48
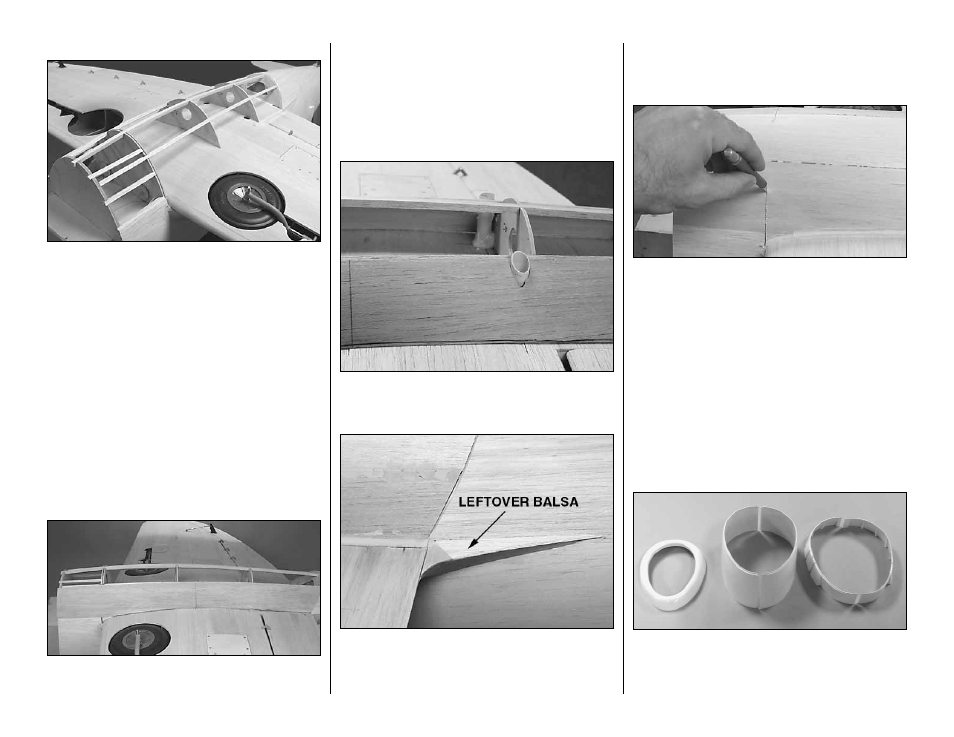
Refer to this photo for the following four steps.
❏
5. The same as you did at the back of the wing,
place 1/16" spacers between 2C and F-2, then glue
2C to the bottom of the wing.
Note: Make certain that the spacers are at least 1/2"
from the outer edges of the formers, so they will not
interfere with your razor saw when you cut through
the sheeting that will be added later.
❏
6. Cut three 1/4" x 1/4" x 30" balsa stringers to the
correct length and glue them into the notches of
formers 5E, 2C, 2 and 1. The formers will naturally
bow outward continuing the curvature of the belly pan.
❏
7. Insert formers 3C and 4C, then glue them into
position.
❏
8. Glue leftover 1/4" x 1/4" balsa sticks into the
notches of former 2 and the firewall.
❏
9. Use the belly pan sheeting pattern on the plan
and two 3/32" x 3" x 30" balsa sheets to make the two
sheets that cover the belly pan between the bottom of
the wing and the middle of the first stringer. Test fit one
of the sheets, trim as required for a good fit, then glue
it into position. Fill the little corner near the wing
leading edge with a piece of leftover 3/32" balsa.
❏
10. Glue the other sheet into position the same way.
❏
11. Cut holes in the belly pan sheeting for the wing
bolt tubes. Cut two wing bolt tubes from the 1/2"
cardboard tube, then glue them into position.
❏
12. Cover the rest of the belly pan with two more
3/32" x 3" x 30" balsa sheets. While you’re working
on the bottom of the fuse, add pieces of leftover
3/32" balsa to the bottom of the wing fillet bases.
❏
13. Apply lightweight balsa filler where needed to
blend the belly pan to the wing. Allow to dry fully,
then sand smooth.
❏
14. Use a fine razor saw to cut through the sheeting
and stringers between 2B and 2C separating the belly
pan from the fuse.
❏
15. Remove the wing from the fuse and sand the
edges of the belly pan sheeting even with the
formers on the front and back of the wing. Similarly,
sand the sheeting even with former 2B on the fuse.
❏
16. Bolt the wing back onto the fuse and make
certain everything fits well. Use filler or sand where
necessary so the joint between the belly pan and the
wing looks good.
Assemble the cowl
❏
1. Use curved-tip scissors to cut the molded ABS
left and right cowl sides, cowl front and left and
right cowl rings along the molded-in cutlines. The
cutlines are most easily seen from inside the pieces.
-48-