Windows mounting instructions, Windows xp - method 1 – Muse Research Receptor manual v1.2 User Manual
Page 157
12: Connecting Receptor to a Computer
157
Receptor Manual
5
A dialog appears welcoming you to Receptor. Click
OK.
6
Your Receptor Volume now appears on your Desktop.
Windows Mounting Instructions
The following sections discuss how to mount Receptor using various versions of the Windows OS. Should you
require additional information, see your computer’s documentation to learn more about how its networking
works.
Windows XP - Method 1
Using the following method, you’ll create a new network place, make a shortcut to it, then use that shortcut to
access your Receptor at any time in the future. This is the most convenient method if you plan to frequently
connect Receptor to your computer:
1 From the
Start menu, choose My Network Places.
2
Under Network Tasks, choose
Add a network place.
A Windows Wizard starts up.
3
Click
Next.
The next screen appears, asking you where you want to create this network place.
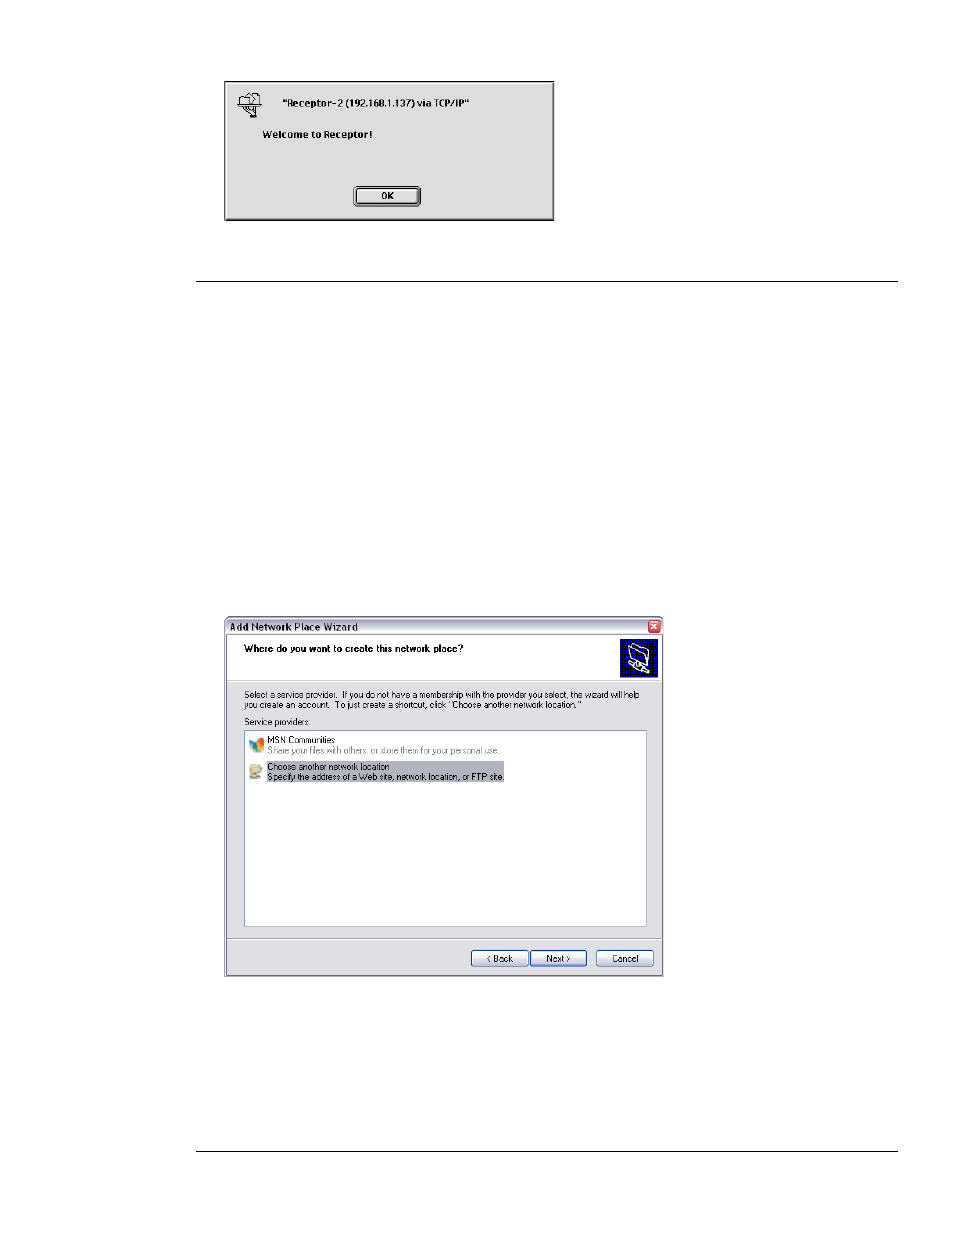
4
Select
Choose another network location.
5
Click
Next.
The next screen appears, asking you for the address of your new network place