Great Planes Giant Aeromaster Kit - GPMA0502 User Manual
Page 44
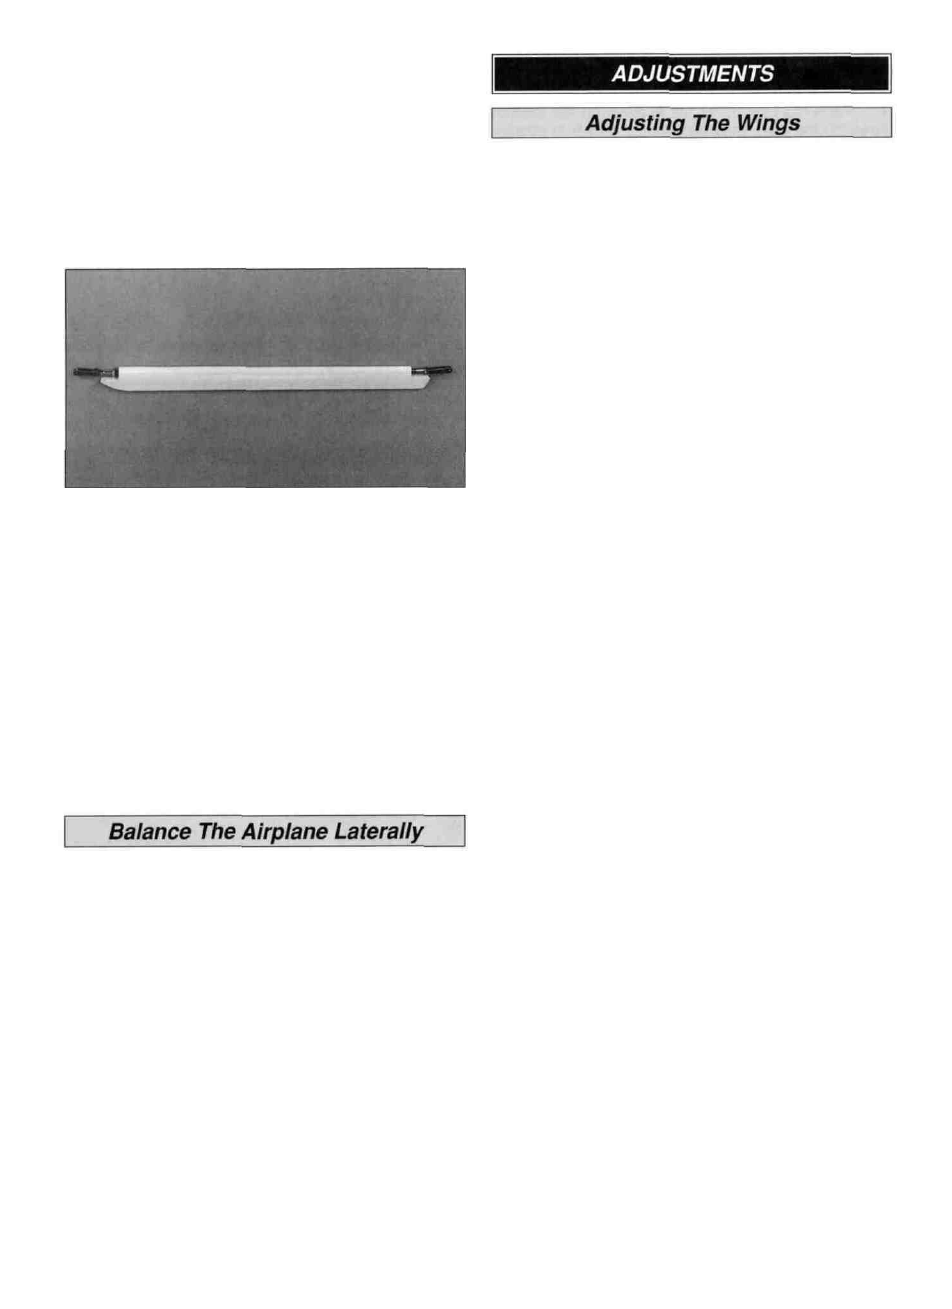
D 6 After the epoxy has cured thread the nut against the
strut Use a cut off wheel or hack saw to cut off the head of
the machine screw Unscrew the nut from the machine
screw. The nut will clean up the threads as it is removed.
D 7. After all the nuts have been removed, repeat steps
4-6 with the remaining six 4-40 x 1" machine screws.
D 8 Place the struts over the plan Determine which end
will go at the top Thread a 4-40 nut on that end Thread a
4-40 metal clevis onto both ends of all six struts The nut
will be used later to lock the clevis in position
D 9 Attach the struts to the strut tabs on both wings Install
the front strut first followed by the diagonal strut then the
back strut You may need to adjust the metal clevises to get
the struts to fit.
Due to the differences in building techniques and
manufacturing the wings may not be perfectly parallel to
each other and may also differ slightly in wing incidence
The following procedure will allow you to adjust the wings
to their proper settings It will require an incidence meter
and some patience.
D 1 With the struts installed, measure the distance
between the LE of the wings at the root and at the wing
tips Adjust the front struts until the distance is equal
D 2 Measure the distance between the TE of the wings at
the root and at the wing tips Adjust the rear struts until the
distance is equal.
D 3 With the Aeromaster setting on a flat table, install the
incidence meter on the stabilizer and block up the tail until
the meter reads 0° Next, attach the incidence meter to the
bottom wing and take measurements next to the fuselage
and the wing tips If the wing was built properly on a flat
building surface the meter should read 0° across the span
of the wing If it does not, the wing has a twist in it
D 4 To remove twist in a wing, weigh down its center
section Have a helper hold the wing at the tip and carefully
twist the wing in the direction opposite the twist Use a heat
gun to reshnnk the covering tight.
D 5 Follow the same procedure for the top wing.
D 6 Once the wings are flat (no twist) check the incidence
of both wings It should read 0° with the stabilizer set at 0°.
D 7 Fit spacers made from plywood between the cabane
struts and the wing to change the incidence of the top wing
if needed Remember to also adjust the N-struts.
Do not confuse this procedure with "checking the
C.G." which will be discussed later in the manual.
Now that the model is covered and nearly completed, this is
the time to balance it laterally (side-to-side) An airplane
that is laterally balanced will track better during aerobatic
maneuvers Here s how.
D 8 Once you have the wing and N-struts set properly,
lock the top metal clevises in place on the struts by
tightening the nut against the clevis Apply a drop of CA to
the threads of the bottom clevises to lock them in position.
D 1. With the wings level and attached to the model (and
the engine and muffler installed), lift the model by the
propeller shaft and the fin This will require an assistant Do
this several times
D 2 The wing that consistently drops indicates the heavy
side Balance the model by adding weight to the other
wing tip.
D 9. On our prototype Aeromaster we painted the metal
clevises at the bottom of the N-struts only We also marked
a small L and "R on each strut to designate the left and
right side This makes assembly at the flying field quick and
easy.
Setting up a biplane so that it will fly correctly does take
some time and patience initially, but the reward is a great
flying plane.
44