Great Planes Giant Aeromaster Kit - GPMA0502 User Manual
Page 37
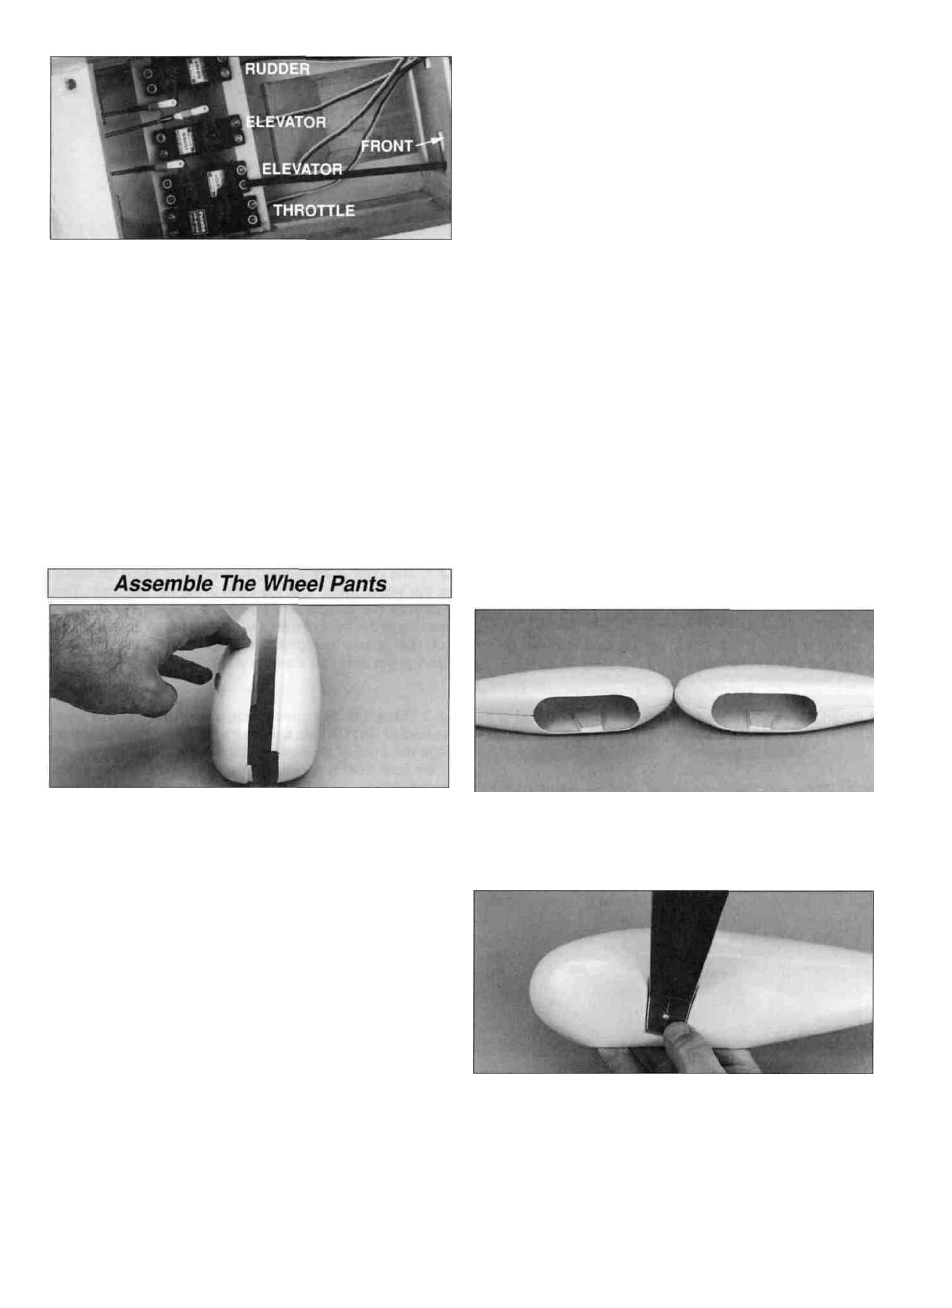
D D 3. Test fit the wheel pant halves and make
adjustments where necessary.
D D 4. Join the wheel pant halves by carefully spot gluing
them with thin CA. Glue the top, the front and then the rear
where the two halves butt together. After the halves are
joined, apply thin CA along the length of all seams.
D 6. Attach a solder clevis to the outermost hole in the
rudder and elevator servo arms. Center the rudder and
elevator servo arms on the servos. Cut the rudder and
elevator pushrods to the appropriate length. Remove the
pushrods and the solder clevis from the fuselage and slide
a silicone retainer on the pushrod, then solder the clevis on
the pushrod. Reinstall the pushrods and attach the clevises
to the servo arms and control horns.
Note: Do not use CA accelerator. Use of accelerator on the
ABS plastic may cause cracks and/or prevent paint from
adhering.
D 7. Position the tail wheel bracket on the bottom rear
deck. Mark the location of the tail wheel wire on the bottom
of the rudder. Remove the tail wheel wire and drill a 9/64"
hole at the mark. Test fit the tail wheel wire in the rudder.
The hole will be slightly larger than the wire. This allows the
epoxy to form a sleeve around the wire when it is glued in.
D D 5. Use your hobby knife or a power tool with a
sanding drum to cut out the wheel opening.
Hint: Make the wheel opening wide as this will make
installing the wheel and axle easier and cause less
interference with the wheel upon landing and takeoff. You
can see the size of the wheel opening in the following
photo.
D D 1. Trim one matching set of wheel pant halves along
the molded cut lines. Notice that the top of the outer pant
goes over the lip of the inner pant and the bottom of the
inner pant goes over the lip of the outer pant. You can use
a hobby knife to carefully score along the cut lines and flex
the plastic until the excess breaks free, or use small
scissors to cut along the lines. Kyosho curved Lexan
cutting scissors (KYOR1010) work extremely well for this
and make the job a cinch. For now, don't worry about
accurately cutting out the opening in each wheel pant half -
just cut an approximate opening for the wheels.
D D 2. Use your bar sander to carefully true the edges of
the overlapping pieces of the wheel pant halves so when
you glue them together the seam will be as small and
straight as possible. Notice that the rear of the pant halves
do not overlap. Use 150 or 220-grit sandpaper to remove
the flashing and thoroughly roughen all areas that are to
be glued, including the indentation on the inside of both
inner pant halves.
D D 6. Use medium CA to glue the die-cut 1/16" plywood
wheel pant mount to the inside of each wheel pant.
D D 7. Use a metal file to chamfer the edges and corners
of the aluminum landing gear so it will fit neatly in the
recess of the wheel pant. Position the wheel pant on the
aluminum landing gear. Use a felt-tip pen to accurately
mark the location of the axle mounting hole.
37