Great Planes Giant Aeromaster Kit - GPMA0502 User Manual
Page 40
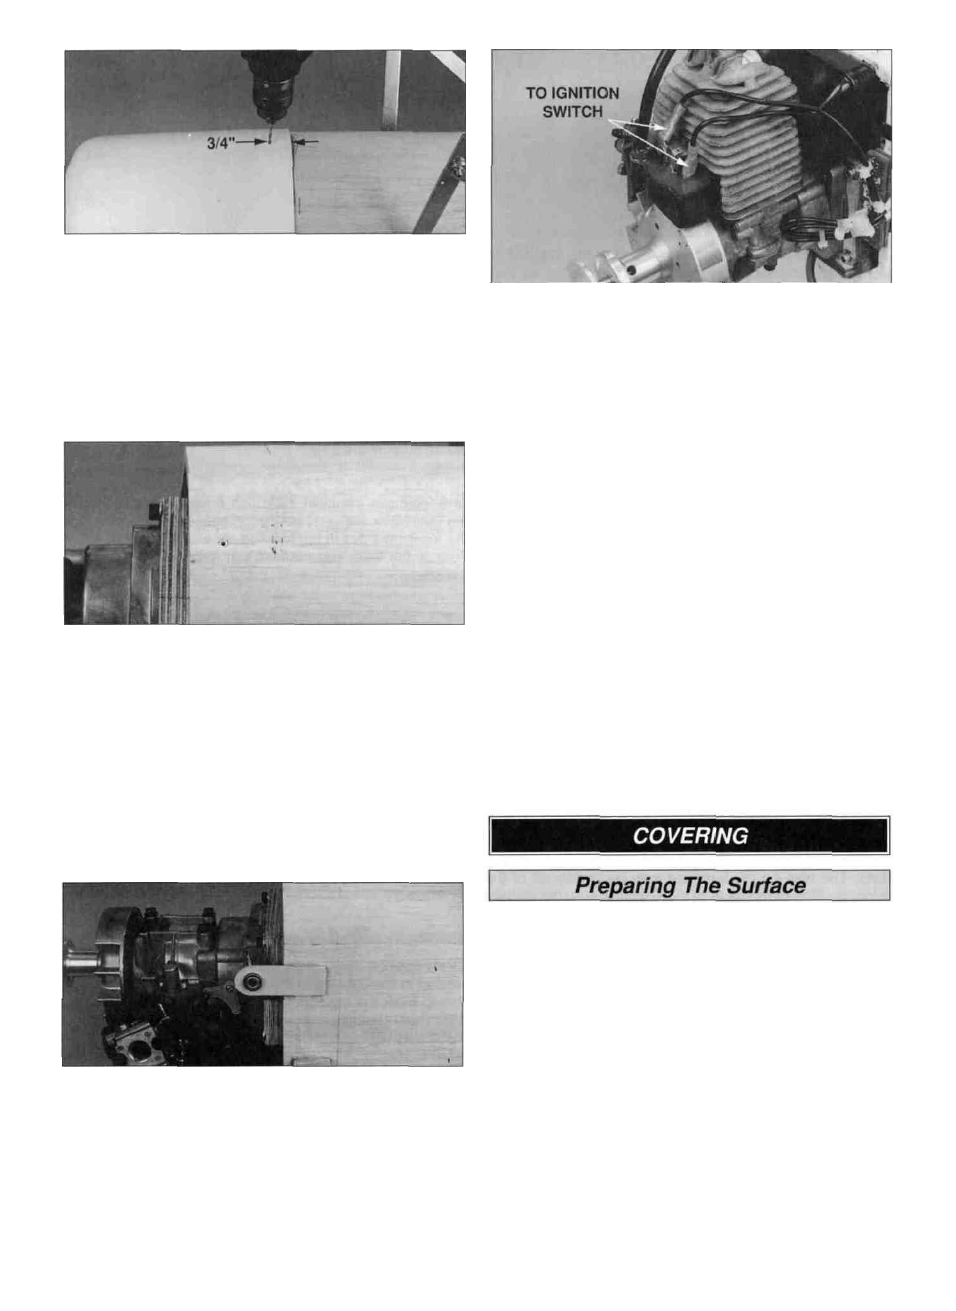
D 13. In the top of the cowl, drill a 3/32" hole through the
cowl and fuselage 3/4" from the aft edge of the cowl and
centered between the sides of the cowl.
D 14. Remove the cowl and enlarge the hole in the
fuselage to 1/8". From the 2" white inner pushrod tube,
cut a piece 1/2" long. Roughen the tube with 220-grit
sandpaper. Use medium CA to glue the tube into the hole in
the top of the fuselage.
D 16. If your Aeromaster will be powered by a gas engine,
an on/off switch must be installed on the engine. Gas
engines have a coil that generates electricity to produce a
spark. The on/off switch will prevent the engine from
starting accidentally. We connected a 5 amp/125 volt on/off
switch to the coil and mounted it on the side of the
fuselage.
Note: For additional strength, we recommend using
30-minute epoxy to apply a layer of fiberglass cloth (not
included) to the inside of the cowl over all joints.
D 17. Fill the seams or other imperfections in the cowl as
described in the preceding Wheel Pants section. Wet sand
the entire cowl with 400-grit sandpaper to prepare it
for priming.
D 1. If you've hooked up the pushrods to the servos before
you covered the model, disconnect and remove all the
control rods, hinges and control horns from the ailerons,
elevators and rudder. Remove the engine, cabanes, tail
wheel bracket and any other hardware you may
have installed.
D 15. On our prototype Giant Aeromaster we made a
mount for the Great Planes Easy Fueler (for gas) from
leftover 1/8" plywood, then securely glued it to the side of
the fuselage. We cut an access hole in the cowl for the
fueler using the template method.
D 2. Most of the model should be rough-sanded by now
with all the tabs and rough edges sanded even. Check the
cross-section views as you sand and round the edges. Fill
all dents, seams, low spots and notches with HobbyLite
balsa colored filler. (See expert tip that follows.)
40