Carl Goldberg GBGA0059 User Manual
Page 19
19
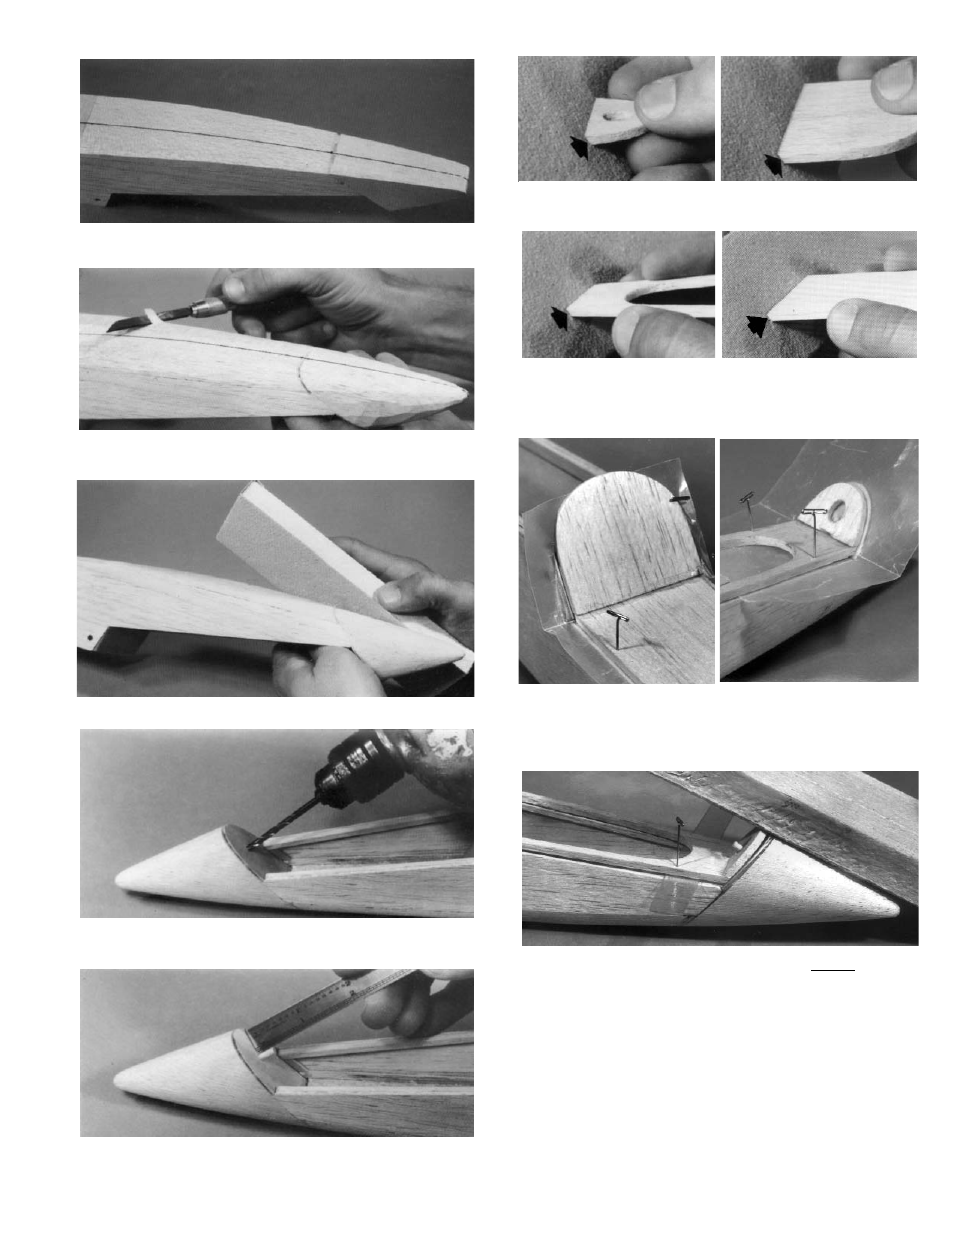
24. Draw a centerline lengthwise along the bottom
of the fuse.
Rough shape the front of the fuse, using the
centerline as a reference of symmetry.
Sand to a finished shape.
25. Drill a 1/8" diameter hole about 3/4" deep at the
D/C drill point. ???
Insert the 1/8" diameter dowel in the hole, leav-
ing 1/4" exposed, and glue in place.
26. Using medium sandpaper, bevel the edges of
the cockpit platform so that it fits into the fuse.
27. Place waxed paper behind the cockpit platform
joints and then pin the platform onto the fuse.
Glue the formers onto the platform, as shown.
28. Making sure you remove only scrap plastic,
cut two pieces of plastic from the canopy
excess and place them between the fuse and
the canopy platform. This will raise the plat-
form to allow for the thickness of the canopy.
Sand the front former flush with the nose block.
When satisfied with the fit of the pieces,
remove the plastic scraps.
Next, bevel the front and rear formers so that
they lie against the fuse and flat on the cockpit
platform.