Carl Goldberg GBGA0059 User Manual
Page 14
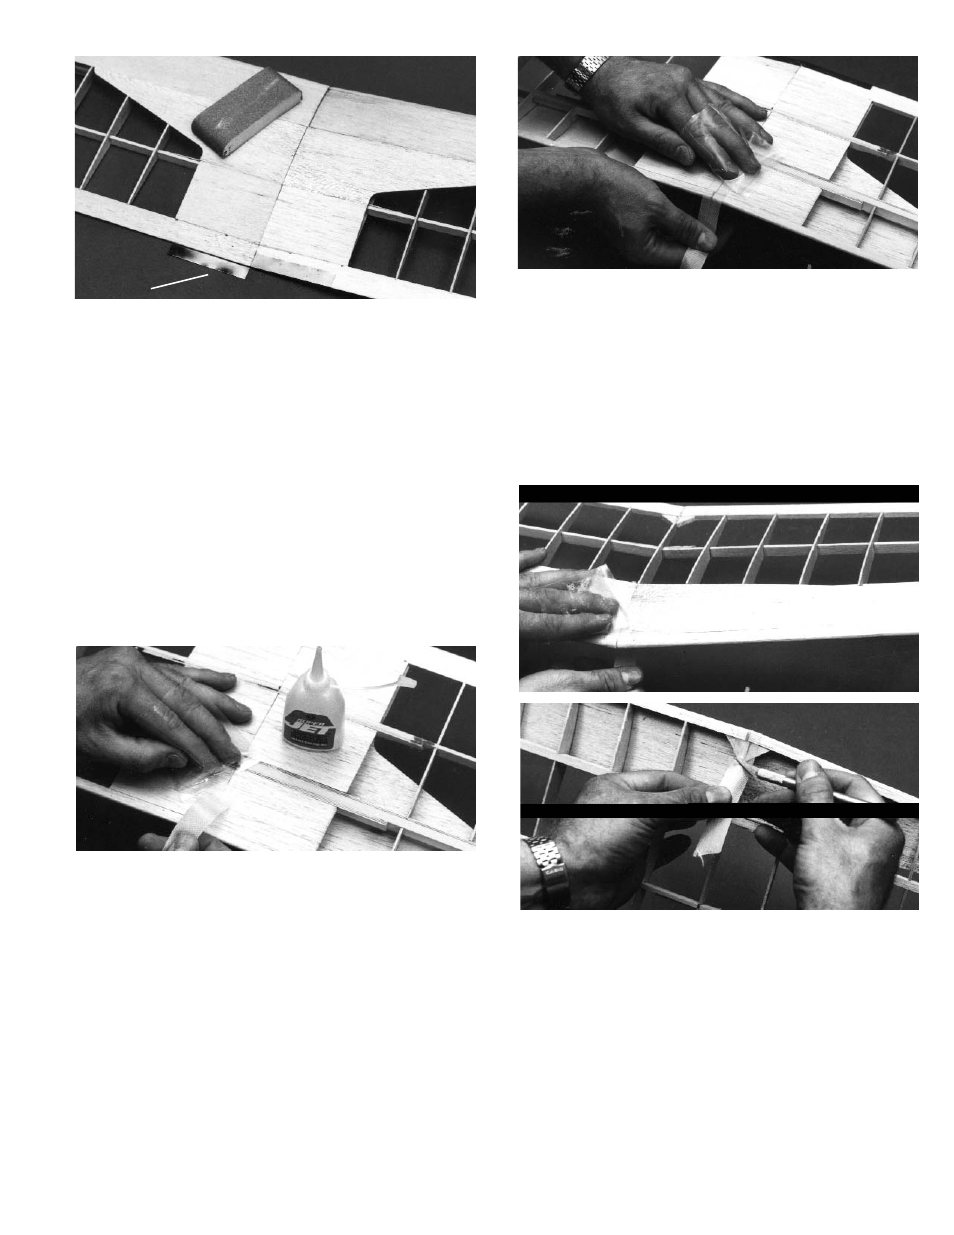
28. Using 240 grit (fine) sandpaper, flat sand the
entire wing to blend the surfaces and remove
high spots. Take care not to sand too much, or
the sheeting will be thin and weak.
Cut the 1 x6” aluminum strip into two 3” pieces
and sand lightly for better glue adherence.
ALUMINUM
SHEET
14
Apply a bead of Super Jet™ to one half of one
of the aluminum pieces and glue it to the bot-
tom of the wing, as shown above.
When dry, apply glue to the other half of the
strip and wrap it around the T.E.
Repeat this procedure for the other aluminum
piece.
29. Cut a piece of 3/4” wide nylon long enough to
wrap completely around the wing with a small
overlap.
Apply a spot of Super Jet™ on the wing bottom
at the center joint.
Immediately stick one end of the nylon strip to
the wing and let dry until it is firmly glued to the
balsa.
IMPORTANT!
The following procedure must be done in a WELL-
VENTILATED AREA.
Before continueing, protect fingers with a plas-
tic bag or plastic wrap.
Starting with the bottom of the wing, apply a
squiggle of glue along the wing joint and lay the
nylon strip over it.
Rub the glue thoroughly into the nylon strip.
Continue applying the nylon strip around the
L.E., across the top of the wing, around the
T.E., and finally overlapping where you started
on the wing bottom.
Unless you have made the removable wing tip
option, repeat the above procedure, installing
nylon fabric at the polyhedral sheeting joints.
THIS COMPLETES THE WING ASSEMBLY. SET
ASIDE UNTIL IT IS TIME TO COVER.