On the front panel, Repeat steps 3-4 – Dave Smith Instruments PRO 2 User Manual
Page 75
65
Pro 2 Operation Manual
Pitch and Modulation Wheels
Assigning the Mod Wheel
The mod wheel is a modulation source and can be assigned to a modula-
tion destination just like any other mod source. The difference is that you
can perform the modulation in real time by moving the mod wheel. This
is a great way to add expressiveness to a program.
Many programs use the mod wheel to add vibrato to a sound. In fact the
Basic Program is set up this way. In this case, the mod wheel is routed
to LFO 1 amount, which is in turn routed to the
oSc
all
freq
parameter
(controlling the frequency of all oscillators). This has the end result of
adding vibrato when you push the mod wheel up.
Using the mod matrix it’s possible to assign multiple modulation destina-
tions to the mod wheel. You could, for example control filter cutoff, sub
oscillator level, distortion amount, and more, all from the mod wheel.
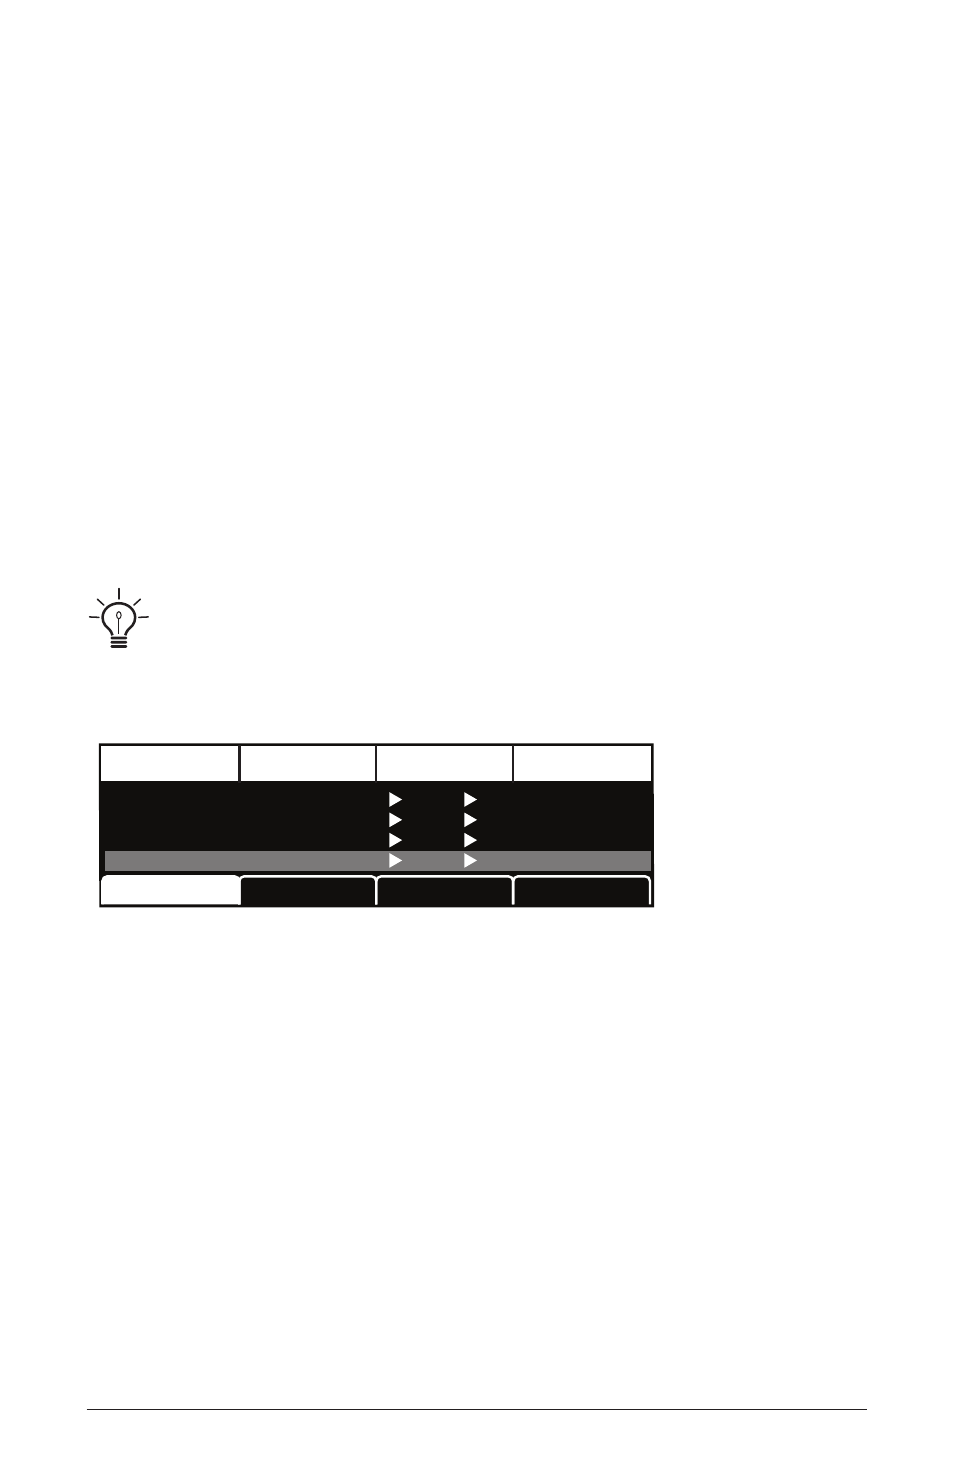
To display the modulation matrix, press the
assign
source
or
assign
dest
buttons in
the Modulation section. Modulations slots and routings appear in the OLED display.
Destination
Edit Mod 1
Source
Amount
Sort Source
Slot Sort
Mod 1
Mod 2
Mod 3
Mod4
Slider 1 Position
Slider 2 Postion
Aftertouch
Mod Wheel
60
35
25
80
F1 Cutoff
F1 Resonance
Drive
Sub Osc Level
Sort Dest
To assign the mod wheel to a mod destination:
1. On the front panel
mod
section, press and hold the
aSSign
Source
button.
2. Turn the mod wheel. The mod matrix appears in the display and the
mod wheel is assigned to the first available modulation slot.
3. Turn soft knob 4 (
deStination
) to choose a modulation destination.
4. Turn soft knob 3 (
amount
) to choose the maximum amount of modula-
tion applied when the mod wheel is turned all the way up.
5. To route the mod wheel to more destinations, turn soft knob 1 (
edit
mod
#) to find an open modulation slot and choose
mod
wheel
.
6. Repeat steps 3-4.