Installing the system board, Figure 3-27 – Dell PowerEdge C1100 User Manual
Page 97
Installing System Components
97
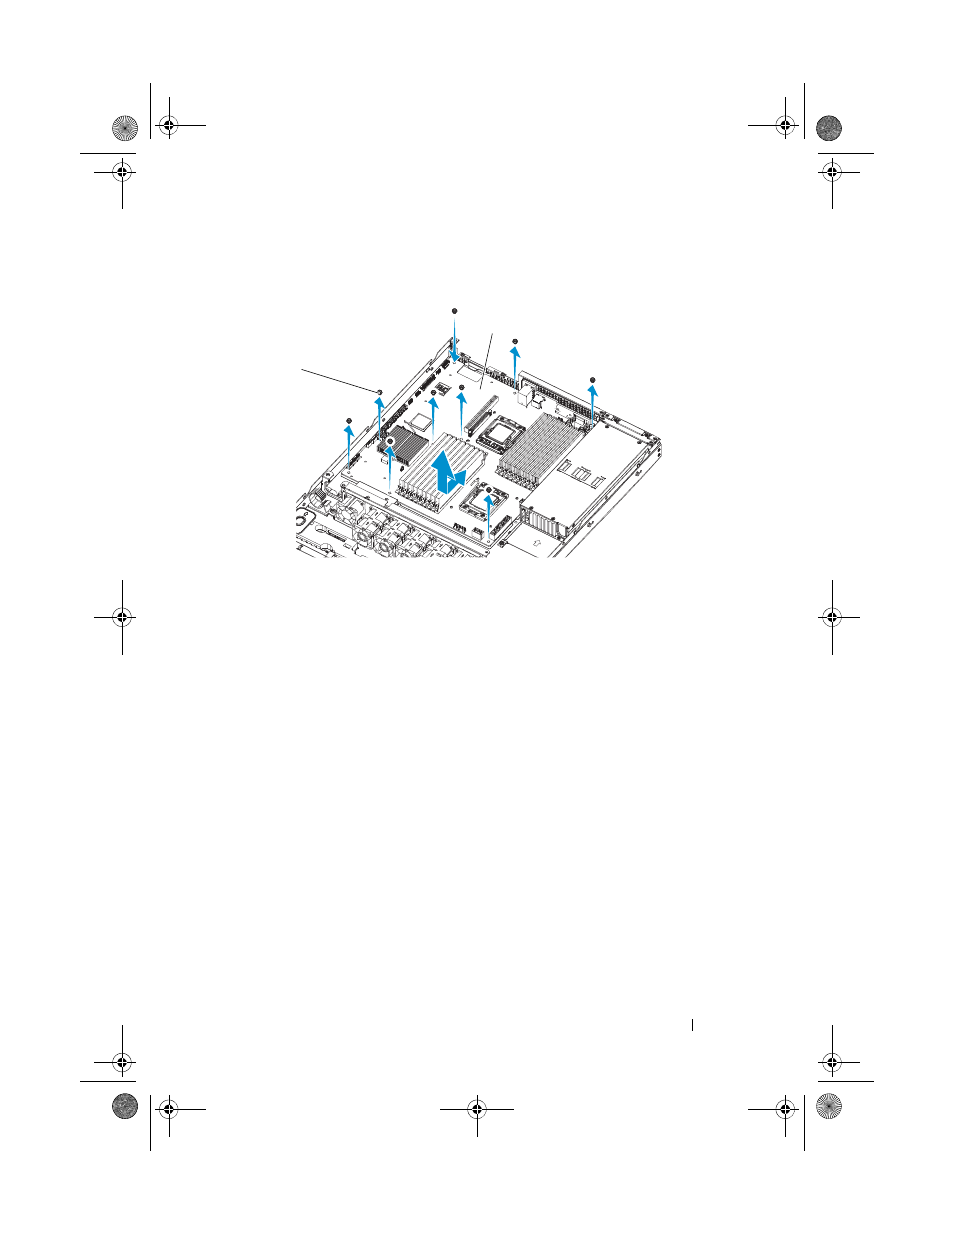
Figure 3-27. Removing and Installing the System Board
Installing the System Board
1 Align the holes A and B on the system board to position the board correctly
in the system.
2 Replace the ten screws to secure the system board in place.
3 Reconnect the power, IPMB, SATA, front panel, and system board
connectors to the system board. See "System Board Connectors" on
4 Replace the processors. See "Installing the Processor" on page 61.
5 Replace the heat sinks. See "Installing the Heat Sink" on page 59.
6 Replace the expansion-card riser. See "Installing the Expansion-Card Riser"
7 Replace the memory modules. See "Installing Memory Modules" on
8 Replace the cooling shroud. See "Installing the Cooling Shroud" on
9 Replace the system cover. See "Closing the System" on page 56.
10 Reconnect the system and peripherals to their electrical outlets, and turn
on the system.
1
screws (10)
2
system board assembly
1
2
book.book Page 97 Tuesday, February 26, 2013 11:33 AM