Starting the icu, Figure 3-1 – Dell OptiPlex E1 User Manual
Page 33
1. Make sure you have a blank, high-density, 3.5-inch diskette.
2. Turn on your computer system if it is not already on.
3. Make a copy of the ICU program diskette.
See your operating system documentation for instructions on making a copy of a diskette.
4. Store your original ICU diskette in a safe place.
Use only the backup diskette when running the ICU.
Starting the ICU
After you have completed the procedures in "
" found earlier in this chapter, insert the backup copy of the
ICU diskette into drive A. Then either turn on your system or reboot it by pressing the reset button.
Accessing Help
You can access online help in the ICU in four ways:
Select Contents from the Help menu to display a list of topics. Select a topic and click Help. Help text on that topic appears
in a dialog box.
For most dialog boxes, you can click Help to display information on the action you are performing.
From the ICU window, press the
To redisplay the last message you received from the ICU, select Previous Message from the Help menu.
Making Selections in the ICU
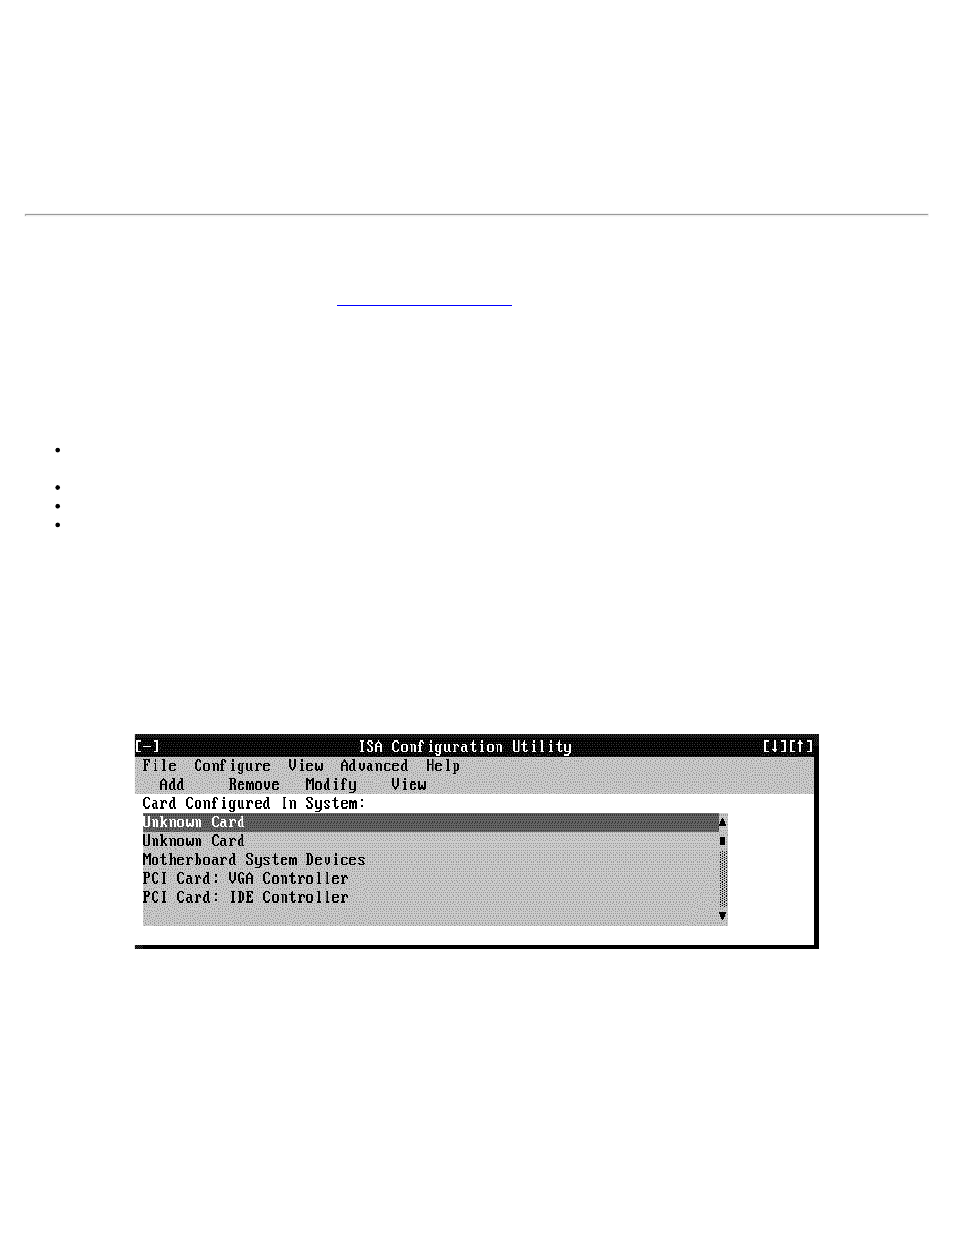
The ICU window is the main window of the utility and the starting point for making expansion-card changes. This window lists all
non-Plug and Play ISA, Plug and Play, and PCI expansion cards currently installed in the computer. The ICU window contains
menus and a tool bar, as shown in Figure 3-1. When you choose a course of action, the ICU displays dialog boxes to guide you
through the various steps.
Figure 3-1. ICU Window
You can maneuver through each menu and dialog box using a mouse. If a mouse is not available, you can use the keys shown in
Table 3-1.
Each menu and menu option has an underlined character in its name; when you press the
the underlined character, the associated menu or menu option is selected.