Drew Technologies DASHDAQ-XL User Manual
Page 15
15
WARNING SOUNDS- OPTIONAL
DashDAQ can also play a pre-installed or user defined audible warning when a signal has entered the upper or lower warning area.
To set a Warning Sound:
1. Tap on a gauge that you want the warning sound to be apparent on.
2. Tap on the crossed out speaker for either the High or Low warning.
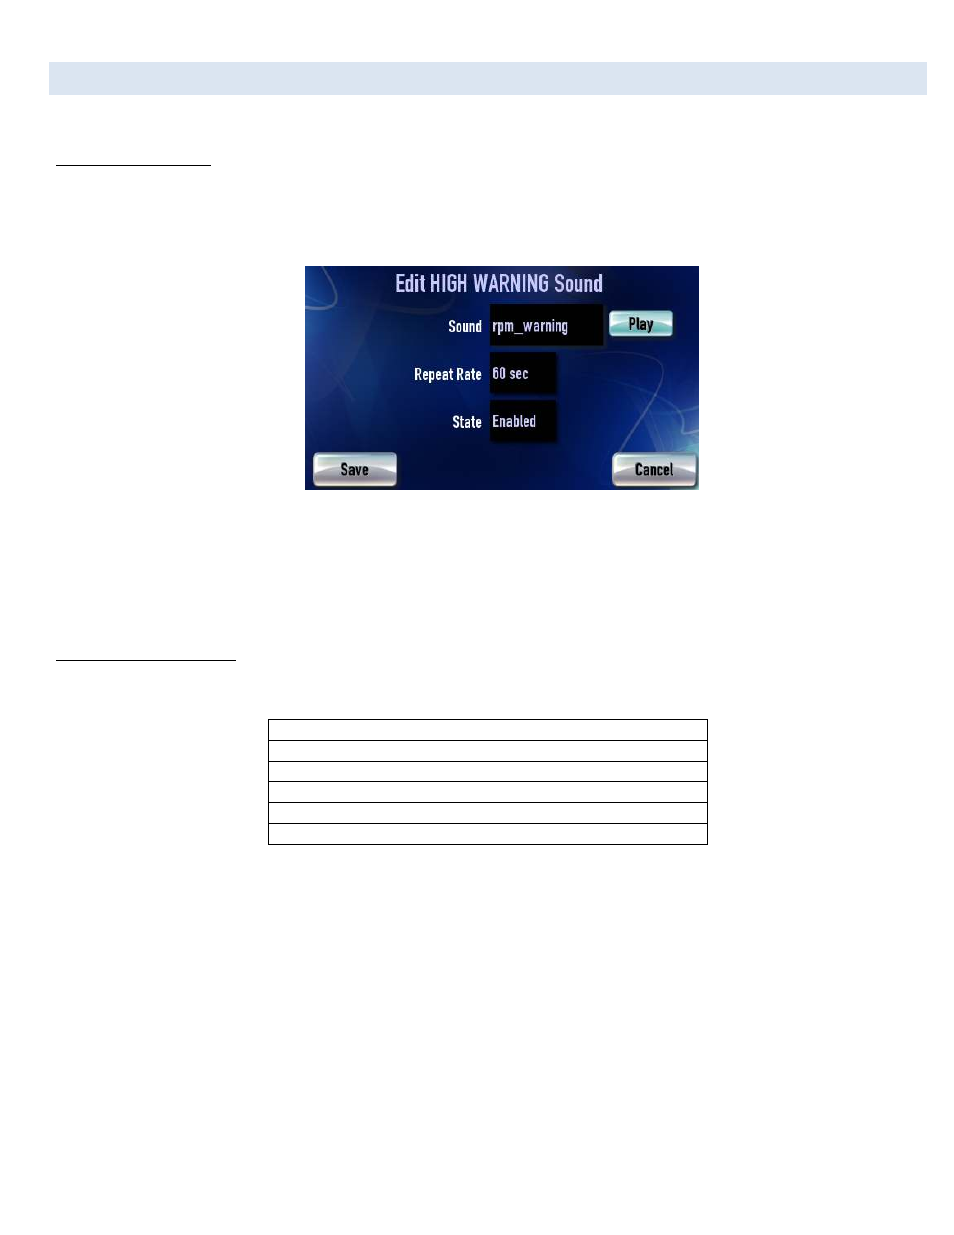
3. Tap on the black box next to “Sound” to select the audio clip to be played when the threshold is crossed.
High Warning sound set for RPM warning.
4. The repeat rate is how often the sound will repeat while the threshold is crossed. 0 will repeat constantly.
5. The “State” field will either enable or disable the warning. Tap [Save].
6. Make sure your warning threshold for the high or low warning that you use is set, and make sure your signal for the gauge is
specified.
To upload your own sounds:
1. Sound files must have these attributes:
Extension: .wav
Encoding: PCM (uncompressed)
Size: 8 or 16 bit signed integer
Sample Rate: 22050, 11025, 5512 or 5513 KHZ
Channels: Stereo or Mono
Length: Less than 10 seconds
2. Create a folder on your SD called named “Transfer,” and place file inside folder.
3. Insert the SD into the DashDAQ, and turn the unit on.
4. From the Main Menu tap on [Setup], then [Memory Card], then [Install], then [Sound].
5. Select which sound you wish to install and tap [Install].
You can now specify this warning sound for any High or Low warning in the gauges.