Cable management for all in one/cpu mounted at lcd – Amico Falcon Combo Arm User Manual
Page 23
www.amico.com 23
Cable Management For All In One/CPU Mounted At LCD
Keyboard Tray Cable Management
WARNING
Do not bunch cables together on one tie. It may destroy the cable clips.
Keep your cables in separate cable clips. Two cable clips are provided for use.
NOTE:
Ensure keyboard and mouse are both properly positioned as per the manual before
beginning cable management procedures.
1. Take the mouse and keyboard cables, simply push the cable gently into the guide-clip
until it sits inside it’s receptacle. (Figure 1) OR, remove the screw of the cable guide using a
philips head screwdriver, through both holes on the cable guide. Push the Keyboard tray
cable guide into the cable, and then re-align and re-attach the screw with a Philips screw
driver.
2. Ensure the cable can still be moved forward and backwards in the guide.
(Figure 1)
Swivel Post Cable Management
WARNING
Do not bunch cables together on one cable guide-channel. Use separate channel for each cable
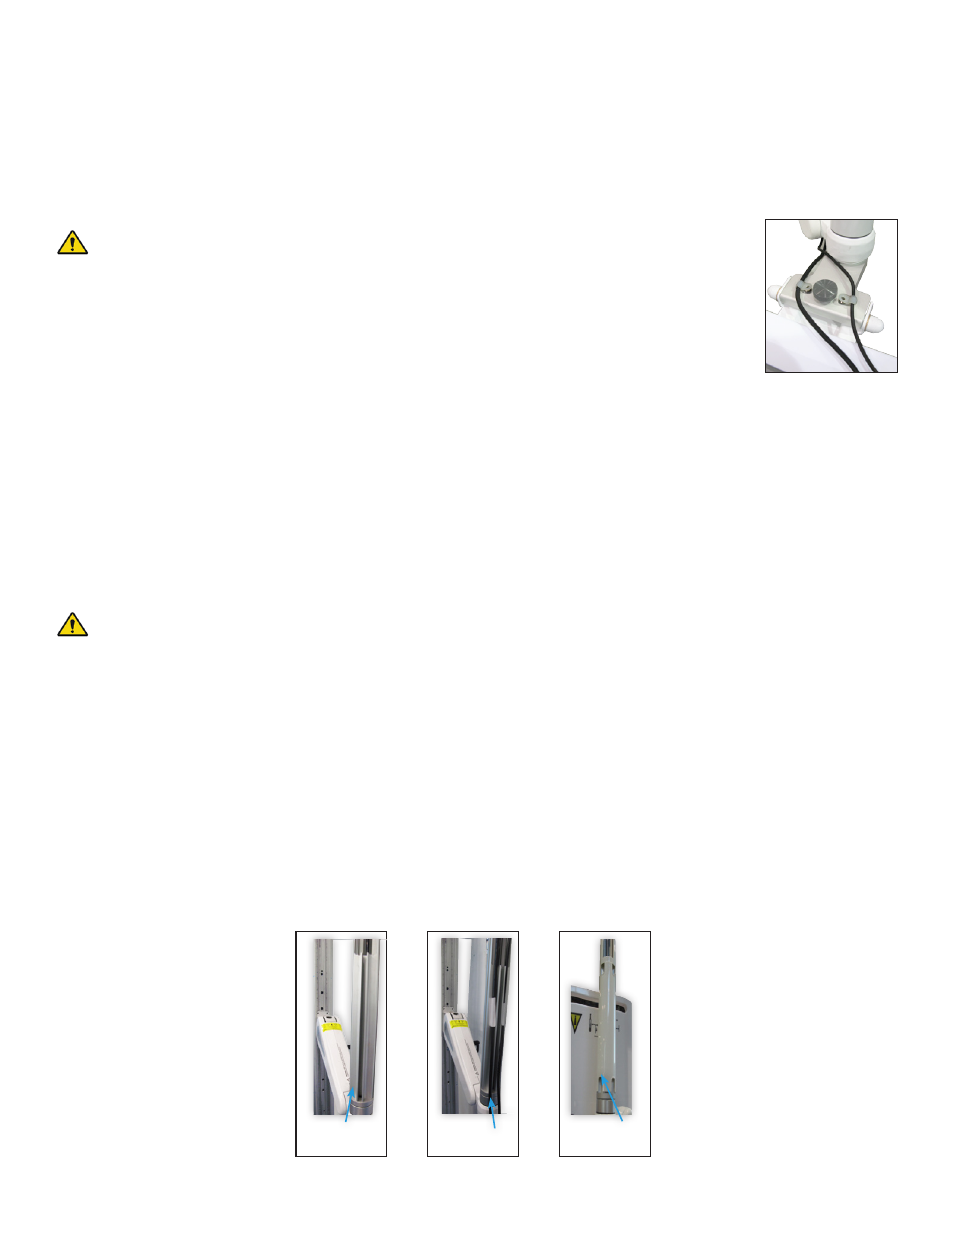
1. There are 2 FIT cable guide-channels in the Swivel post, which is covered by the Swivel Post Cable Cover.
2. Pop out the Swivel Post Cable Cover, take your power cable for your All-in-one and place the cable gently into
the guide-channels towards your AHM(Figure 1, 2). Take your cables from the keyboard tray and place the cables
into the guide-channels toward your All-in-one.
3. Push-fit the Swivel Post Cable Cover, so that the cables pass through the Bottom 2-holes and come out from the
top 2 holes (Figure 3). Plug the keyboard, mice, and any other accessories’ cables into the All-in-one.
4. Ensure the cables can still be moved up and down through the guide-channels.
(Figure 1)
Cable guide
channel
(Figure 2)
Cable laid
(Figure 3)
Swivel Post
Cable Cover
SECTION 3: Device Installation