Aileron servo installation – E-flite Advance 25e User Manual
Page 6
6
E-flite Advance 25e ARF Assembly Manual
Aileron Servo Installation
Required parts
Silicone tubing
Nylon clevis (2)
Transmitter
Receiver
Wing panel with aileron (left and right)
Servo with hardware (2)
Threaded pushrod, 11
7
/
8
-inch (302mm)
Nylon control horn with backplate (2)
2mm x 12mm machine screw (4)
Required Tools and Adhesives
Thin CA
Pin vise
Side cutter
Square
Felt-tipped pen
Hobby knife with #11 blade
Ruler
Low-tack tape
Pliers
Drill bit: 5/64-inch
Phillips screwdriver: #1
Optional Tools
Z-bend pliers
Before starting the installation of the servos, it is
recommended to center the trims and sticks on your
transmitter. If you are using a computer radio, make
sure to reset a model memory and name it for this
particular model. We also recommend binding the
transmitter and receiver at this time following the
instructions provided with your radio system.
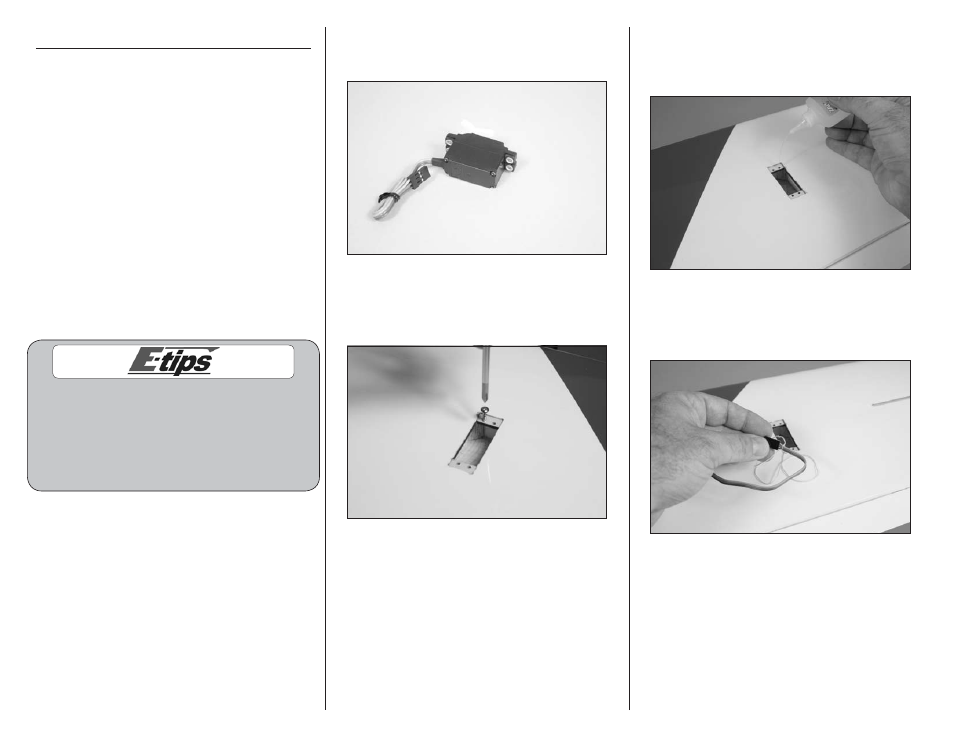
1. Prepare the aileron servo by installing the rubber
grommets and brass eyelets as described in the
servo instructions.
2. Use a #1 Phillips screwdriver to thread a
servo mounting screw in each of the four servo
mounting holes. This will cut threads into the
surrounding wood.
3. Apply 2–3 drops of thin CA in each of the servo
mounting holes. This will harden the threads in
the surrounding wood, which will help prevent the
screws from vibrating loose.
4. Carefully remove the string from the servo
pocket. Make sure not to pull the string loose from
the center of the wing. Tie the end of the string
around the servo lead near the connector.