Optional pilot installation – E-flite Advance 25e User Manual
Page 27
27
E-flite Advance 25e ARF Assembly Manual
10. Make a Z-bend in the pushrod wire using a
pair of pliers. It may be necessary to disconnect the
clevis from the control horn to make the bend in the
pushrod wire.
11. Remove the servo horn from the servo. Insert
the bend in the hole of the servo horn. Secure the
control horn back on the servo using a #1 Phillips
screwdriver. Reconnect the clevis to the outer hole
of the control horn. Slide the silicone tube over
the forks of the clevis to prevent it from opening
accidentally in flight. Use side cutters to remove
any excess pushrod that might interfere with the
operation of the radio system.
12. Repeat Steps 1 through 11 to install the
rudder linkage.
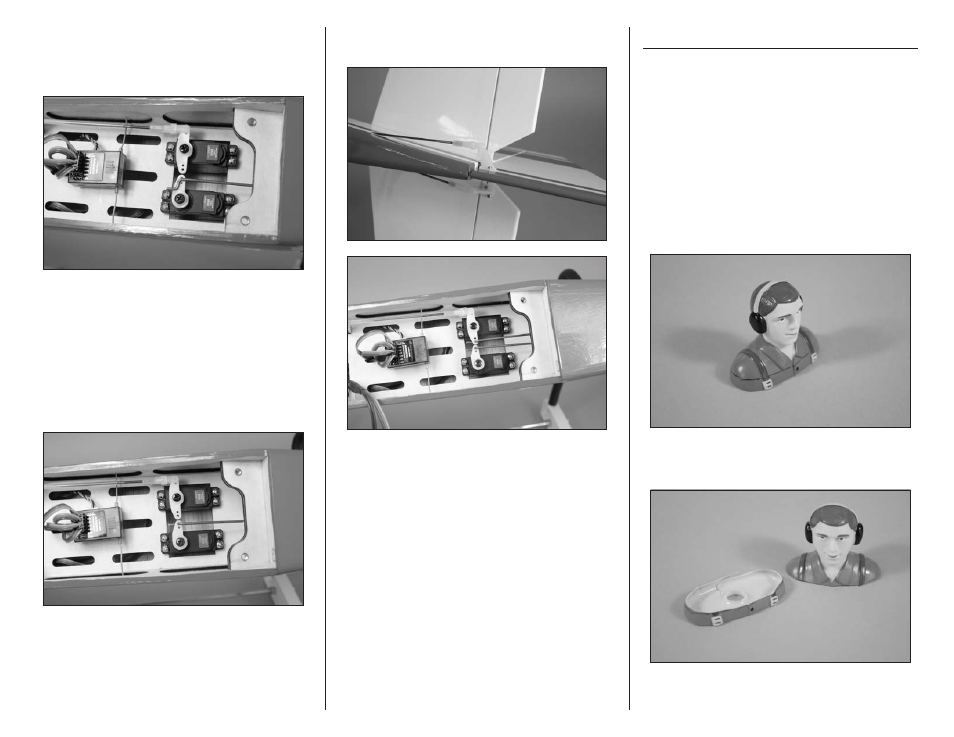
Optional pilot Installation
Required parts
Fuselage assembly Pilot
Required Tools and Adhesives
Felt-tipped pen
Scissors
Silicone adhesive Hobby knife with #11 blade
Note: Skip to the next section of the manual if
you are not installing the optional pilot.
1. Use a felt-tipped pen to trace a line on the pilot
figure that is up 1/4-inch (6mm) from the bottom
of the pilot.
2. Use a hobby knife and scissors to trim the pilot
along the line drawn in the previous step.