Installation instructions – Brandmotion 1009-9517 User Manual
Page 11
INSTALLATION INSTRUCTIONS
1009-9000-00
11 of 18
9 August 2011
If your vehicle IS NOT equipped with a uConnect mirror and not equipped with an auto-
dimming mirror follow step 34. If your vehicle IS equipped with uConnect or auto-dimming
mirror, skip this step and continue on to step 35.
34. Wire the supplied interior harness to the existing instrument panel connector using a soldering iron
by following the next five steps (a, b, c, d, e) and diagram C on the following three pages. (Note:
Tape the three wires at the mirror end of the interior harness back using electrical tape, as they will
not be used in this installation process.)
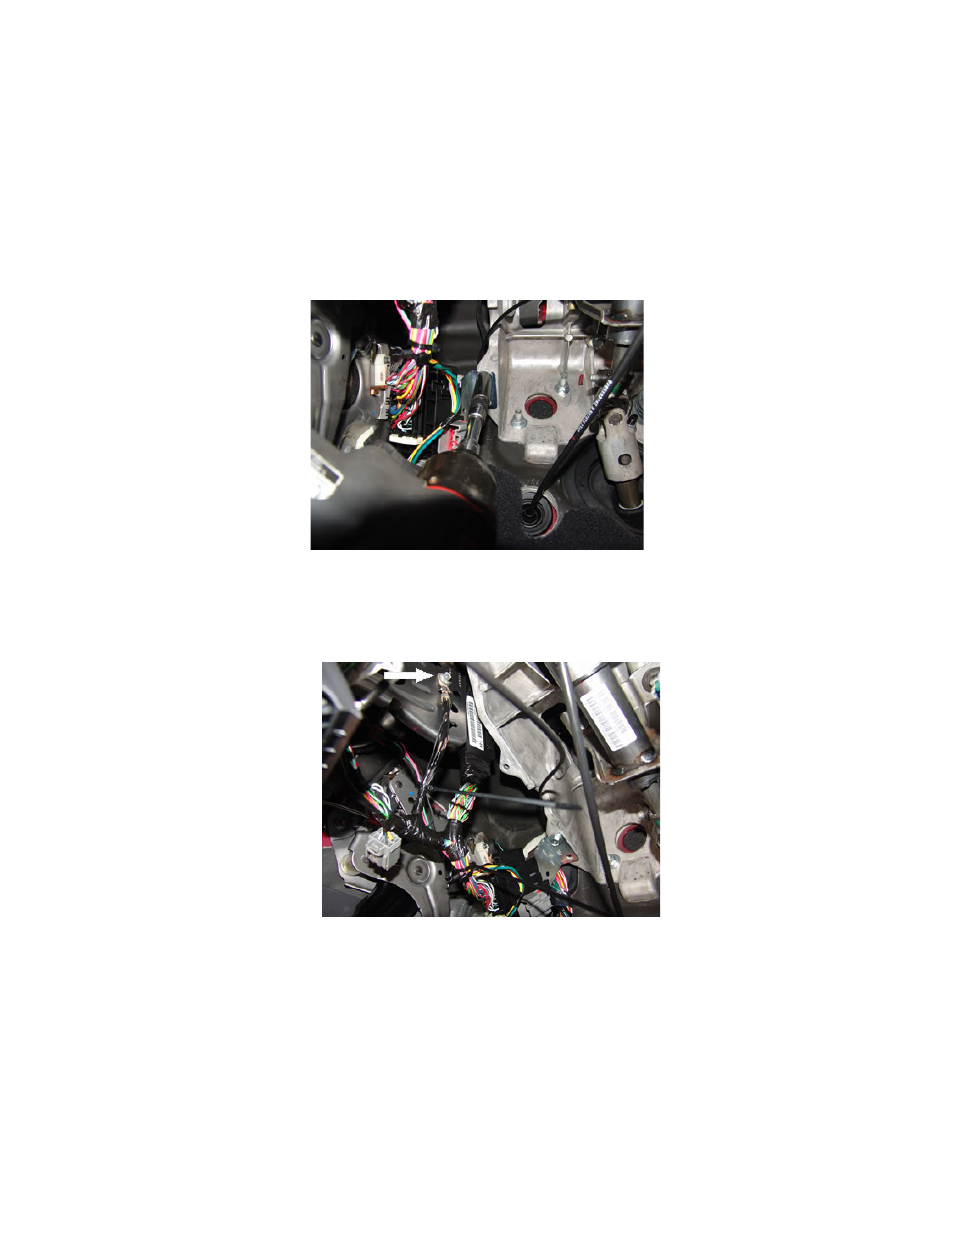
a. Remove the instrument panel connector mounting bracket using a ½in socket to access the
fixed end of the connector for electrical splicing. (Figure 24)
Figure 24
b. Remove the bolt that attaches the existing ground wires to the instrument panel ground
under the driver’s side dashboard. Attach the black ground wire from the interior harness to
the instrument panel by putting the bolt through the connector on the wire and reinstalling
the bolt into the instrument panel. Be sure to leave existing ground wires attached to the
bolt. (Figure 25)
Figure 25
c. Splice the pink wire from the supplied interior harness to the pink and light green wire from
cavity 16 on the fixed end the instrument panel connector. Cover the connection with
electrical tape or heat shrink.
d. Splice the green wire from the supplied interior harness to the white and red wire from cavity
7 on the fixed end of the instrument panel connector. Cover the connection with electrical
tape or heat shrink.
e. Wire tie the interior harness to existing wiring using two ties as shown in figure 25. Reinstall
instrument panel connector bracket using a ½in socket.