Printing custom-size paper, Printing custom-size paper -22, Setting a user defined size -22 – Brother HL-4200CN User Manual
Page 70
3 - 22 LOADING PAPER AND USABLE PAPER TYPES
Printing Custom-size Paper
Using the multi-purpose tray enables you to print custom-size paper or 'long' paper, longer than legal
portrait (355.6 mm (14 in.)).
The paper sizes suitable for use with this printer are as follows:
■
Single-sided printing: Width 90.0-215.9 mm (3.5 - 8.5 in.); Length 139.7-900.0 mm (5.5 - 35.4 in.)
■
Duplex printing: Width 149-215.9 mm (5.8 - 8.5 in.); Length 210-355.6 mm (8.2 - 14 in.)
Feeding custom-size paper sideways is not possible. Always feed this type of paper lengthwise.
To print on custom-size paper, you must set the paper size as a user-defined size first.
Setting a User Defined Size
With a Macintosh
®
computer, you need to set the user defined size while executing a print command
from a program. Continue to How to Print.
In Windows
®
, you need to set the user defined size before launching the print command from a program,
using the following steps: The following example is for Windows
®
XP.
1
On the Start menu, click Printers and Faxes.
The Printers window opens.
2
Choose the appropriate printer, click File on the tool bar, and select Properties.
The Properties dialog box opens.
3
Click the Default Settings tab.
4
Click Custom Paper Size.
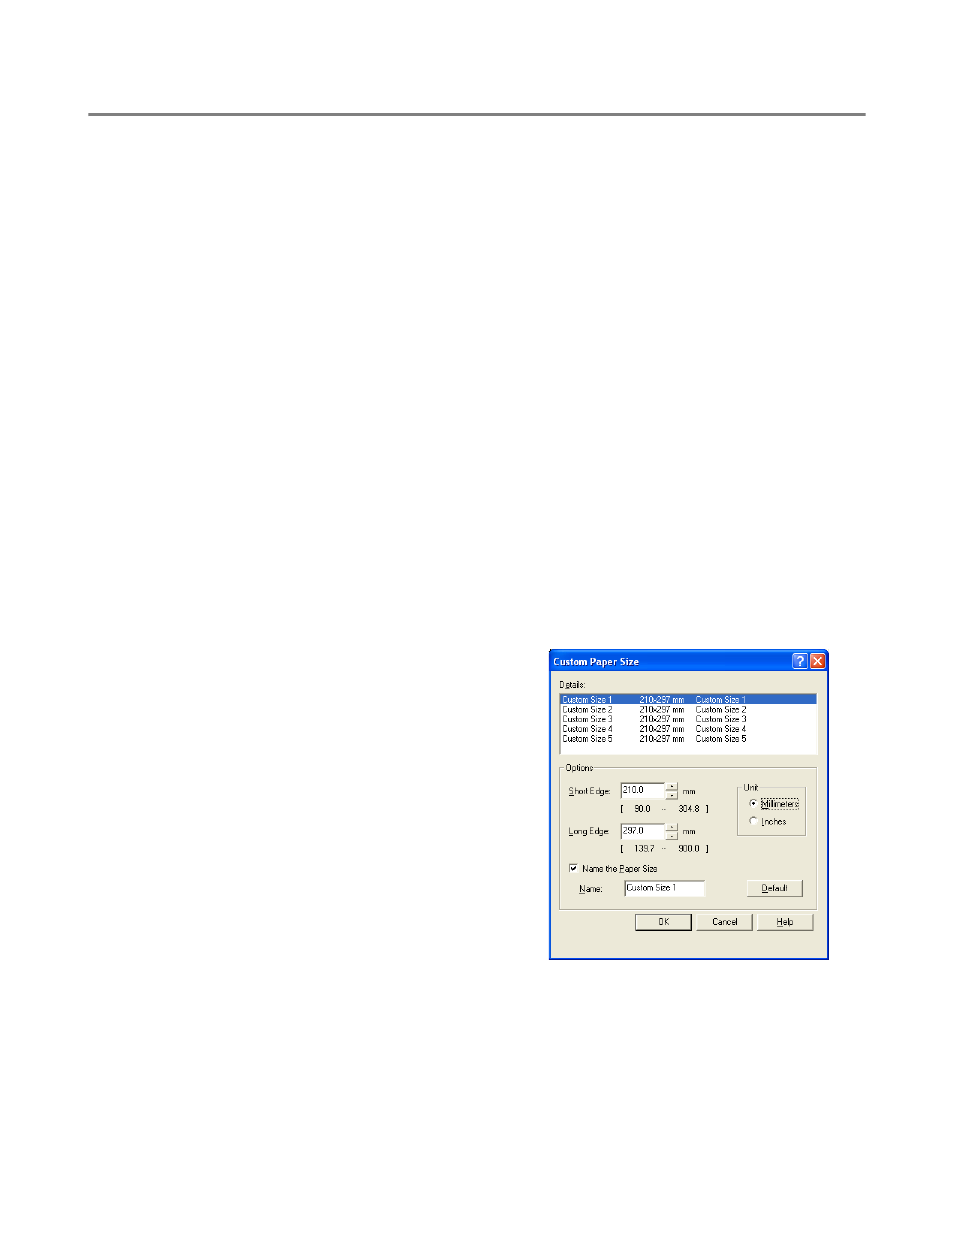
The Custom Paper Size dialog box appears.
5
Select one of the five paper sizes.
For details of the Custom Paper Size dialog box
settings, see Help. For details about how to use
Help, see Using Windows
Using Balloon Help on Macintosh
6
When you finish choosing the settings, click OK in the Custom Paper Size dialog box.
7
In the Properties dialog box, click OK.
The user-defined size is now set.