Configuring the printer on a network, Setting an ip address, Configuring the printer on a network -4 – Brother HL-4200CN User Manual
Page 27: Setting an ip address -4, Set the ip address acquisition method to, Pane
PRINTER SYSTEM SETTINGS 1 - 4
Configuring the Printer on a Network
Read this section if you want to configure the printer for a network connection.
Setting an IP Address
This section describes the steps for setting the IP address, subnet mask, and gateway address from the
control panel of the printer.
Follow the steps below.
IP addresses are managed throughout the system as a whole. Specifying the wrong IP address can
affect the entire network. Before you set an IP address, call your system administrator.
To learn how to operate the control panel, see Basic Menu Operation on page 4-4.
Set the IP address acquisition method to
Panel
.
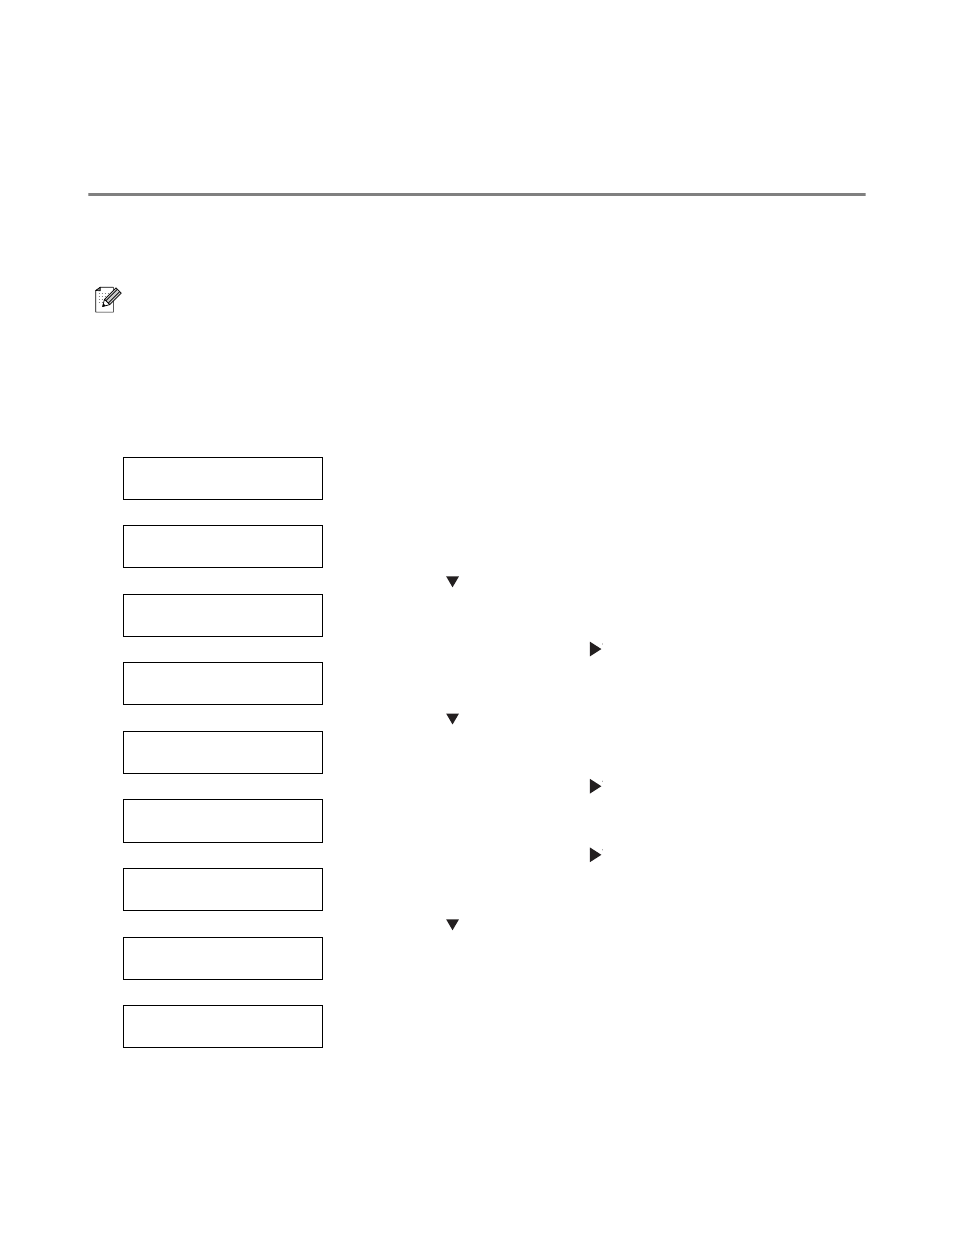
Ready to Print
(The print screen. The printer is ready to print.)
↓
1
Press the Menu button. The menu screen will appear.
Menu:
1:System
(The menu screen)
↓
2
Press the
button 4 times.
Menu:
5:Network
↓
3
Press the Form Feed/Set or
button once.
5:Network
Ethernet
↓
4
Press the
button once.
5:Network
TCP/IP
↓
5
Press the Form Feed/Set or
button once.
TCP/IP
Setup IP Address
↓
6
Press the Form Feed/Set or
button once.
Setup IP Address
DHCP *
The default setting has an
*
next to it.
↓
7
Press the
button once.
Setup IP Address
Panel *
↓
8
Press the Form Feed/Set button once.
Reboot system
to take effect
↓
3 seconds later, the following screen will appear.
Continued