Installing the serial converter module – Rockwell Automation 22-SCM-232 Serial Converter Module User Manual
Page 16
2-2
Installing the Serial Converter Module
should be connected to the serial cable shield at the shell of
the 9-pin sub-miniature D connector.
Important: The DSI cable shield must be properly grounded in order to
provide EMC protection. On the PowerFlex 4 and 40 drive
that means that Pin 16 of the drive control terminal block
must be connected to the drive earth ground terminal.
Important: The module must not be installed in an area where the
ambient atmosphere contains volatile or corrosive gas,
vapors or dust. If the module is not going to be installed for
a period of time, it must be stored in an area where it will
not be exposed to a corrosive atmosphere.
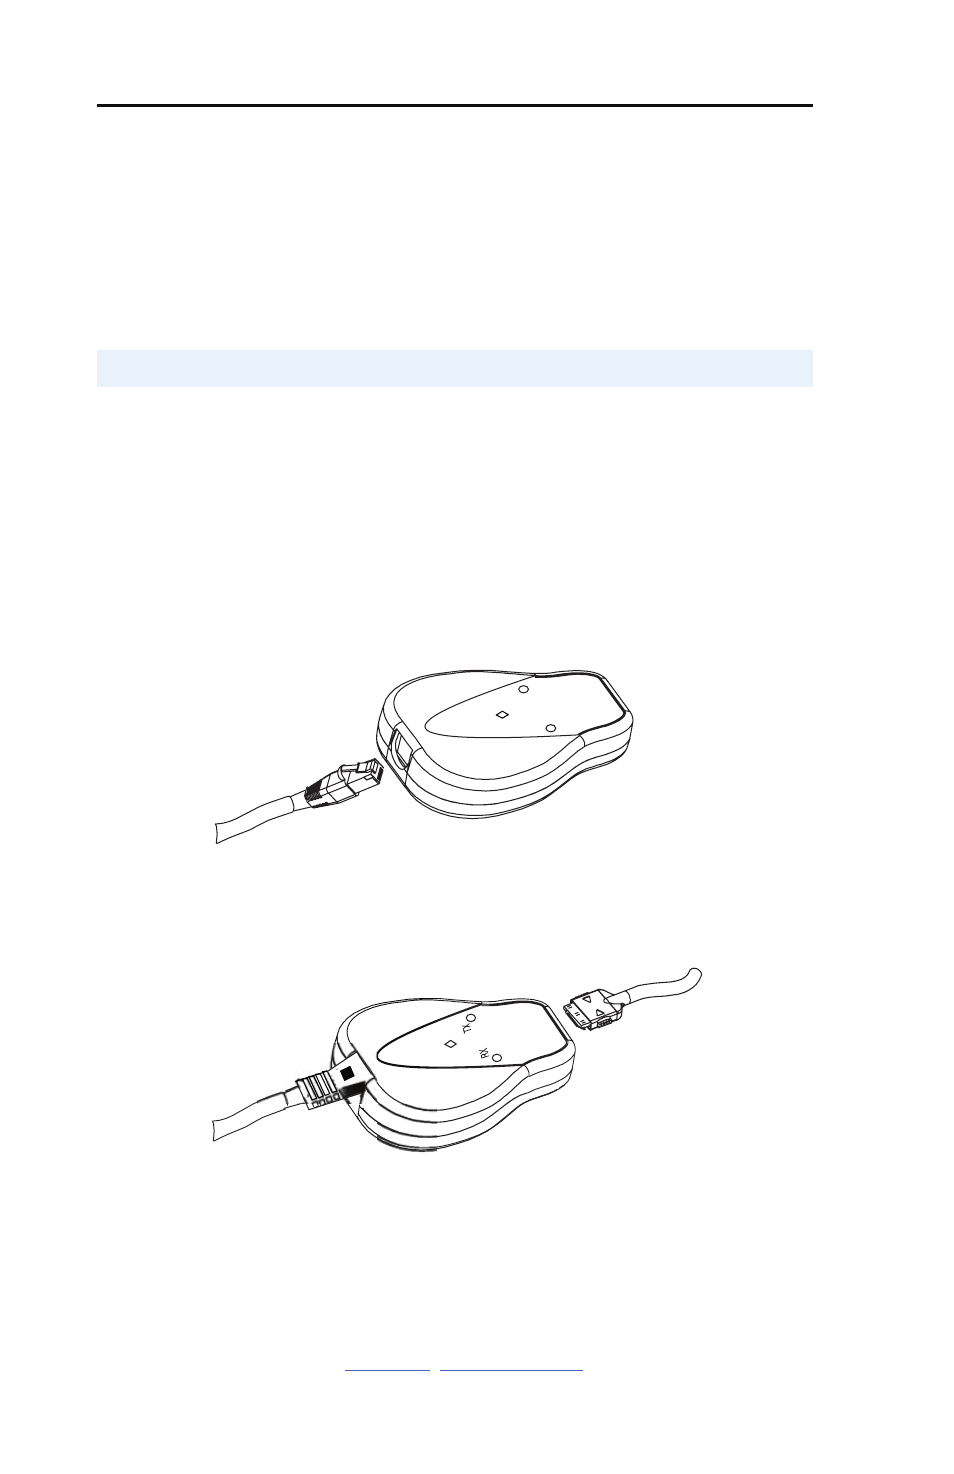
1. Connect the module to the drive using the
22-RJ45CBL-C20
cable.
Figure 2.2 Connecting a 22-RJ45CBL-C20 Cable to the Serial Converter
2. Connect the module to the computer using the 1203-SFC cable.
Figure 2.3 Connecting a 1203-SFC Cable to the Serial Converter
3. Verify that power is applied to the DSI-enabled drive. The serial
converter module receives power from the drive, so it must be
powered before the serial converter module will operate.
The diamond light on the serial converter module flashes green to
indicate that the module is properly installed and receiving power. If it is
not green, refer to
Chapter 5
,
Troubleshooting
.
Installing the Serial Converter Module
RX
TX