Interface selection, Setting the interface – Wasp Barcode WDI4600 2D Product Reference Guide User Manual
Page 18
Setup
Interface Selection
8
WDI4600
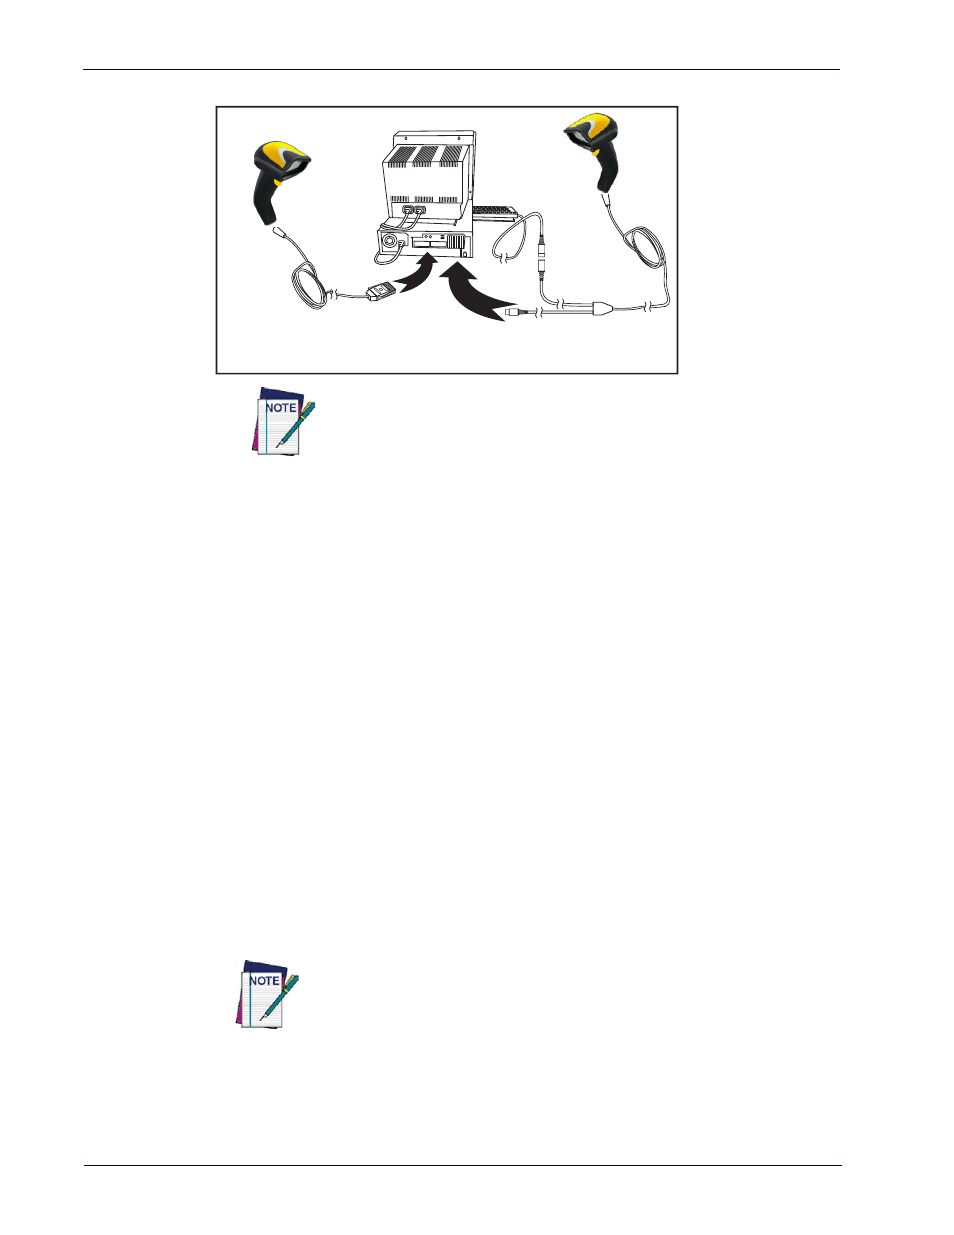
Figure 5. Other Interface Connections
IB
M
K
ey
bo
ard
W
edg
e
or...
Specific cables are required for connection to different hosts. The connec-
tors illustrated above are examples only. Actual connectors may vary from
those illustrated, but the steps to connect the reader remain the same.
Interface Selection
Upon completing the physical connection between the reader and its host, proceed to Table 1
to select the interface type the reader is connected to (for example: RS-232,
Keyboard Wedge, USB, etc.). Scan the appropriate barcode in that section to configure your
system’s correct interface type.
The reader will support one of the following sets of host interfaces:
General Purpose Models
•
RS-232
•
RS-232 OPOS
•
USB-COM
•
Keyboard Wedge
Setting the Interface
Scan the programming barcode from this section which selects the appropriate interface type
matching the system the reader will be connected to. Next, proceed to the corresponding
section in this manual (also listed in
) to configure any desired settings and
features associated with that interface.
Unlike some programming features and options, interface selections
require that you scan only one programming barcode label. DO NOT scan
an ENTER/EXIT barcode prior to scanning an interface selection barcode.
Some interfaces require the scanner to start in the disabled state when
powered up. If additional scanner configuration is desired while in this
state, pull the trigger and hold it for five seconds. The scanner will
change to a state that allows programming with barcodes.