Warning – MacDon PW7 Pick-Up Header User Manual
Page 68
SECTION 7 – SERVICE
Form 169149
Revision E
62
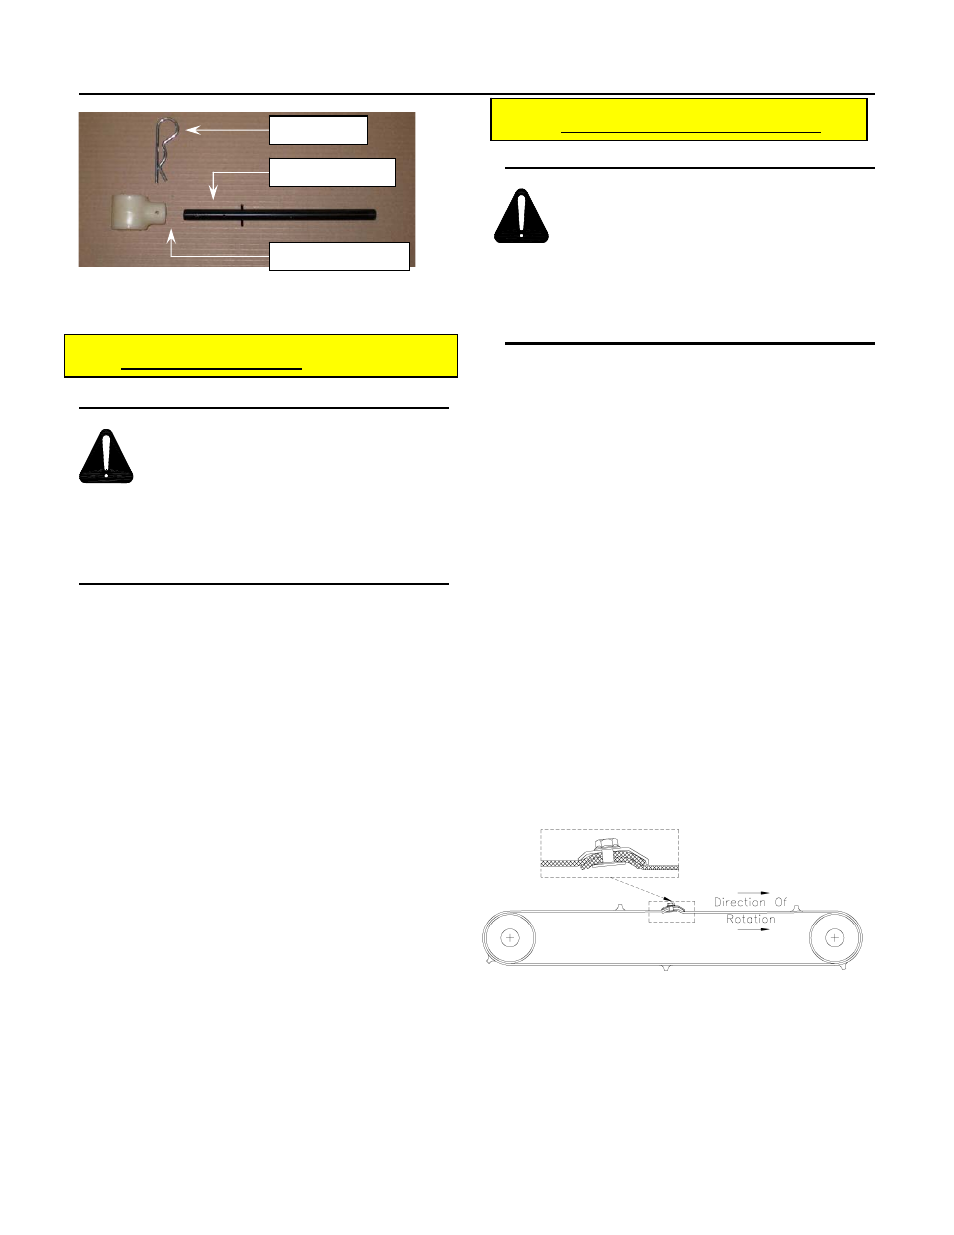
Auger Finger Components
7.8 REPLACING TEETH
WARNING:
DO NOT begin to
perform any service procedure until
combine is lowered to the ground or
feeder house locks are engaged,
combine is shut off, the key is
removed and all moving parts have
stopped.
NOTE: It may be necessary to remove the
draper belt when replacing the teeth. Refer to
“Replacing Draper Belts” for instructions.
If any of the teeth break or wear down enough to
affect the performance of the machine, the tooth
should be replaced. Excessively worn teeth will
reduce picking efficiency resulting in losses far
exceeding the cost of new teeth.
a) Remove the 1/4 inch flange nut used to affix
the teeth to the finger belt.
b) Remove the tooth and replace.
c) Tighten the 1/4 inch flange nut. The nut
should be tightened just so that the tooth
cannot be moved by hand.
7.9
REPLACING DRAPER BELTS
WARNING:
DO NOT begin to
perform any service procedure
until combine is lowered to the
ground or feeder house locks are
engaged, combine is shut off, the
key is removed and all moving
parts have stopped.
a) Relax the belt tension as described in the
“Draper Belt Tensioning” and “Roller
Support Adjustment (if applicable)”.
b) Remove the 1/4 inch flange nuts, belt
edge protector and 1/4 inch three prong
elevator bolts and remove the belt.
NOTE: Note that the 1/2-inch carrier
bracket bolts must be loosened to perform
this adjustment.
c) Wrap the new belt, cleats outward,
around the rollers of the frame pan. The
arrow on the belt should be pointing in
the direction of rotation.
d) Join the belt using the 1/4-inch three
prong elevator bolts, belt edge protector,
and 1/4 inch flange nuts. (Bolt Torque
45-50 in-lb, 5-6NM)
Properly Joined Draper Belt
e) Tension the belts as described in Draper
Belt Tensioning.
D00045
HITCH PIN
AUGER FINGER
FINGER HOLDER
P00086