Kpm i, 5 kpm i monitor operation, Rev. 6/11 – Kinze 3000 Rigid Frame Planter Rev. 6/14 User Manual
Page 75
TM
Model 3000
M0188-01
Rev. 6/11
6-5
KPM I Monitor Operation
STEP 5 Plug each seed tube w/sensor into the
harness in a predetermined order. Row
1 first, row 2 second and so on up to 18
rows. When a sensor is plugged in, the
corresponding row number on the LCD
display will stay solid, the monitor will
chirp twice and the LED (Light Emitting
Diode) on the seed tube sensor will turn
on for approximately 30 seconds to show
connection is made. NOTE: Unless there
is a faulty sensor, the installer should just
have to connect the sensors in the proper
order without checking the monitor is
acknowledging each sensor.
STEP 6 When all the seed tubes w/sensors for the
current section are installed, check to be
sure the monitor displays solid numbers for
the number of sensors connected.
ON
OFF
OK
VOLUME
®
KPM I
SELECT
01229915
SETUP
1
REAR
12
11
10
9
8
7
6
5
4
3
(2
13 14 15 16 17 18)
(FRONT)
FLASHING
ON
OFF
OK
VOLUME
®
KPM I
SELECT
01229916
6
5
4
3
2
1
SETUP
REAR
12
11
10
9
8
13 14 15 16 17 18)
(FRONT)
FLASHING
(7
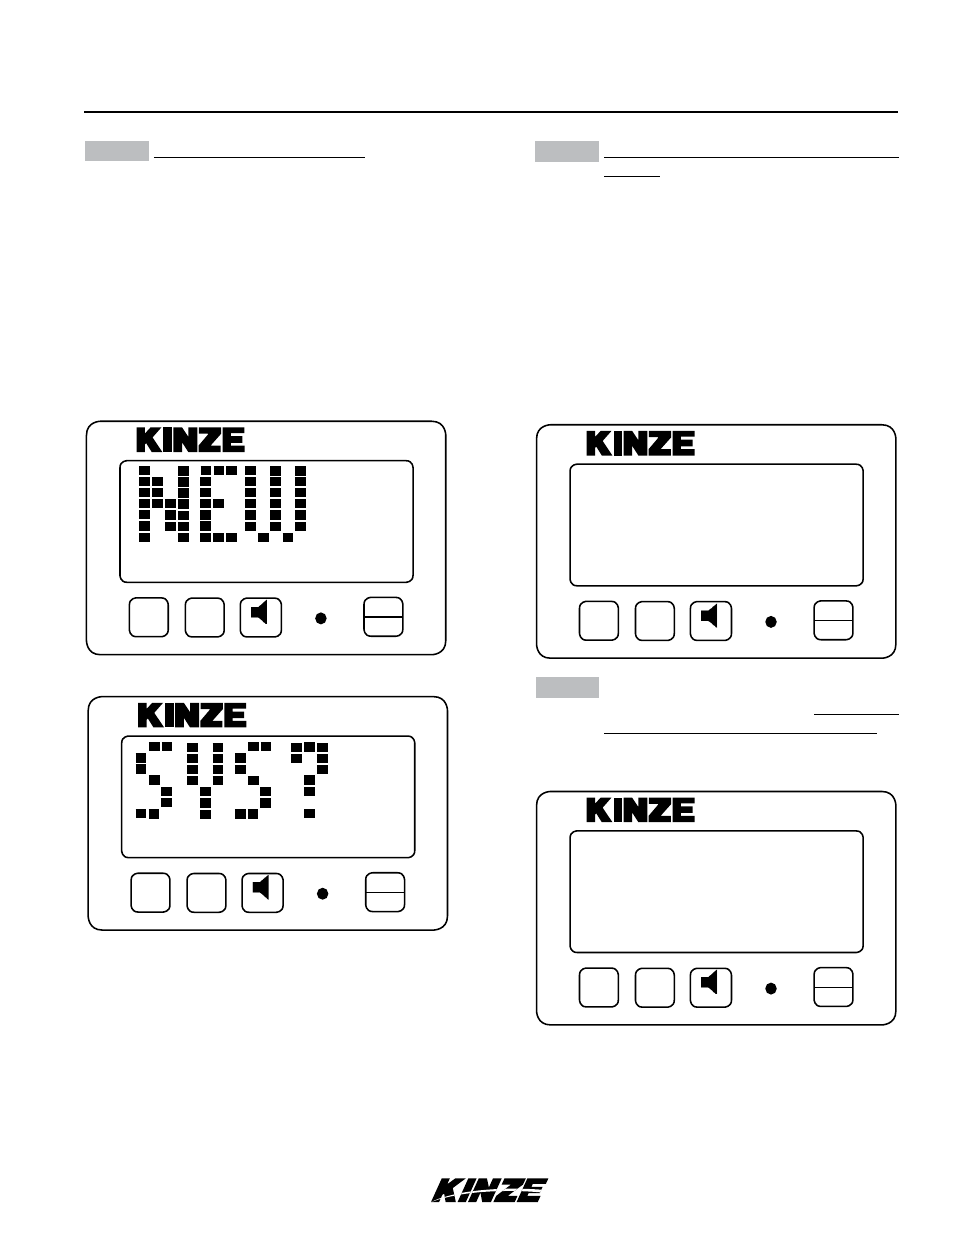
STEP 4 Press and hold the OK key to confirm
selection and continue holding until row
numbers display. During confirmation, the
display alternates between “NEW” and
“SYS” to alert the user that the previous
configuration will be lost. With rear/front
mode selected, the monitor automatically
starts with the rear section. The REAR icon
shows solid and the FRONT icon starts to
flash. With the left/right mode selected, the
monitor automatically starts with the left
section. The LEFT icon shows solid and the
RIGHT icon starts to flash.
ON
OFF
OK
VOLUME
®
KPM I
SELECT
01229912a
SETUP
FRONT
REAR
(LEFT)
(RIGHT)
FLASHING
FLASHING
ON
OFF
OK
VOLUME
®
KPM I
SELECT
01229912
SETUP
FRONT
REAR
(LEFT)
(RIGHT)
FLASHING
FLASHING