Instructions for vertical splicing, Bar-to-bar) – ERICO CADWELD for Rebar Splicing System User Manual
Page 6
4
www.erico.com
Instructions For Vertical Splicing
(Bar-to-Bar)
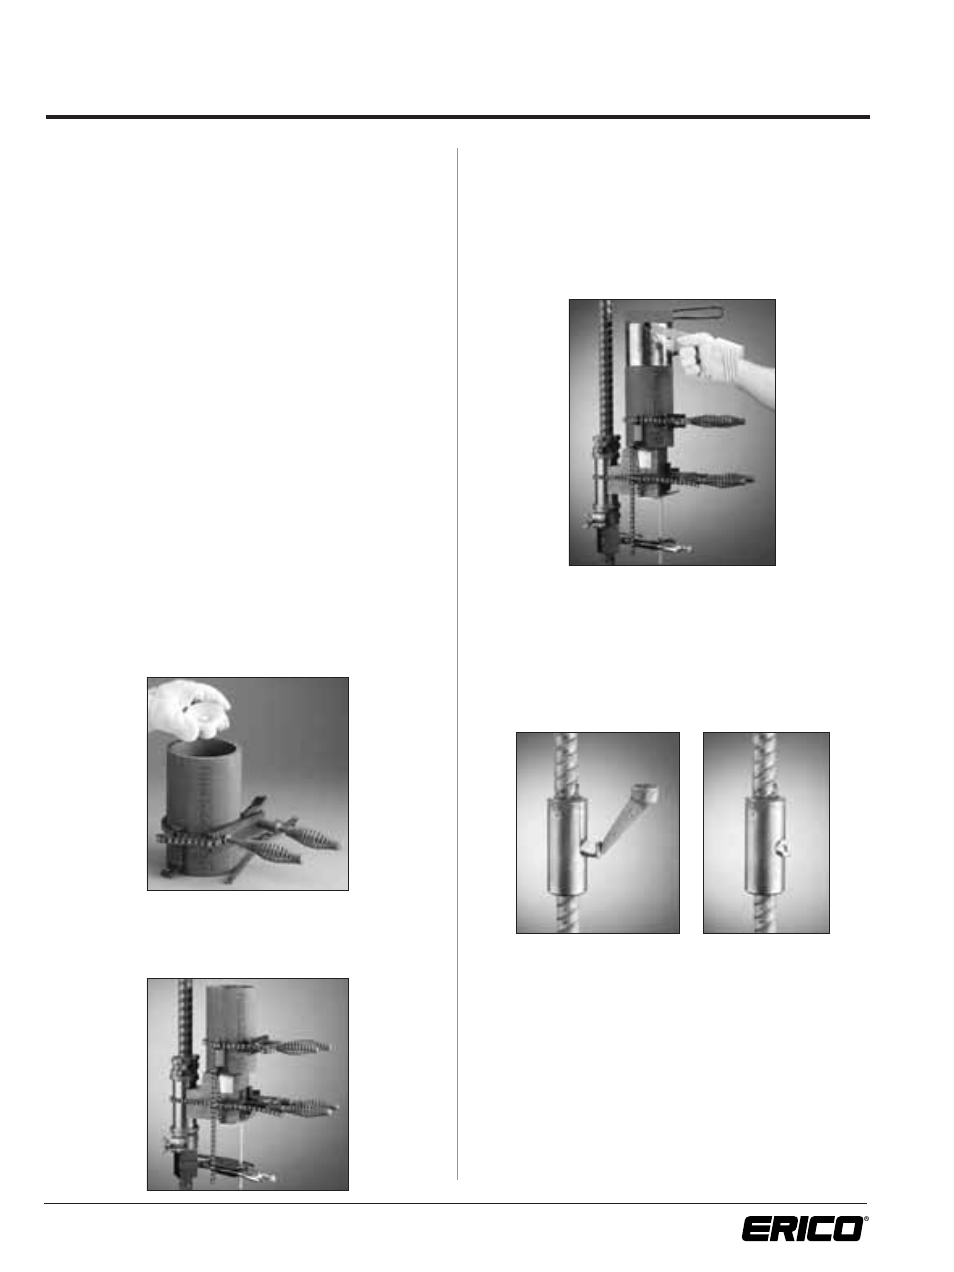
9. With pouring basin frame handles unlocked and pouring
basin slightly open, place the pouring basin around the
ceramic insert and against the splice sleeve. Close pouring
basin frame handles and lock. Place chain around the
sleeve and finger tighten thumb nut. Be sure to support
the pouring basin while securing chain to prevent
unseating of the sleeve against the bottom packing.
Adjust “T” shaped support rod against bottom of pouring
basin. Support rod should just touch and support levelled
pouring basin DO NOT force pouring basin up.
NOTE: A crucible should not be reused until allowed to
cool for 15 minutes or more. If more frequent use
is desired, several crucibles complete with frames
should be used alternately to allow sufficient cooling
time. Clean crucible thoroughly inside. Empty the
crucible completely, see Note 15 & 16 on this page for
additional information. DO NOT use a wire brush.
10. Place crucible ceramic insert assembly in bottom of
crucible. All crucibles use the same ceramic insert.
11. The crucible ceramic insert assembly is supplied with a
steel disk pre-installed into it as a one-piece assembly.
If the steel disk is not present in the ceramic insert,
place the steel disk on the crucible ceramic insert and
check for proper seating. Remix bag of CADWELD
®
filler
material and fill crucible according to the instructions on
page 7.
12. Position crucible on the pouring basin and secure the
tiedown chain, keeping it just loose enough to allow
swivelling of the crucible without tipping.
13. Open the starting material container. Evenly distribute
the starting material over the filler material in the crucible,
saving a small amount to be placed on the tab of the
crucible extension. Place the crucible extension on the
crucible and put the remainder of starting material on
the tab. Place the crucible cover on the extension.
Standing off to the side of the opening and up wind,
ignite the starting material on the tab.
14. Keep the tiedown chain secured at all times.
Immediately after the sleeve has filled, slowly swivel
the crucible back and forth to break the slag between
the base of the crucible and top of the pouring basin.
Repeat after 15 or 20 seconds as necessary.
After the slag has solidified, release the tiedown chain
and remove the crucible. All other parts can then be
removed.
15. Clean the crucible by turning upside down and placing
a metal rod (#5 [16mm] rebar) against the ceramic and
lightly tapping the rod end to discharge the slag and
ceramic into a suitable waste container.
16. Break off riser with hammer. Clean slag from crucible
and pouring basin as soon as possible to promote cooling.
Use a whisk broom, rag or wooden wedge for cleaning.
Do not use a wire brush. Cover and crucible extension
need not be cleaned every time.
NOTE: Clean flash or debris from all mating surfaces as debris
can cause springing of the equipment clamps and hinges.