2 probe zero & calibration, Performing a probe zero – Dakota Ultrasonics PR-8V User Manual
Page 7

PR-8V High Performance Thickness Gauge
3
2) Use the UP and DOWN arrow keys to scroll through the sub menu items
until TYPE is highlighted.
3) Press the ENTER key to display the list of transducer types.
4) Press the UP and DOWN arrow keys to scroll through the transducer list
until the appropriate type is highlighted.
5) Press the ENTER key to display the confirmation screen.
6) Press the OK key to select the transducer and return to the menu screen, or
ESC to cancel the selecting the transducer.
2.2 Probe Zero & Calibration
The next step is to calibrate the PR-8V to the material and transducer being used. If
the materials sound velocity is unknown, the PR-8V can be calibrated to a known
thickness sample. This demo will briefly explain both of these techniques.
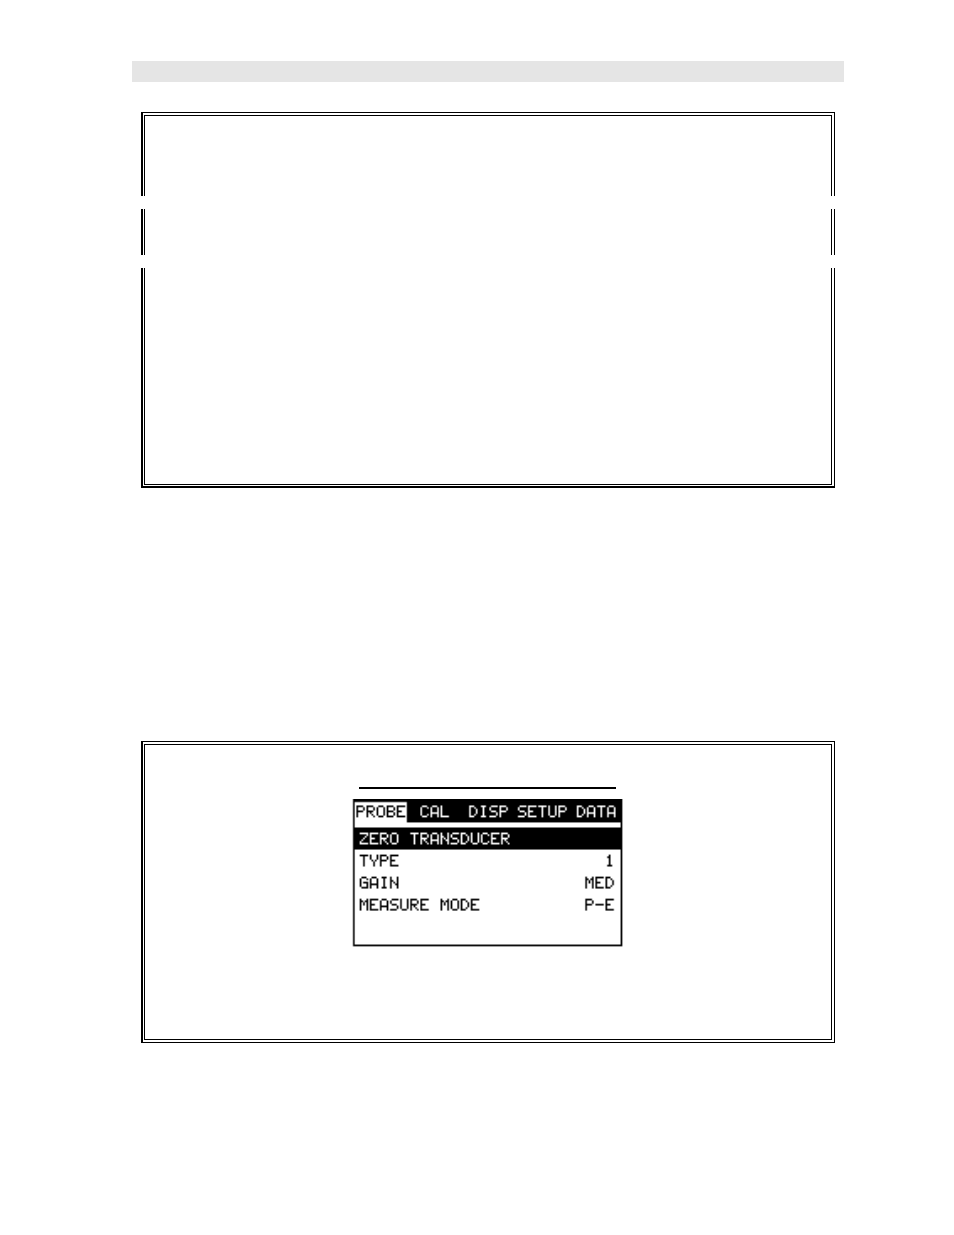
In either case, the transducer MUST be zeroed on the probe zero disk (battery cover)
located on the top of the unit as follows:
Performing a Probe Zero
1) Apply a drop of couplant on the transducer and place the transducer in
steady contact with the probe zero disk, and obtain a steady reading.
