Dakota Ultrasonics PR-8V User Manual
Page 37

PR-8V High Performance Thickness Gauge
33
Performing a Probe Zero
1)
Clean the surface of the Probe Zero Disk, located on top of the PR-8V
(battery cover).
2) Apply a drop of couplant to the end of the transducer, or probe disk, and
hold the transducer in steady contact with the reference disk.
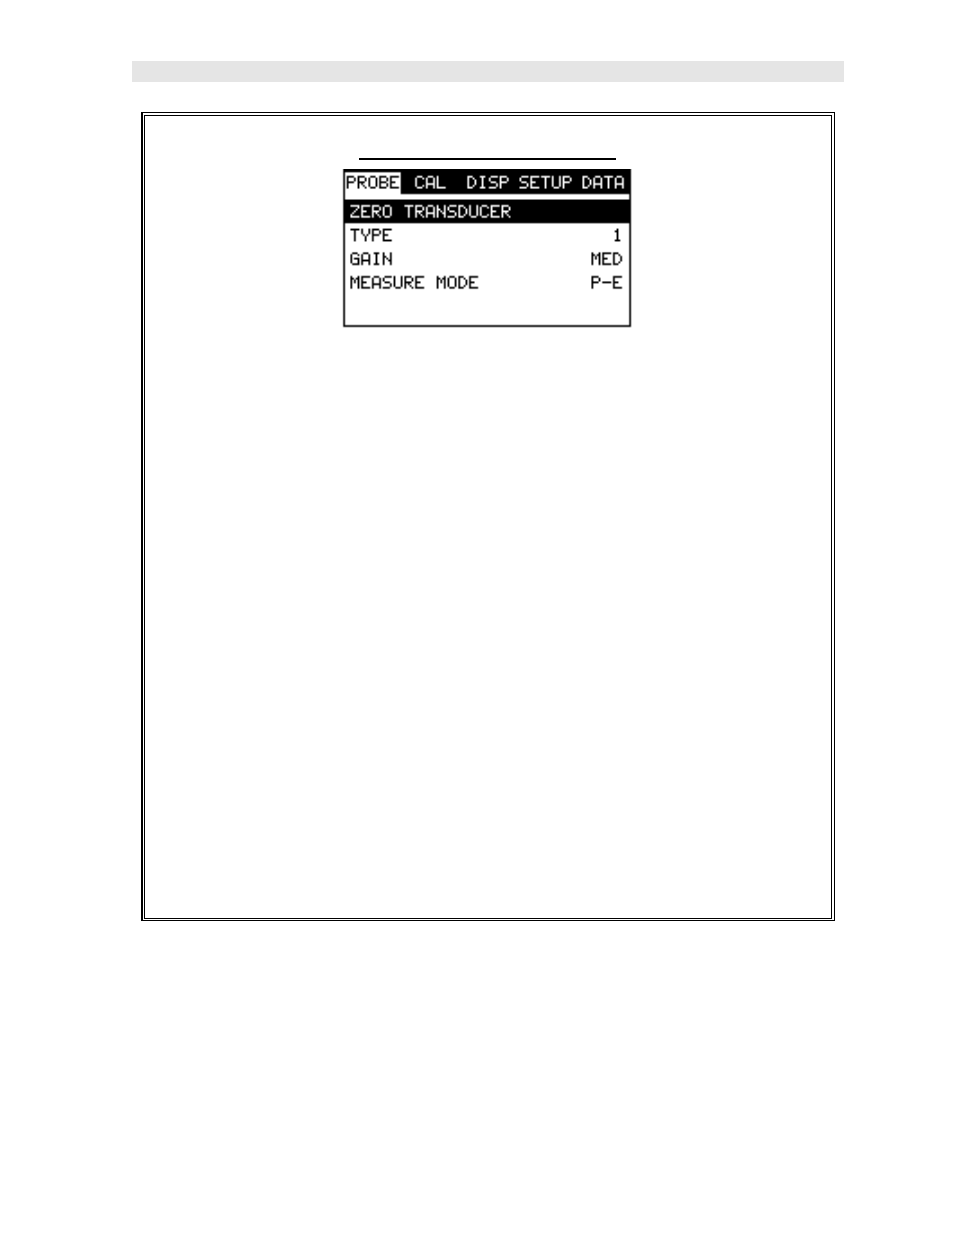
3) Press the MENU key once to activate the menu items tab. Press the MENU
key multiple times to tab right and the ESC key multiple times to tab left until
the PROBE menu is highlighted and displaying the submenu items.
4) Use the UP and DOWN arrow keys to scroll through the sub menu items
until ZERO TRANSDUCER is highlighted.
5) Press the ENTER key to display the confirmation screen.
6) Press the OK key to zero the transducer and return to the menu screen, or
ESC to cancel the zeroing process.
7) Remove the transducer from the probe zero disk.
8) Press the MEAS key to return to the measurement screen.
6.3 Material Calibration
In order for the PR-8V to make accurate measurements, it must be set to the correct
sound velocity of the material being measured. Different types of materials have
different inherent sound velocities. For example, the velocity of sound through steel
is about 0.233 inches per microsecond, versus that of aluminum, which is about
0.248 inches per microsecond. If the gauge is not set to the correct sound velocity,
