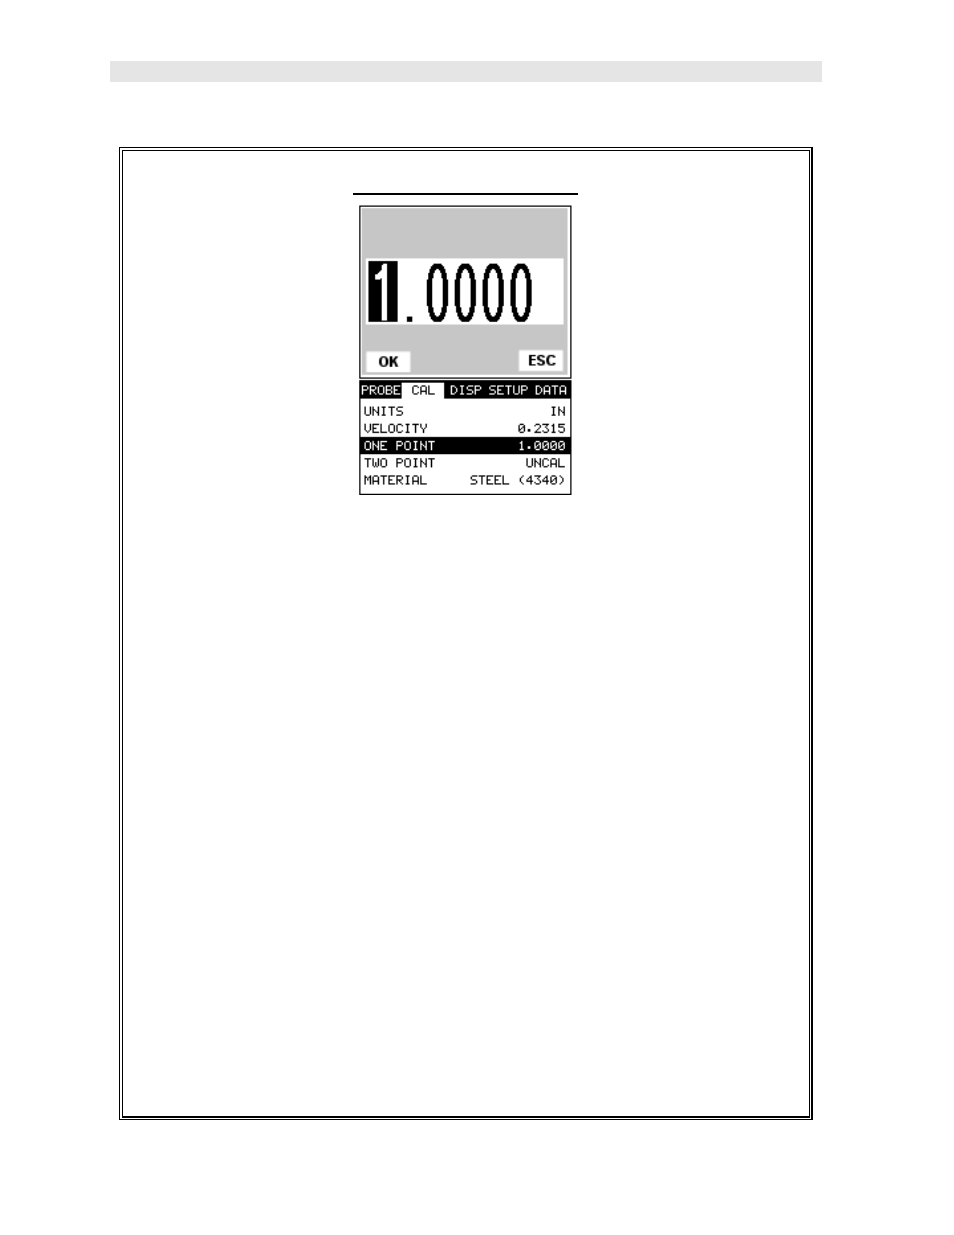
One point calibration – Dakota Ultrasonics PR-8V User Manual
Page 40

Dakota Ultrasonics
36
One Point Calibration
Note: Be sure that a probe zero has been done prior to performing this
calibration procedure.
1) Physically measure a location on the sample to be measured using a set of
calipers or a digital micrometer. Note: It’s always best to calibrate on the
thickest location on the sample, rather than on the thinnest location, as the
percentage error is much less with respect to the PR-8V’s resolution of +/-
.001” (0.01mm).
2) Apply a drop of couplant on the transducer. Place the transducer in steady
contact on the known thickness location. Be sure that the reading is stable
and the repeatability indicator, located in the top left corner of the display, is
fully lit and stable. Press the MENU key once to activate the menu items tab.
Press the MENU key multiple times to tab right and the ESC key multiple
times to tab left until the CAL menu is highlighted and displaying the
submenu items.
3) Use the UP and DOWN arrow keys to scroll through the sub menu items
until ONE POINT is highlighted.
