AirLive MW-2000S User Manual
Page 194
Appendix D: Network Configuration on PC
AirLive MW-2000S User’s Manual
189
2.2 Refund A Settled Transaction and Remove the On-demand Account Generated on MW-2000S
a. To refund a credit card, please log in Authorize.Net. Click Virtual Terminal Æ Select a Payment Method Æ Click
Refund a Credit Card Æ Payment/Authorization Information Æ Type information in at least three fields:
Card Number, Expiration Date, and Amount Æ Confirm and click Submit.
b. To remove the specific account from MW-2000S, please log in MW-2000S. User Authentication Æ
Authentication Configuration Æ Click the server On-demand User Æ On-demand User Server
Configuration Æ Users List Æ Click Delete on the record with the account name
2.3 Find the Username and Password for A Specific Customer
Please log in Authorize.Net. Click Unsettled Transactions Æ Try to locate the specific transaction record on the
“List of Unsettled Transactions” Æ Click the Trans ID number Æ Click Show Itemized Order Information in the
“Order Information” section Æ Username and Password can be found in the “Item Description”.
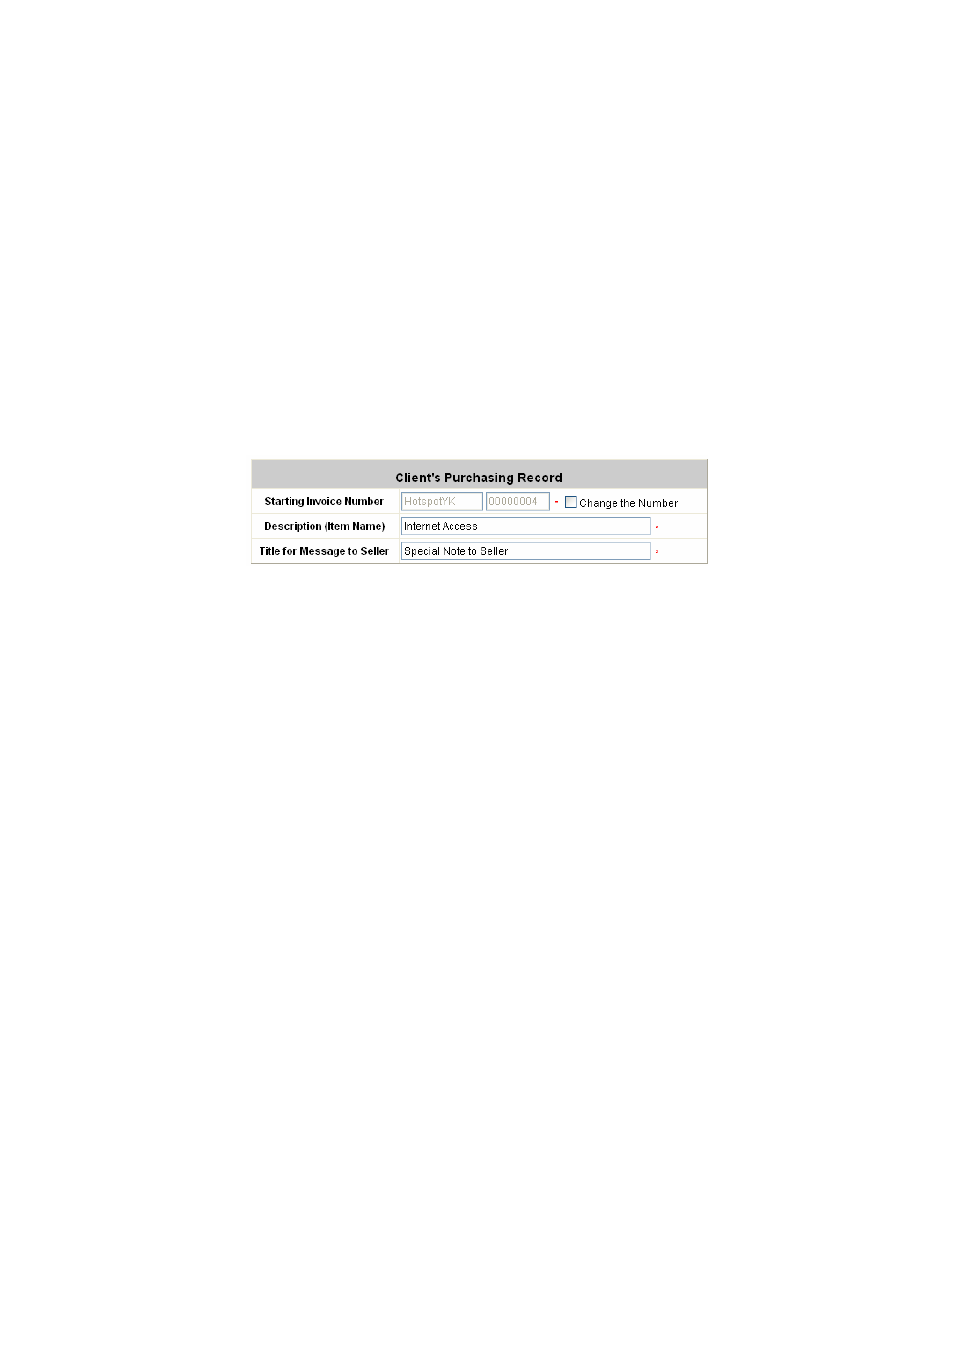
2.4 Send An Email Receipt to A Customer
If a valid email address is provided, MW-2000S will automatically send the customer an email receipt for each
successful transaction via Authorize.Net. To change the information on the receipt for customer, please log in
MW-2000S. User Authentication Æ Authentication Configuration Æ Click the server On-demand User Æ
External Payment Gateway Æ Click Configure Æ Select Authorize.Net Æ Scroll down to Client's Purchasing
Record section of the page Æ Type in information in the text boxes: “Description (Item Name)” Æ Confirm and
click Apply.
2.5 Send An Email Receipt for Each Transaction to the Merchant Owner
A copy of email receipt with payment details for each successful transaction will also be automatically sent to the
merchant owner/administrator via Authorize.Net.
To configure the contact person who will receive a receipt for each transaction, please log in Authorize.Net. Click
Settings and Profile Æ Go to the “General” section Æ click Manage Contacts
Æ
click Add New Contact to Æ
Enter necessary contact information on this page Æ Check the “Transaction Receipt” box Æ Click Submit.