JLG G6-42A Service Manual User Manual
Page 104
Transmission
6-4
G6-42A, G9-43A, G10-43A
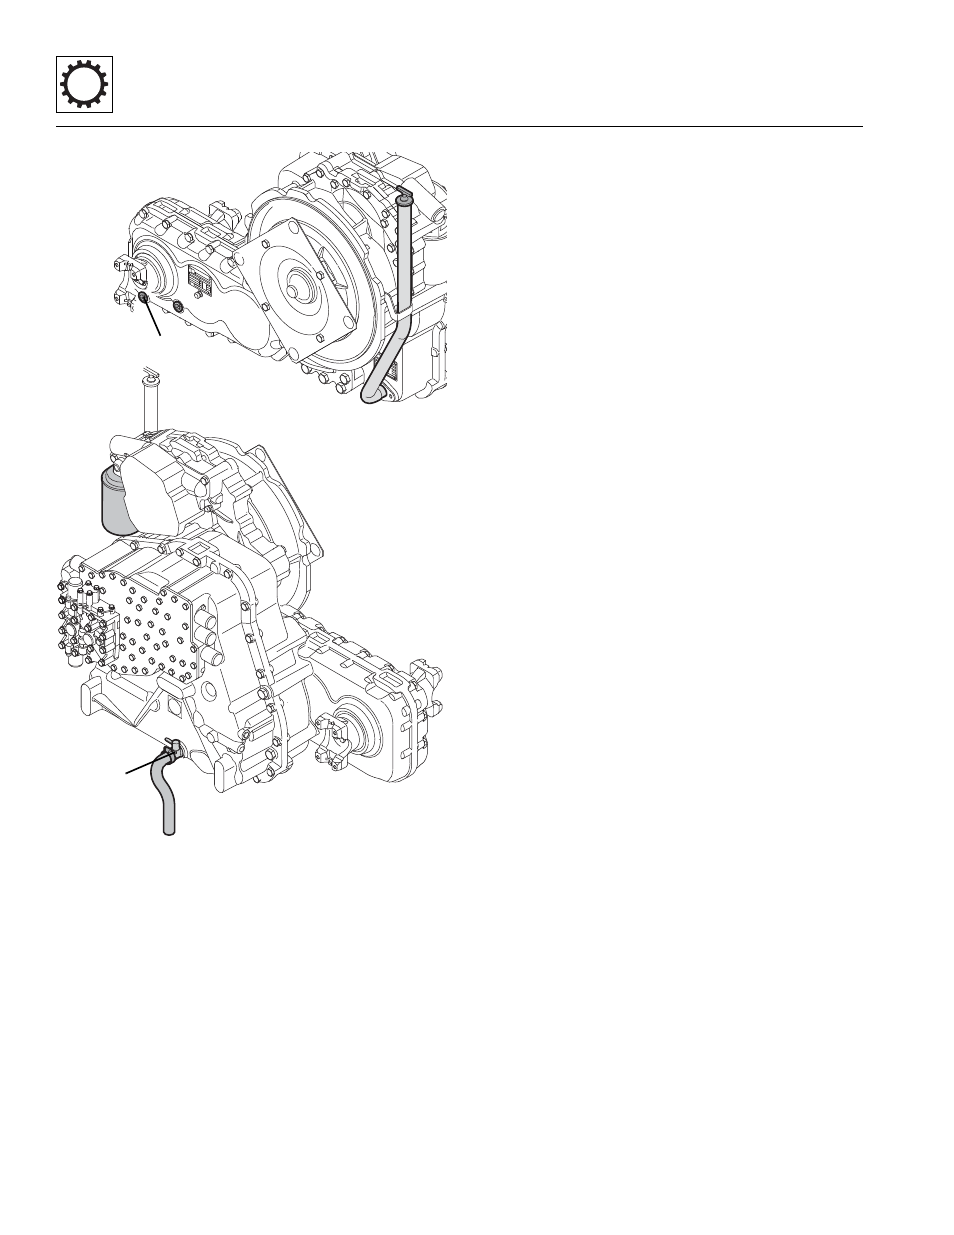
8. Place a suitable receptacle under transmission drain
hose (2). Open transmission drain valve, and allow
transmission oil to drain into receptacle. Repeat
drain procedure with the drop box (3).
9. Transfer used transmission oil into a suitable,
covered container, and label container as “Used Oil.”
Dispose of used oil at an approved recycling facility.
Clean and reinstall the transmission drain plug.
10. Remove the transmission-to-axle drive shafts. Refer
to Section 5.5.3, “Drive Shaft Removal.”
11. Remove exhaust components from turbo to exhaust
pipe. Refer to Section 7.5, “Engine Exhaust
System.”
12. Remove the implement pump. Refer to Section
8.6.1, “Implement Pump Replacement.”
13. Label and disconnect transmission temperature
switch connector and shift solenoid wiring
harness connectors.
14. Label, disconnect and cap the transmission oil
cooler inlet and outlet hoses at the transmission.
15. Remove access cover from bottom of engine bell
housing. This will allow access to remove four bolts
holding the torque convertor diaphragm to the
engine flywheel.
16. Turn the engine over slowly by hand and align each
of the four torque convertor diaphragm bolts to be
accessed. Remove them one at a time.
17. Wipe up any spilled hydraulic and transmission oil.
18. Connect a lifting strap or chain to lifting eye at top of
transmission, and to a suitable hoist or overhead
crane. Operate hoist or crane to remove slack from
chain, but DO NOT raise transmission at this time.
19. Place blocks under rear of engine for support
BEFORE transmission mounts are removed.
20. Place blocks under the transmission to help support
it during removal.
21. Remove both rear transmission mount bolts and
lockwashers securing transmission mount to frame.
22. Remove the bolts and washers holding the
transmission to the engine.
23. Remove capscrews and lockwashers securing rear
transmission mount to transmission.
24. Carefully remove the transmission from the machine.
Avoid causing damage to the transmission or
surrounding parts.
25. Lift the transmission clear of the machine, and lower
it onto suitable supports or secure it to a stand built
especially for transmission or engine service. Secure
the transmission so that it will not move or fall.
26. Remove any external transmission components as
required, including the transmission temperature
switch, and inlet and outlet cooler hose fittings.
Cover all transmission openings.
MY8000
2
3