In windows vista/7/server 2008/server 2008 r2, In windows vista/7/server 2008/server 2008 r2 -8 – Konica Minolta bizhub C3350 User Manual
Page 116
[Applied Functions]
3-8
3.2
Using LPR/Port9100 connection for installation
3
14
Click [Next].
15
Follow the on-screen instructions to carry out operations.
% If the [User Account Control] window appears, click [Continue] or [Yes].
16
Click [Finish].
17
After finishing the installation, make sure that the icon for the installed printer is displayed in the [Devic-
es and Printers] window.
18
Remove the CD-ROM from the CD-ROM drive.
Installation of the printer driver is then completed.
In Windows Vista/7/Server 2008/Server 2008 R2
The procedure for installing the printer driver by creating a new port is as follows:
0
Administrator privileges are required to perform this task.
0
Since the printer is searched for during the installation, be sure to connect this machine to the network
before turning it on.
1
Insert the printer driver CD-ROM into the CD-ROM drive of the computer.
2
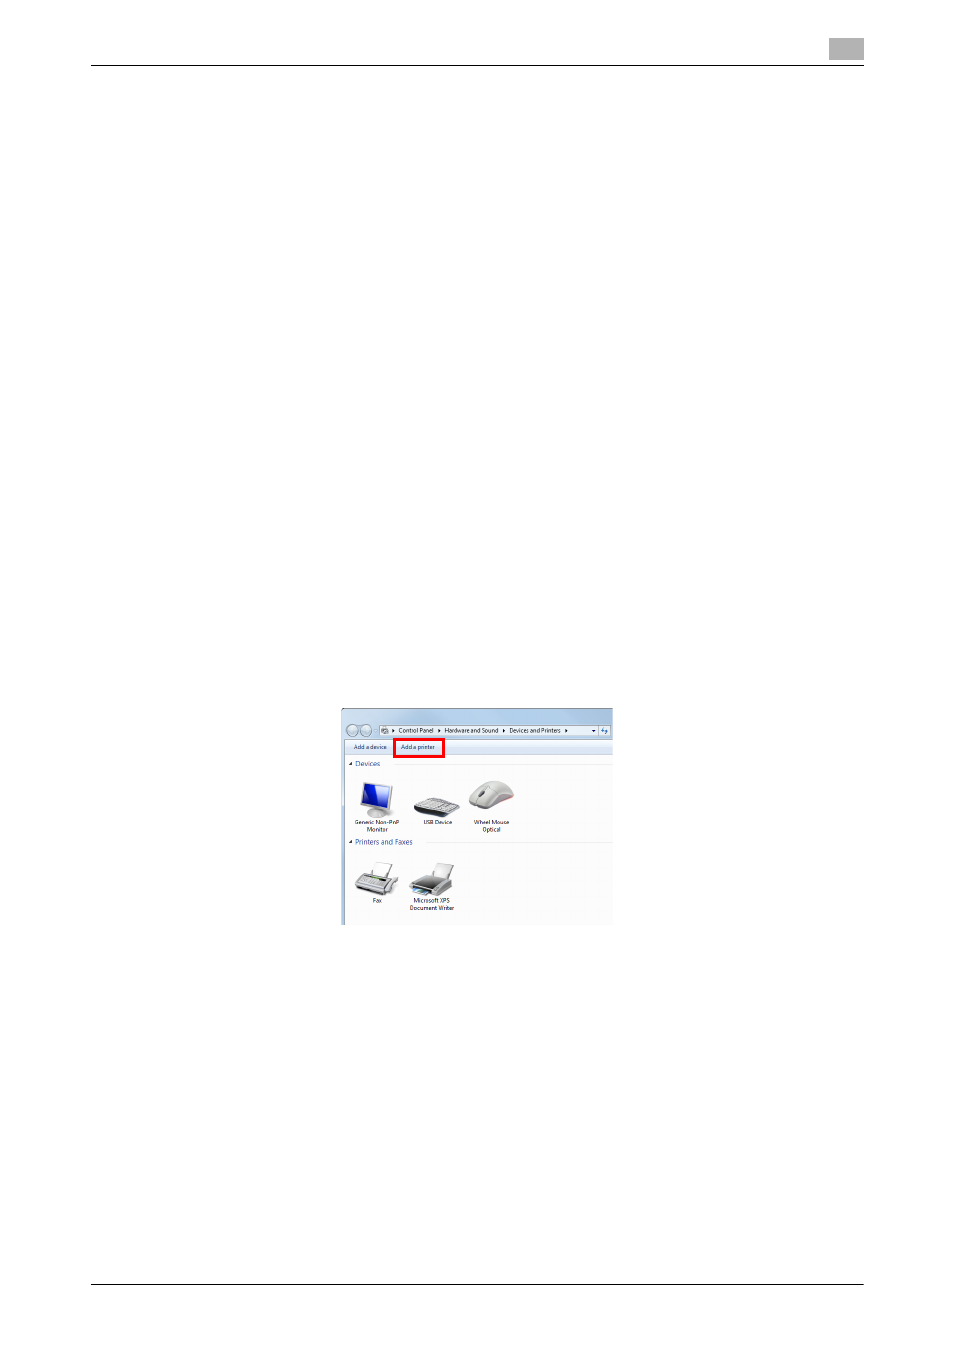
Display the printer window.
% In Windows 7/Server 2008 R2, open the Start menu, then click [Devices and Printers]. If
[Devices and Printers] is not displayed, select [Control Panel] - [Hardware and Sound], and click
[View devices and printers]. When [Control Panel] is displayed as an icon, double-click [Devices and
Printers].
% In Windows Vista/Server 2008, click the Start menu, and select [Control Panel] - [Hardware and
Sound] - [Printers]. When [Control Panel] is displayed in Classic View, double-click [Printers].
3
Select Add a printer.
The [Add Printer] wizard appears.
4
Click [Add a local printer].
The [Choose a printer port] dialog box appears.
5
Click [Create a new port:], then select [Standard TCP/IP Port].
6
Click [Next].
7
Select [TCP/IP Device], then enter the IP address.
8
Click [Next].
% If the [Additional Port Information Required] or [More Port Information Required] dialog box appears,
go to Step 9.
% If the [Install the printer driver] dialog box appears, go to Step 12.