Assembly and installation instructions – Hubbardton Forge 207861 User Manual
Page 3
Assembly and Installation Instructions
B65
Hand-Forged,
Vermont-Made Lighting and Accessories
P.O. Box 827, 154 Route 30 South, Castleton, Vermont 05735
17725 Rev F
For Bracket-Mounted After Hours Sconces
Page 3 of 3
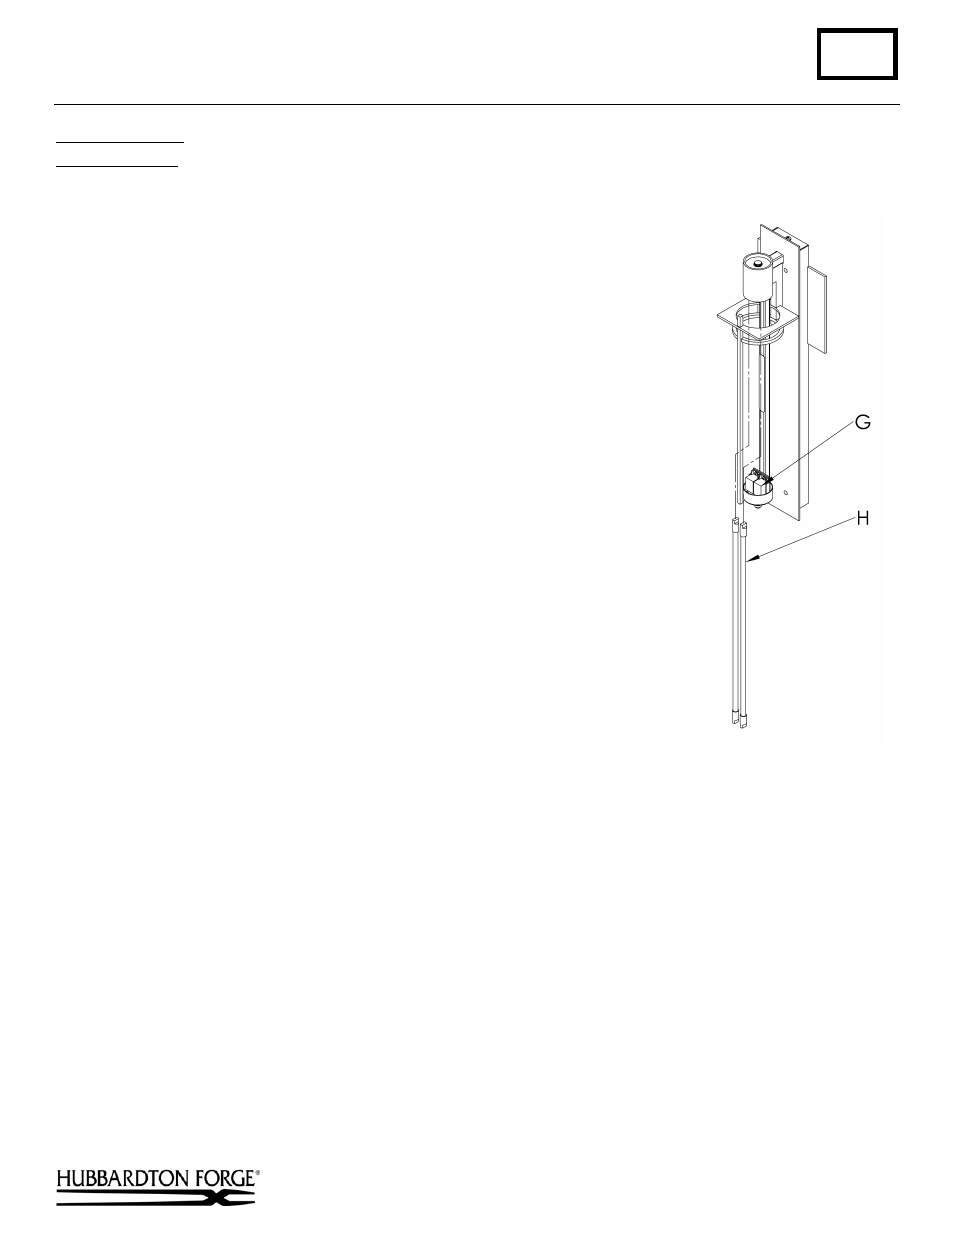
To Install Bulbs
(Figure 4)
Component Parts
G Socket
H T2 Bulb (2 Each)
1. Install bulb (H) into Socket (G) making sure the bulbs seat completely into socket
oriented as shown. (See trouble shooting solutions below).
If fixture does not light or blinks and then goes off, try the following:
1. Make sure the bulbs are correctly installed in sockets. Push gently on the ends of
the bulbs to make sure the bulbs are making contact with the sockets.
2. Check overall fit. Bulbs are designed to fit snugly into both sockets. Too much
clearance on either end could cause the bulbs to arc and fail prematurely.
3. Check socket to make sure the spring loaded portion of the socket is pushing tight
against the bulb. It might be necessary to slide the bulbs back and forth a couple of
times to guarantee the sockets are seating firmly against the bulb ends.
4. If fixture still will not light try removing both bulbs and reinstalling them along
with switching power off to the fixture.
If you need further assistance, or find that you are missing any parts, please contact the dealer from which you purchased
this product. We hope you enjoy your fixture!
* Hub
bardton Forge will not be liable for injury or damage caused by improper installation, lamping or use of this fixture.
(Figure 4)