Warning: class 1 laser product, 1warning: do not stare into the laser beam, Chapter 2: installation 58 – Allied Telesis AT-LX3800U User Manual
Page 58
Chapter 2: Installation
58
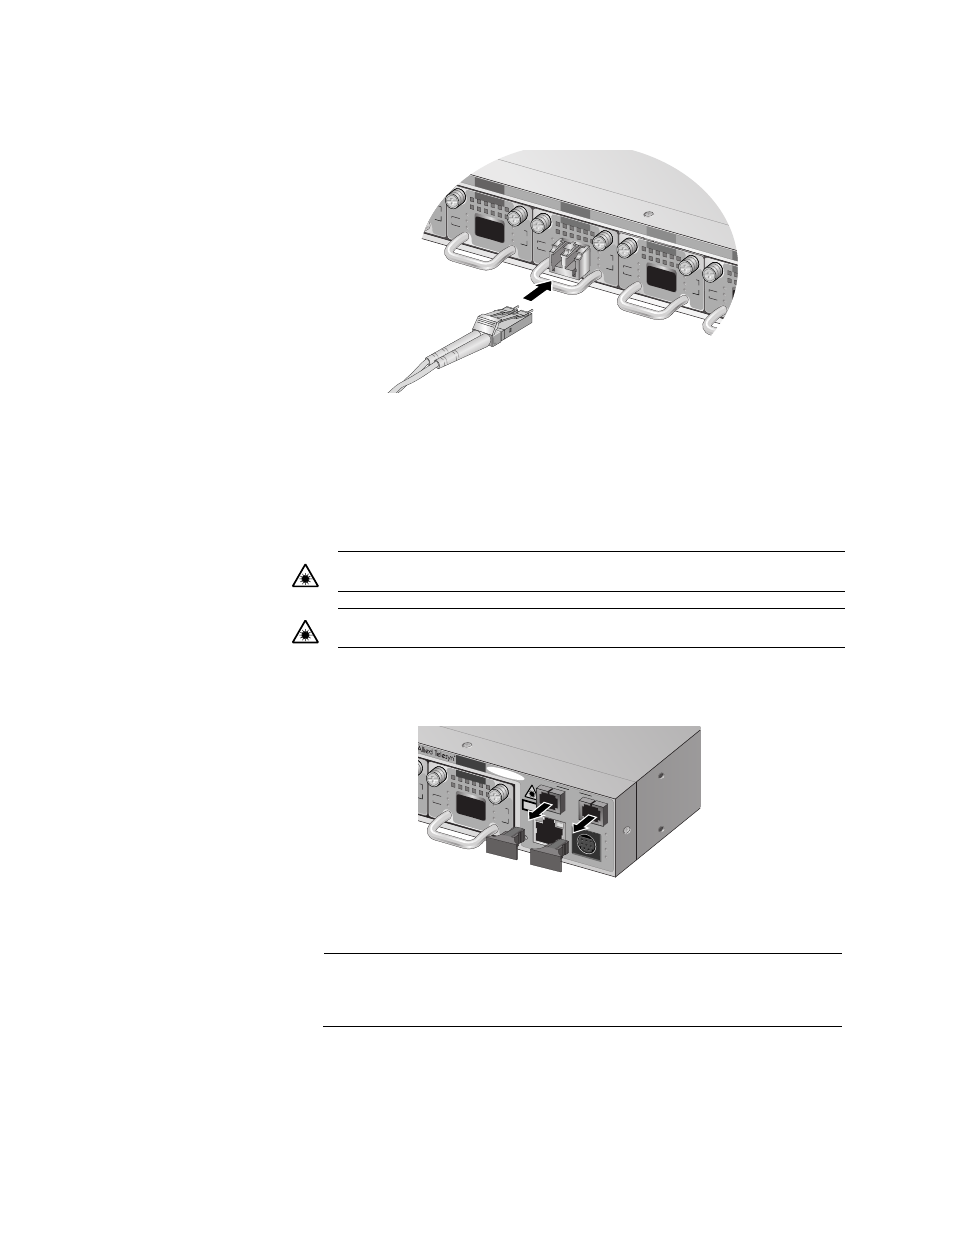
2. Connect the fiber optic cable to the SFP, as shown in Figure 32.
Figure 32. Connecting a Fiber Optic Cable to the SFP
3. Repeat this procedure to cable additional line cards.
Connecting the
Fiber Optic
Cables to the TX
and RX Ports
To connect the fiber optic cables to the line ports, perform the following
procedure:
1. Remove the dust plugs from the TX and RX ports, as shown in
Figure 33. Removing the Dust Plugs from the TX and RX Ports
Note
You must use 9µ single-mode fiber (SMF)
cable with a simplex SC/
UPC connector.
2. Measure the optical power coming into the RX port using a pass-
through optical power monitor.
3
4
5
SFP
SYNC
TX
RX
LINE
RDY
TX
RX
TRIB
AT-LX3811/3
SFP
SYNC
TX
RX
LINE
RDY
TX
RX
TRIB
AT-LX3811/4
TRIB
SYNC
TX
RX
LINE
SFP
SYNC
TX
RX
LINE
RDY
TX
RX
TRIB
AT-LX3811/5
RDY
TX
RX
TRIB
A
146
Warning: Class 1 Laser product.
1
Warning: Do not stare into the laser beam.
2
TX
CLASS 1
LASER PRODUCT
10/100Base-TX
RS-232
TERMINAL
FT
CO
PA
PB
8
RESET
AT-LX3800U
8
LINE
C
LINE
AT-LX3811/8
SFP
SYNC
TX
RX
LINE
RDY
TX
RX
TRIB
RX
100 10
147