Port led, Figure 4 port leds, Sfp compatibility – HP Storage EVA Capacity Upgrades User Manual
Page 9: Installing an sfp, Removing an sfp
30-10022-01 loop switch user guide
9
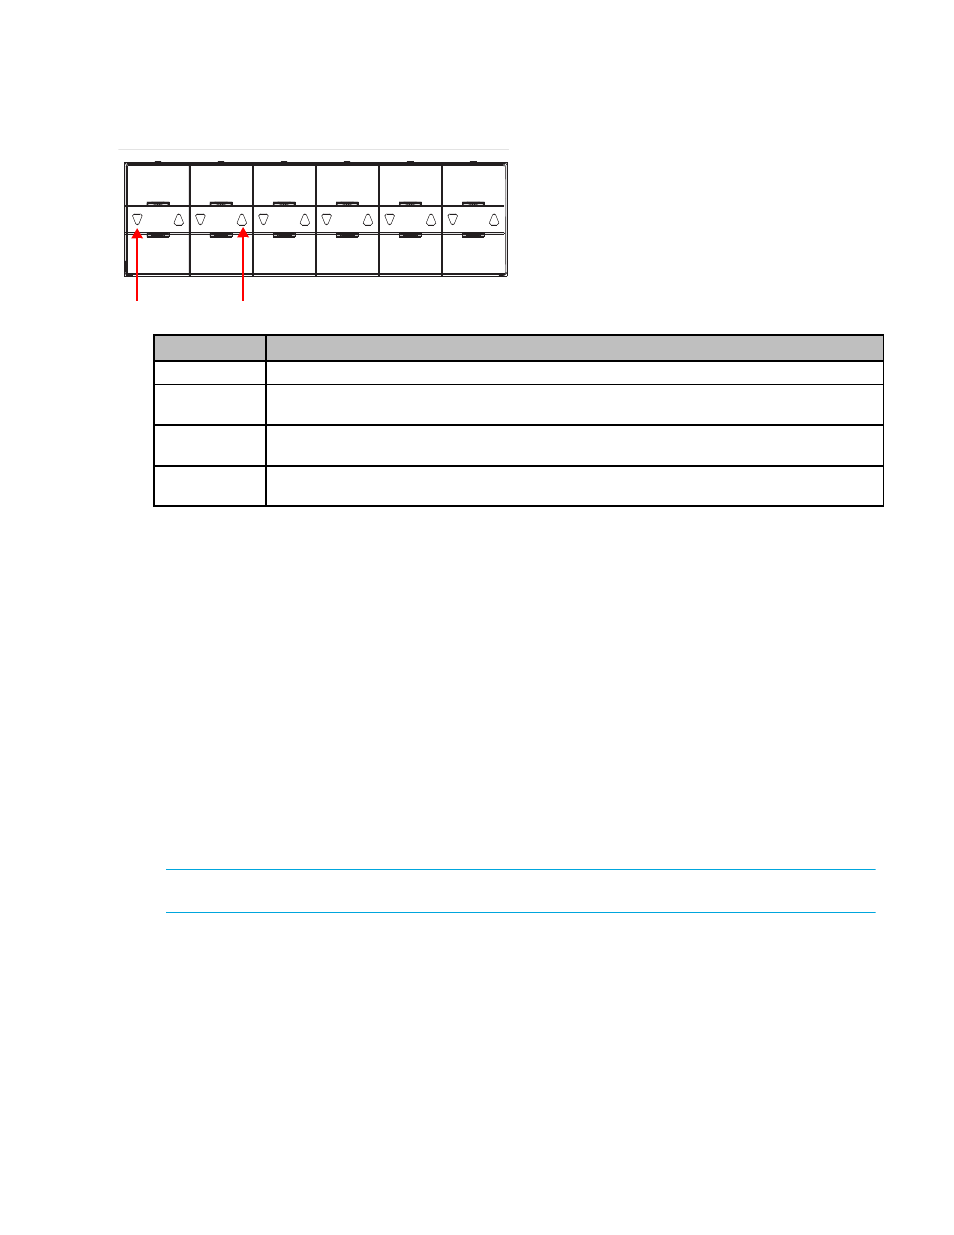
Port LED
The Port LED indicates a port’s status.
SFP Compatibility
SFPs are “hot-pluggable” into the switch, which allows host computers, servers, and storage devices
to be added dynamically without requiring power removal from the switch or any connected devices.
The switch supports Small Form-Factor Pluggable (SFP) modules that comply with the SFP
specification as produced by the MSA consortium and have passed qualification testing.
The following manufacturers offer 4Gb, 2Gb, and 1Gb optical, shortwave SFPs in both RoHS and
non- RoHS versions:
•
Intel
•
Finisar
•
JDS Uniphase
•
Agilent
Installing an SFP
Plugging an SFP into the switch will automatically send a change notification to indicate that the
device is ready to begin initialization.
CAUTION:
Forcing an SFP into a port may damage the SFP and/or port.
To insert an SFP:
1.
Remove dust covers or plugs from the SFPs, if provided.
2.
Slide the SFP into the port, ensuring correct polarity, until the latch clicks into place.
Removing an SFP
To extract an SFP:
Determine what kind of extraction mechanism the SFP has and remove the SFP as follows:
• If the SFP has a removal tag, remove the cable from the SFP and then pull the removal tag outward
and toward the side of the SFP with the tag.
Port LED
Indication
Off
SFP is not installed in the port.
On
(green)
Normal port operational status when an SFP is installed and a link has been established.
On
(yellow)
The port has an SFP installed but a link has not been established.
Flashing
(green)
Activity. Data is being transferred between the port and device.
1
2
3
4
5
6
7
8
9
10
11
12
Figure 4
Port LEDs
Port 7 LED
Port 2 LED