Rl5000 – Triton RL5000XP PC-BASED ATMS Installation Manual User Manual
Page 36
36
RL5000
XP
I
NsTaLLaTION
G
UIDE
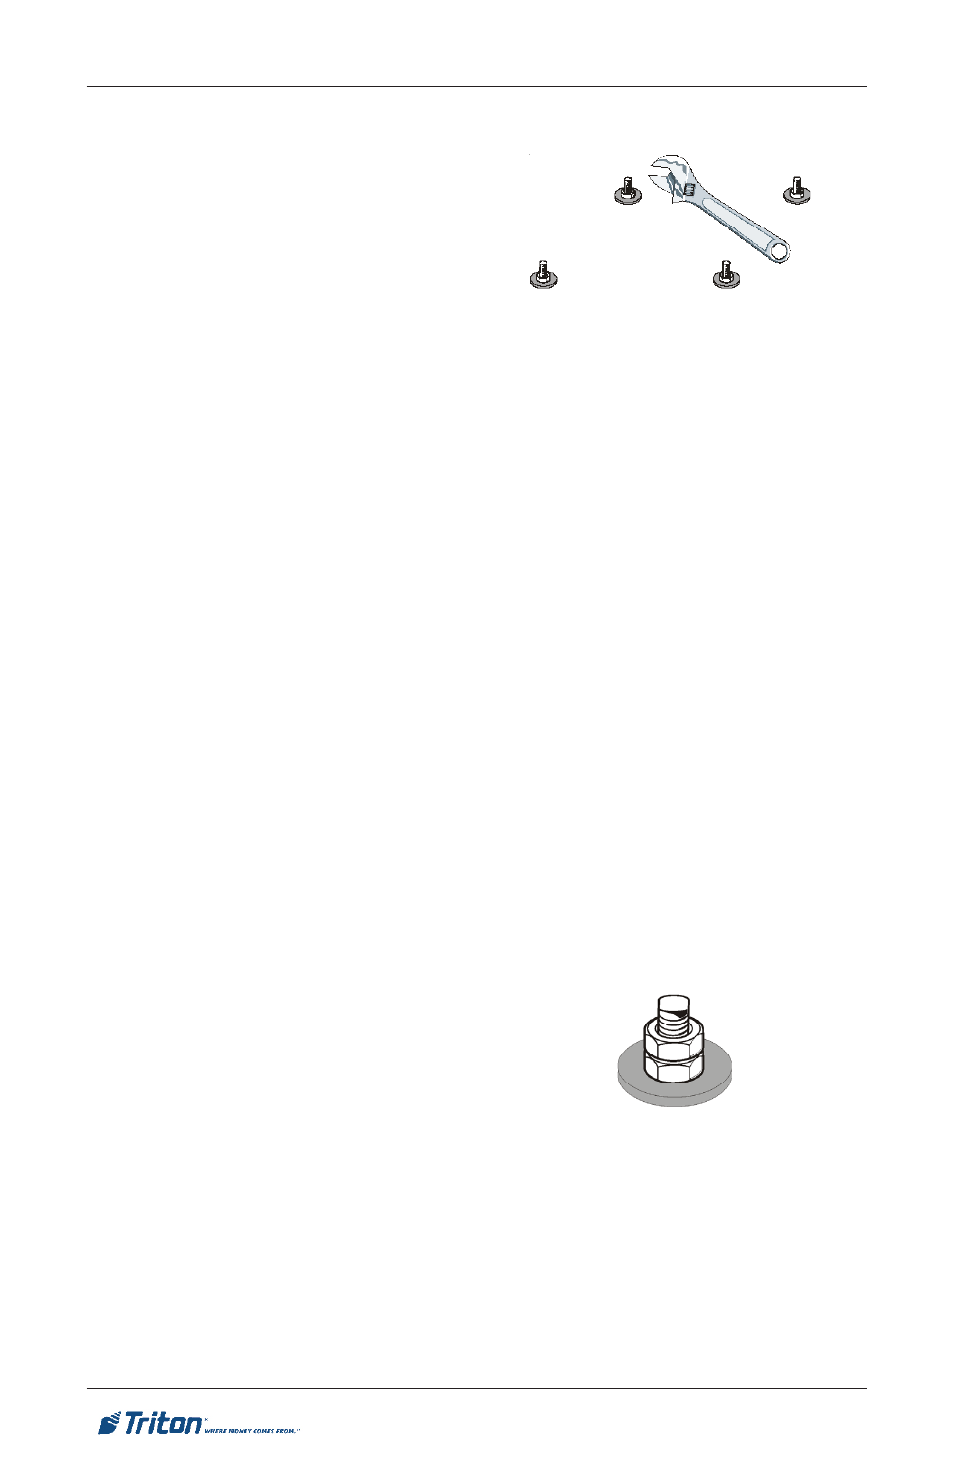
2. Use an adjustable crescent or
ratchet wrench with 18 mm (3/4”)
socket to tighten the nuts down.
No minimum torque setting for
the nuts is required. Simply
ensure the nuts are tightened
down firmly enough to secure
the ATM cabinet to the anchors.
Tightening the nuts just beyond
hand tight should prove adequate.
3. Once all anchors are tightened,
close the door of the cabinet to
ensure that the door does not bind.
If the door does bind, loosen the
anchor nuts slightly and retighten
them in the following sequence:
a. Back left
c. Left front.
b. Right front
d. Back right
Fig. 8. Tighten nuts with wrench.
4. Close the door and check for
proper operation. The leveling
feet may need to be adjusted to re-
square the cabinet after the anchor
nuts have been retightened. If the
door continues to bind, it may be
necessary to relocate the cabinet
to an area with a flat level floor!
5. Once the cabinet is square (level)
and the door operates without
binding, install a second nut on
each bolt and tighten down firmly.
6. If the dispenser tray was removed
to facilitate cabinet installation,
replace it at this time.
Fig. 9. Add second (jam) nut and
tighten.