Rl5000, Unpack cash dispenser *important* the rl5000 – Triton RL5000XP PC-BASED ATMS Installation Manual User Manual
Page 22
22
RL5000
XP
I
NsTaLLaTION
G
UIDE
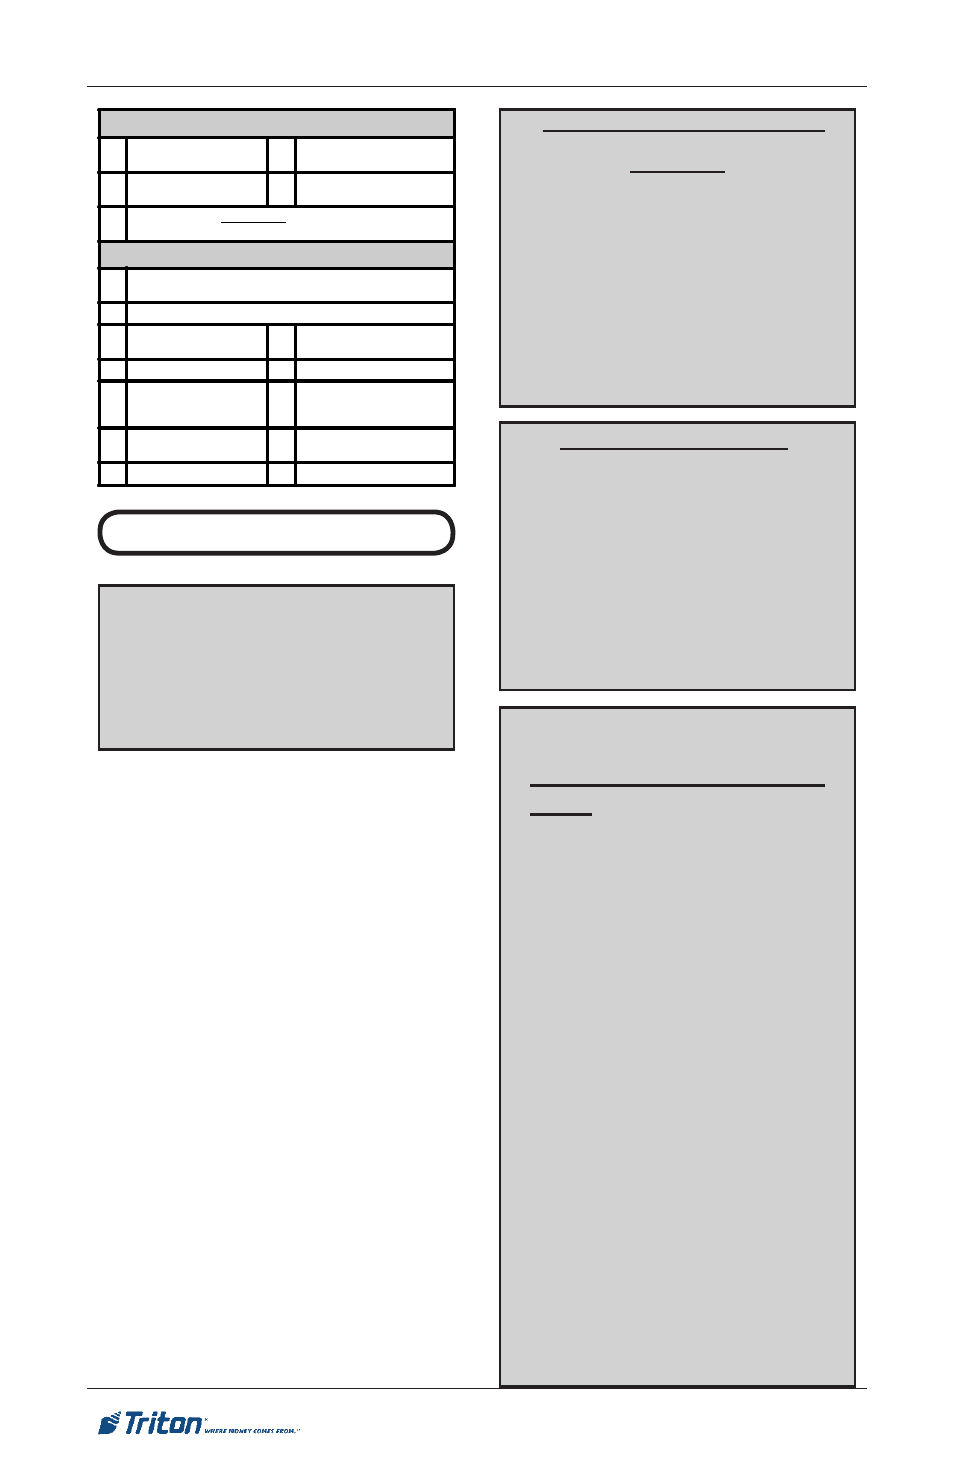
PARTS SUPPLIED
4 1/2" x 4 1/4 " Sleeve-Type
Anchor Bolts
4 1/2" Flat Washers for Anchor
Bolts
8 1/2" Nuts for Anchor
Bolts
1 Drilling Template
4 Leveling Feet (for Optional Use with Business Hours Service
Cabinets).
REQUIRED TOOLS/EQUIPMENT
1 Torque Wrench, Adjustable to at least 60 Foot-Pounds (or 3/4"
Ratchet Wrench).
1 Center Punch (or equivalent) for marking drilling points.
1 3/4" Socket (For Tight-
ening Anchor Bolts)
1 Hammer
1 Large Flat Screwdriver
1 Bubble Level
1
3/4" Heavy-Duty
(Professional-Grade)
Electric Hammer Drill.
1
1/4" and 1/2" Carbide-tipped
Masonry Drill Bits - at least 6"
long.
1 Safety Goggles
1 Ear Plugs or Ear Muffs
(hearing protection)
1 Back-Support Belt
1 Portable Vacuum Cleaner
UNPACK CASH DISPENSER
*IMPORTANT*
The RL5000
XP
is designed for
indoor installation only!
1. Carefully inspect the unit for
any shipping damage and report
any damage immediately to
the shipping company. Refer
to the warranty information
in the User or Service manual
(as applicable) for information
about reporting shipping
damage.
2. Remove the unit from the carton
by cutting the straps and removing
the top of the box.
3. Remove the loose packing
material from inside of the box.
4. Remove the silver key from the
white plastic bag attached to the
ATM wrapping.
UL LEVEL 1 CABINET
SAFETY
Level 1 cabinets are consider-
ably heavier than Business
Hours cabinets! Exercise ex-
treme caution when moving
Level 1 cabinets! At least two
persons should work together to
move the cabinet into position
for mounting!
SELECTING THE
INSTALLATION LOCA-
TION
Choosing the right location for
your ATM is very important.
Security concerns suggest a
location that is away from any
door or external access point.
Ideally, the terminal should
be mounted as close to a back
wall as possible. For marketing
reasons, however, it may be
desirable to locate the termi-
nal near the front where your
customers can easily locate it.
Wherever you decide to locate
the terminal, be sure to follow
the recommended procedures
for both mounting the terminal
and for removing cash when
the unit will be unattended.
TOOL USE/SAFETY
Observe ALL safety precau-
tions for operating hand and
power tools! Wear eye and ear
protection while operating the
electric drill! USE A BACK-
SUPPORT BELT WHEN
LIFTING AND MOVING
THE ATM!