3 enabling/disabling self tests, 5 alarm relay, Section 5.4.3 – LumaSense Technologies 3434i SF6 Leak Detector User Manual
Page 67
Chapter 5
______________________________________________________________________
_____________________________________________________________________________
BE6028-14
3434i SF6 Leak Detector
LumaSense Technologies A/S
Page 67 of 191
1. Press SET-UP.
2. Press S3 S1 S1 S2 .
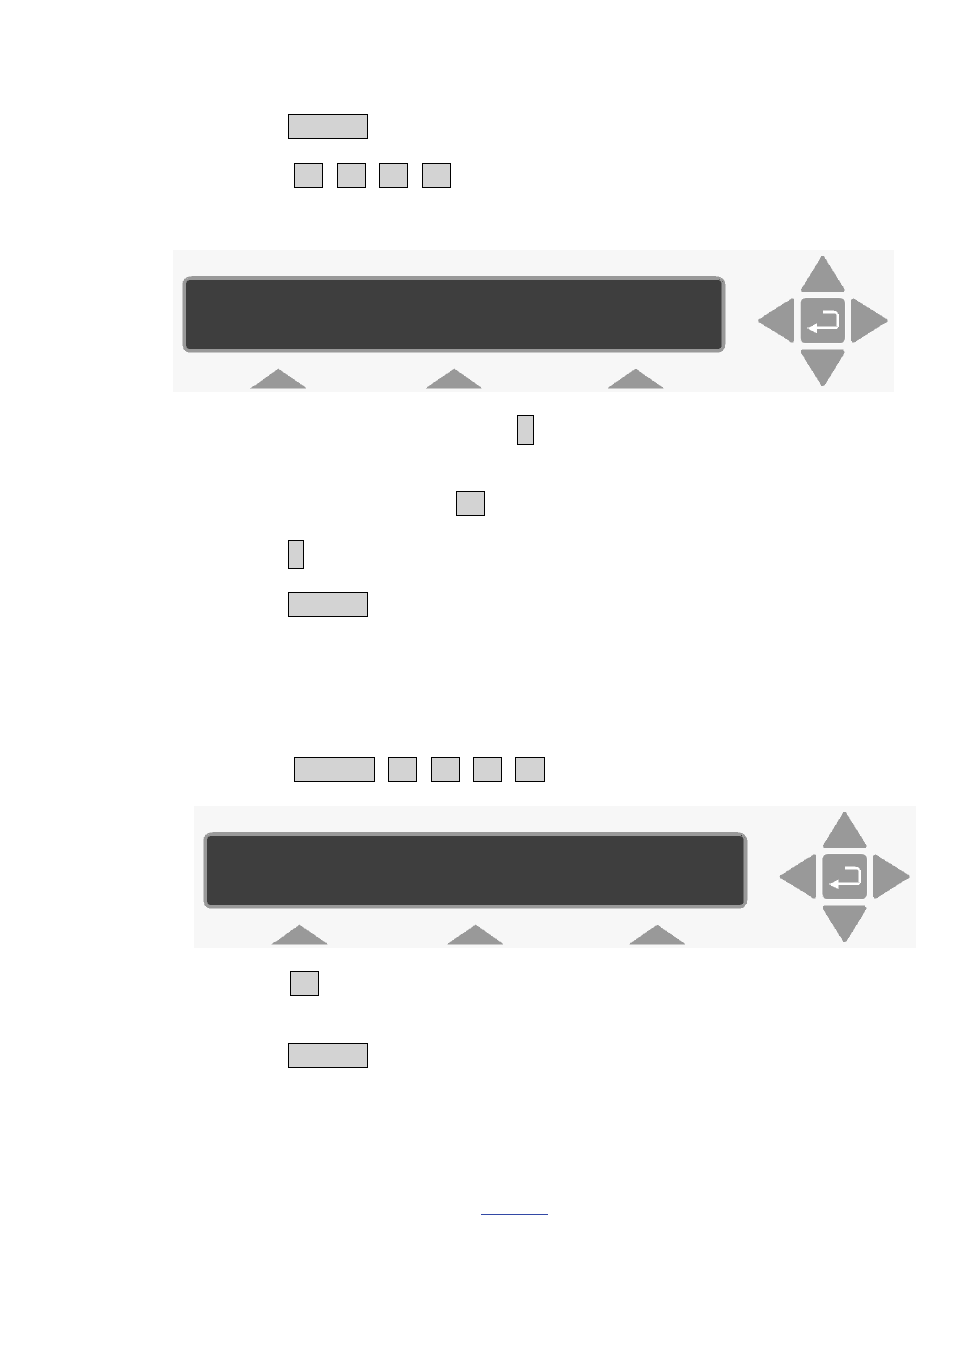
The following screen picture appears:
3. To change the volume, press
¿
.
4. Use the direction push-buttons to enter the correct volume. If you
make a mistake, press S1 to revert back to the original volume.
5. Press
¿
to accept volume.
6. Press SET-UP to exit the set-up function.
5.4.3
Enabling/Disabling Self Tests
If you do not wish the Monitor to perform regular self-tests, including
the hardware test on power-up you can disable it.
1. Press SET-UP S3 S1 S1 S3
2. Press S1, the Monitor no longer performs the hardware test as
part of its self-testing procedure during any kind of reset.
3. Press SET-UP to exit the set-up function.
5.5 Alarm Relay
Two alarm relays are built into the alarm relay socket on the
back panel of the Monitor. The function of the pins in this female
connector are shown in
. The two alarm relays can be
connected to a variety of either audio (for example, a siren)
SOUND VOLUME 1
PRESS ENTER TO CHANGE VALUE
REGULAR SELF - TESTS ?
NO YES