1 intel® amt setup procedure, Ntel, Amt s – IEI Integration KINO-9652 v1.00 User Manual
Page 218: Etup, Rocedure, 1 intel, Amt setup procedure
KINO-9652 Mini-ITX SBC
Page 196
8.1 Intel
®
AMT Setup Procedure
The KINO-9652 is featured with the Intel® Active Management Technology (AMT) 2.5. To
enable the Intel® AMT function, follow the steps below.
Step 1:
Make sure the DIMM1 socket is installed with one DDR2 DIMM.
Step 2:
Connect an Ethernet cable to the RJ-45 connector labeled LAN2_USB2.
Step 3:
The AMI BIOS options regarding the Intel® ME or Intel® AMT must be enabled,
including:
Intel® AMT Configuration [Advanced] (see Section 6.3.5)
ME Subsystem Configuration [Chipset] (see Section 6.7.3)
Step 4:
Configure the Intel® Management Engine BIOS extension (MEBx)
(see Section 8.2 below)
Step 5:
Properly install the Intel® AMT drives. Make sure to install both HECI and
LMS_SOL drivers from the iAMT Driver & Utility directory in the driver CD (see
Step 6:
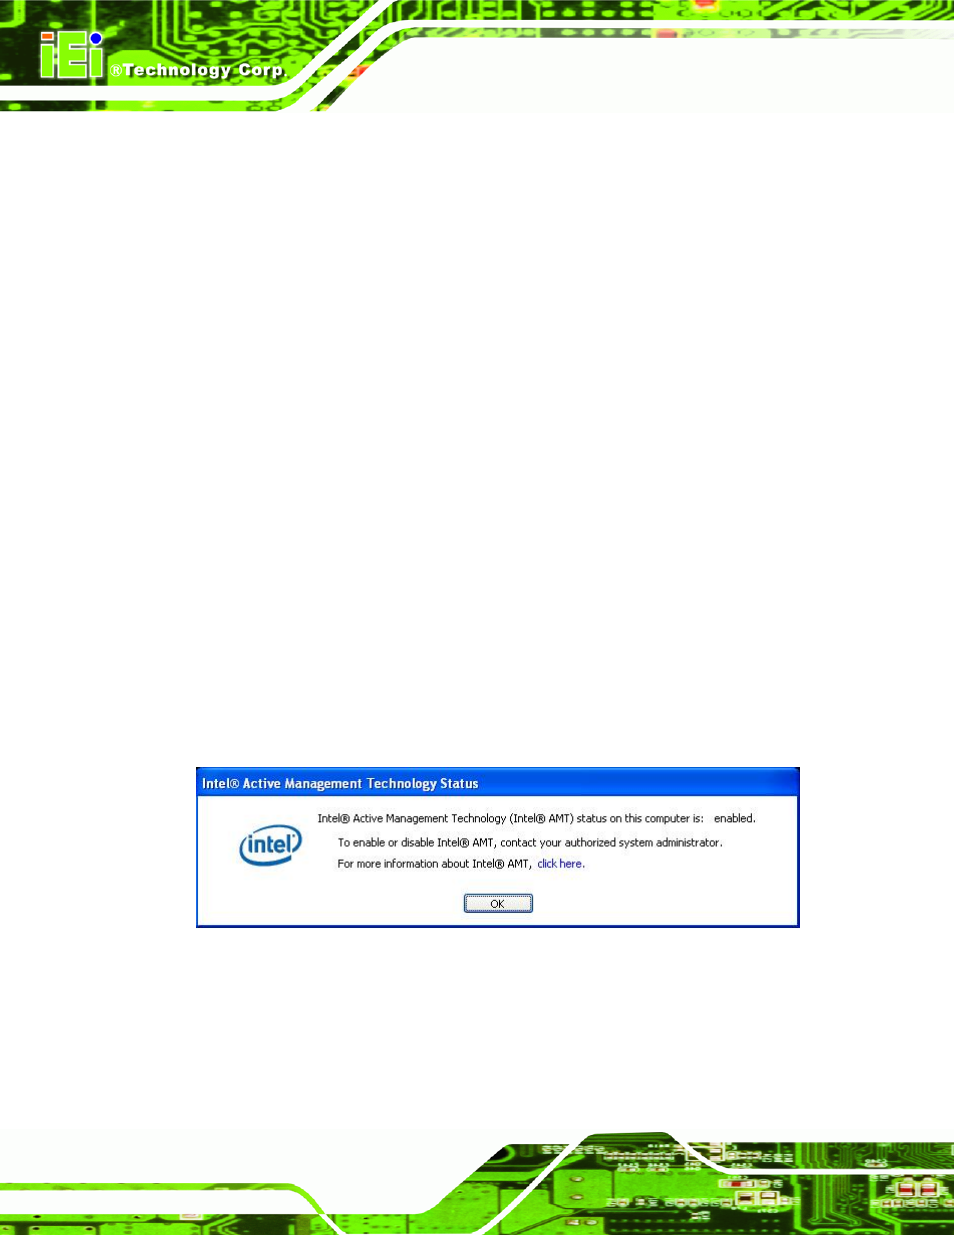
The following dialog window is displayed after the OS is loaded to show the
Intel® AMT status on the KINO-9652 is enabled.
Step 0:
Figure 8-1: Intel® Active Management Technology Status Dialog