Burkert Type 2101 User Manual
Page 20
20
Installation
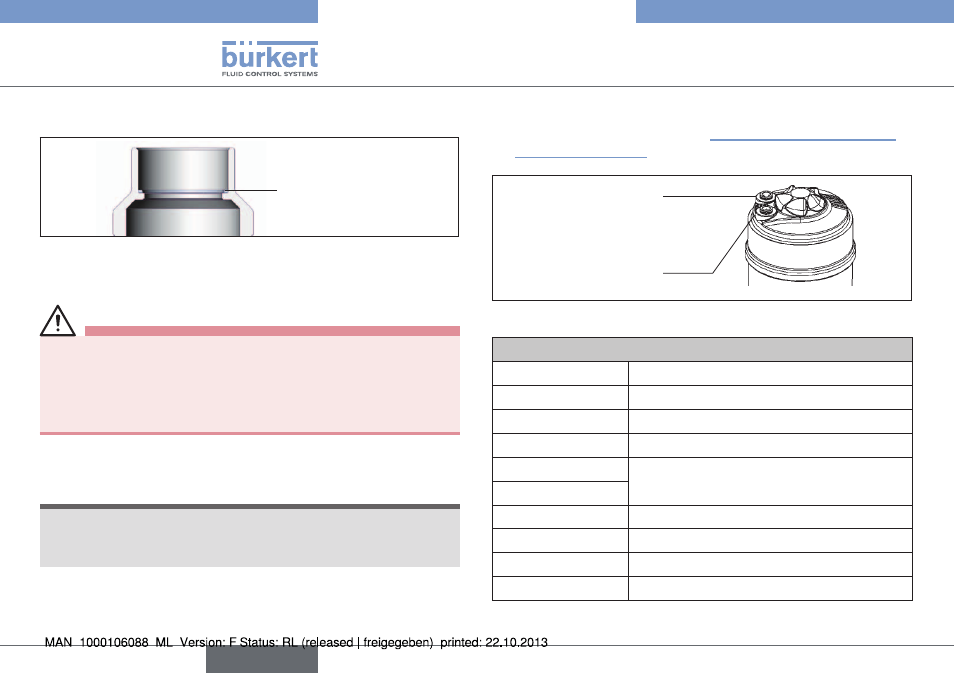
8.3.2 install actuator (welded body)
Graphite seal
Fig. 14: Graphite seal
→
Check the graphite seal and if required, replace it.
WarninG!
danger if incorrect lubricants used!
Unsuitable lubricant may contaminate the medium. In oxygen
applications there is a risk of an explosion!
▶ In specific applications, e.g. oxygen or analysis applications,
use appropriately authorised lubricants only.
→
Grease nipple thread before re-installing the actuator (e.g. with
Klüber paste UH1 96-402 from Klüber).
noTe!
damage to the seat seal or the seat contour!
▶ When installing the actuator, ensure that the valve is in open
position.
→
Control function A pressurize the pilot air port 1 with com-
pressed air (5 bar): valve opens.
→
Screw actuator into the valve body.
Observe tightening torque (see “Tab. 5: Tightening torques of
valve body / nipples”).
1
2
Pilot air port
CFA, CFB, CFI
Air discharge connection
CFA, CFB
Pilot air port
CFI
Fig. 15: Connections
tightening torques of valve body / nipples
dn
tightening torque [nm]
13/15
45 ±3
20
50 ±3
25
60 ±3
32
65 ±3
40
50
70 ±3
65
100 ± 3
80
120 ± 5
100
150 ± 5
Tab. 5: Tightening torques of valve body / nipples
english
Type 2101