Alpha Technologies Radium MiniBay User Manual
Page 50
50
044-001-C0-00, Rev. C
Verify the length of the cable between the lifting ears and the lifting hook is at least twice the distance
between the lifting plates and that the lifting angle of the chain is greater than or equal to 60 degrees.
5. Lift the enclosure off of the truck using a winch capable of supporting approximately
500 lb. (227kg).
6. Verify all cabling passing through the enclosure is bundled and maintained within the
cutout area.
7. Position the enclosure above the concrete pad and slowly lower it into position over
the pad’s 1/2" anchor or J-bolts. A 25+ year vapor barrier MUST be used between the
concrete and enclosure base to inhibit moisture ingress and corrosion caused by metal-
to-concrete contact. The vapor barrier material (such as 0 lb felt, neoprene pond liner,
or heavy grade tar paper) should initially extend at least 6" in all directions around the
perimeter of the enclosure. After the enclosure is in place, the material should be trimmed
close to the enclosure, using the appropriate knife or cutting tool.
8. Secure the enclosure using stainless flat washers, lock washers and 1/2" nuts at each
mounting bolt.
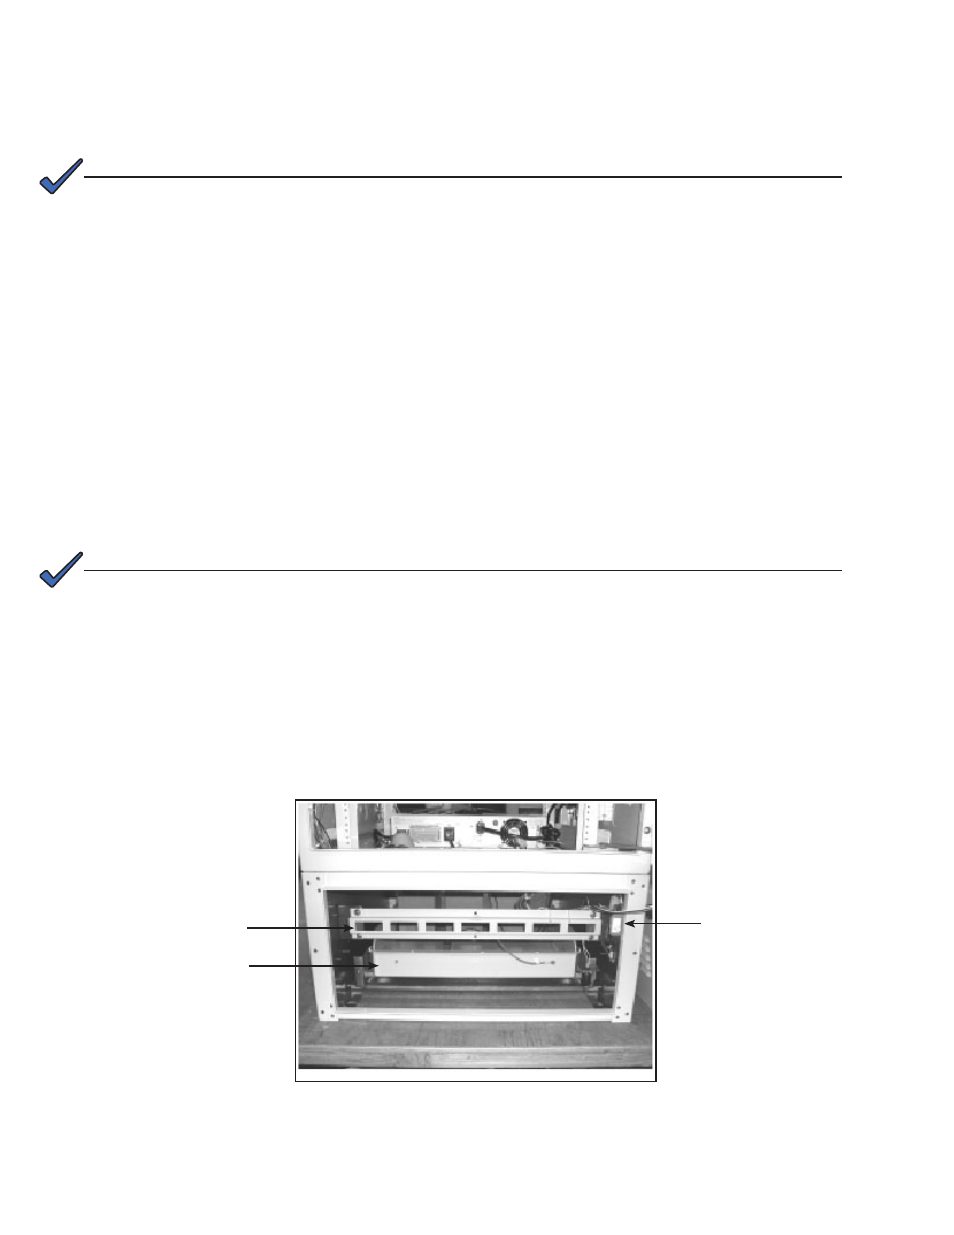
Fig. 5-3, Rear View of Enclosure (showing lashing bar)
Tamper Switch
Cable Lashing Bar
Rear of Battery Drawer
5.0
Installation, continued
5.1
Lifting, continued
NOTE:
To prevent damage, enclosures must be mounted flush with a smooth surface and not over-torqued. The
enclosure must be bolted down to a completely flat surface. If the concrete pad is uneven or has bumps,
cracks, or other imperfections, the installer is responsible for correcting these defects prior to installing the
enclosure. Do not caulk the enclosure bottom. Caulking can lead to condensation inside the enclosure.
NOTE:
9. Trim sealing cones to proper diameter for a tight fit around cables and reassemble seal
plate assembly.
10. Use suitable cable clamps or ties to secure cables to “ladder bar” (see below).