N-x144_iom_21 – Cla-Val X144 Technical Manual User Manual
Page 21
SECTION 4: Maintenance and Repair
4.1 – Routine Maintenance
CAUTION:
Always disconnect the power supply, isolate and depressurize the system before performing any
maintenance or repair. Failure to so may result in injury to personnel or damage to equipment.
The X144 e-FlowMeter does not have any moving mechanical parts and so is not affected by fatigue wear
from mechanical stress. The system should be inspected routinely for leaks. An inspection should consist of
the actions in steps 1-2 procedure outlined in section 3.1. It is recommended the equipment be turned off during
inspection.
4.2 – Cleaning debris from measurement cylinder
If the readings from the X144 e-FlowMeter begin to act in an unreliable manner, then
the measurement cylinder should be inspected and cleaned out to ensure proper operation.
Required Tools:
• Insertion tool
• Adjustable wrench
• Small pick or small screw driver for clearing the debris
• Tweezers or small needle-nosed pliers
Procedure
1) Close the shut-off valves to stop the flow of water.
2) Disconnect all wiring.
3) Go through the removal steps (section 3.2) to remove the X144
e-FlowMeter from the Control Valve,using the provided Insertion
Tool
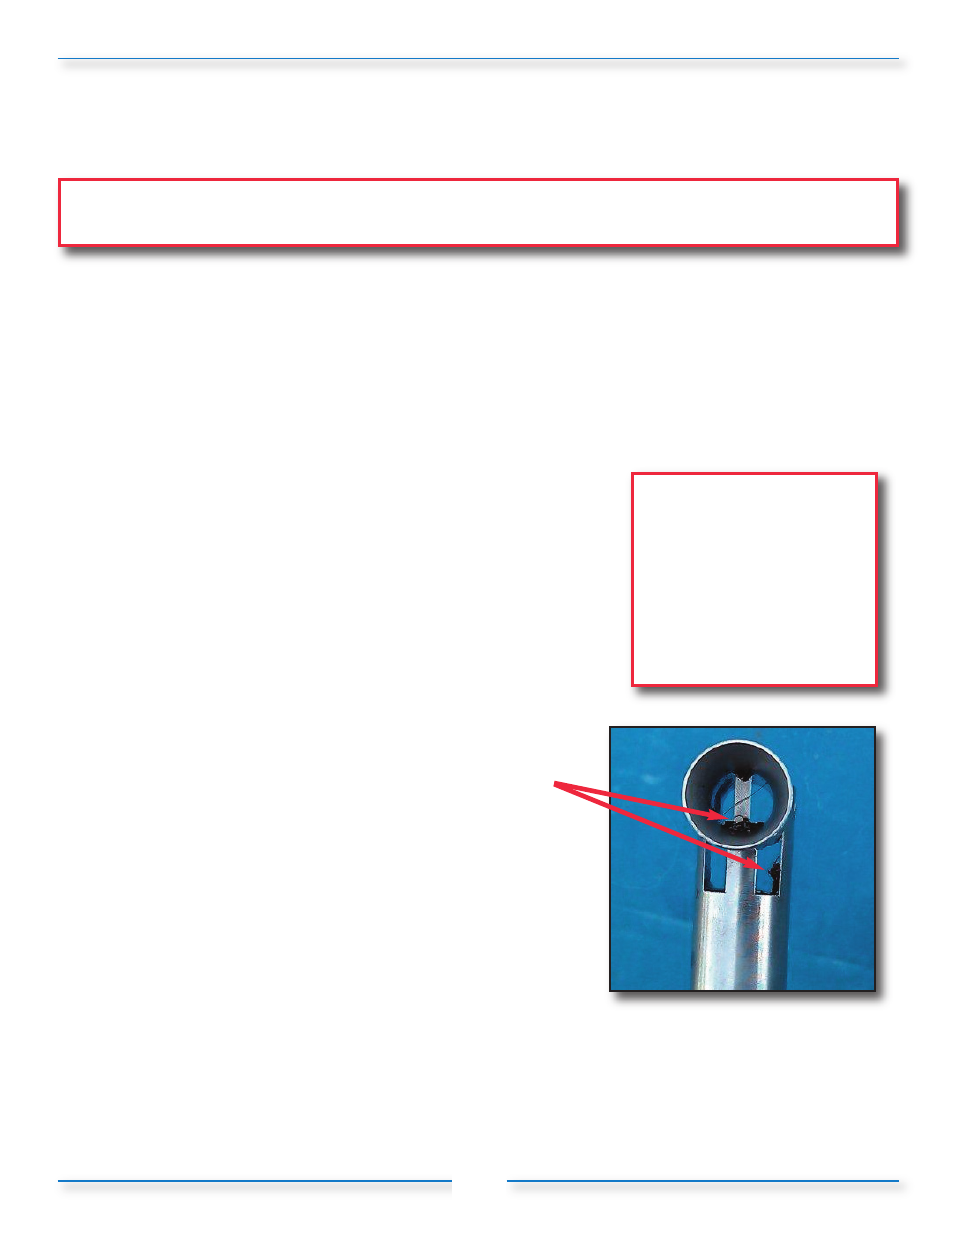
4) With the sensor still removed from the threaded insert, inspect
measurement cylinder; looking specifically for debris caught on
the bluff body, as shown in Figure 4-1.
5) Use pick or small screw driver and tweezers to remove all of
the debris from the measurement cylinder, bluff body and
anywhere else that it has accumulated.
6) Reinstall X144 according to the installation steps in section 2;
verify operation per operation instructions in section 3.
4.3 – Dealing with Sensor Tip Damage
1) If the Sensor Tip is bent, broken or damaged in the course of
handling or installation, the X144 e-FlowMeter will not function
properly. The sensor should be straight with respect to the
sleeve. Since it is designed to sense micro-motion, if the sensor
is forced to enough to detect the movement with the naked eye, it
may have been damaged. In that case, contact Cla-Val
Customer Service.
18
Figure 4-1
CAUTION 1:
Failure to use
the provided Insertion Tool
WILL
result in damage to
the e-FlowMeter
CAUTION 2:
To avoid
injury, isolate the valve and
bleed pressure prior to
removing the e-FlowMeter