Set up – RIDGID SeekTech SR-20 User Manual
Page 8
Ridge Tool Company
Tools For The Professional
TM
seekTech sR-20
Starting Up
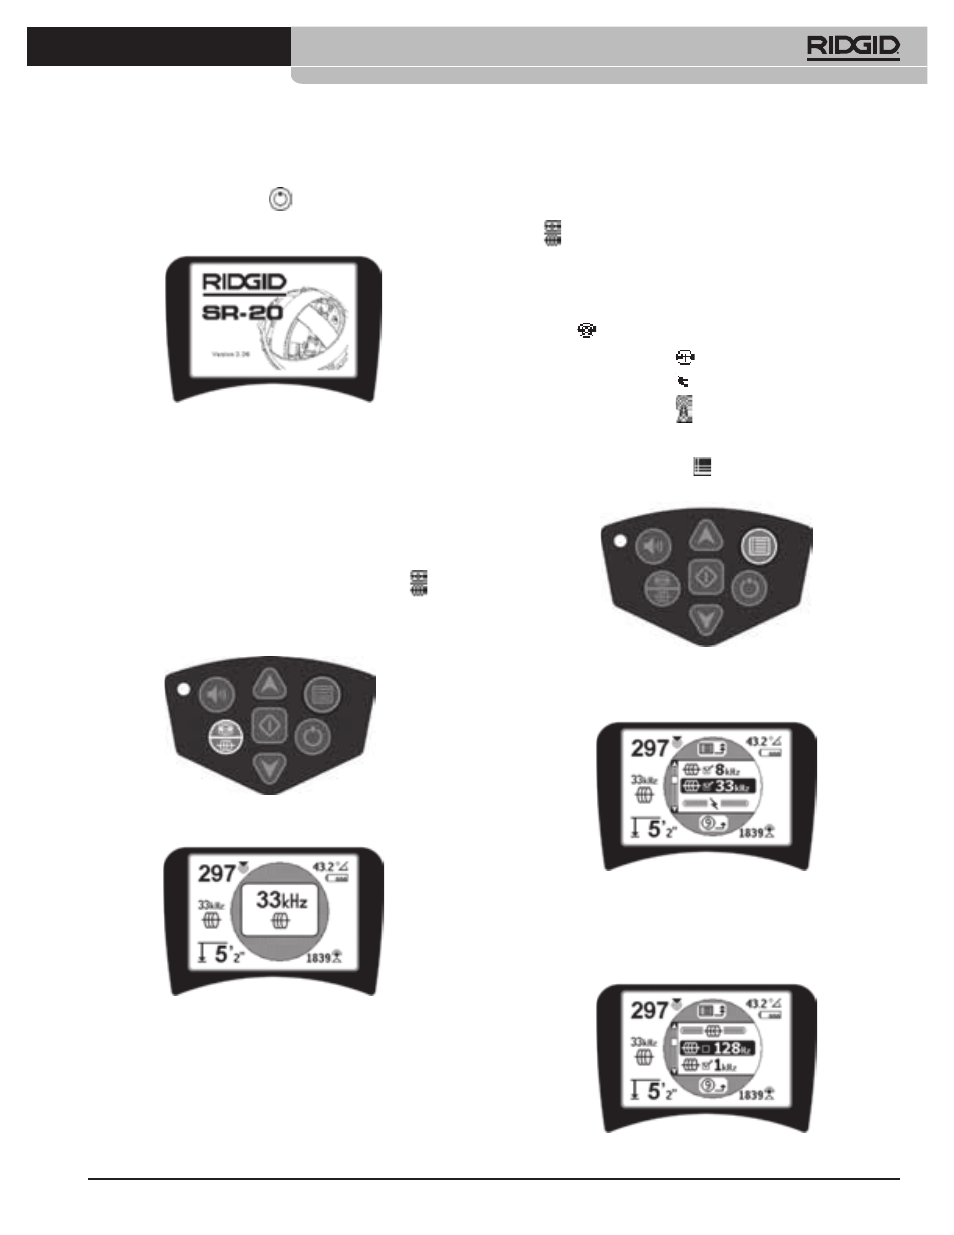
After pressing the Power Key
on the keypad, the RIDGID
logo displays, and the software version number will appear
on the left of the screen.
Figure 9: Start-up Screen
Set Up
Once the SR-20 is up and running the next step is to set up
the frequencies needed that match the transmitter or line to
be located.
Checked-Active frequencies are already selected for use and
appear in sequence by pressing the Frequency Key
. (For
example, the line trace frequency of 33 kHz is available by
pressing the Frequency Key.)
Figure 10: Frequency Key
Figure 11: Line Trace Frequency
Selected with Frequency Key
Activating Frequencies
Frequencies can be chosen for the set of Checked-Active
frequencies so they will be available using the Frequency
Key
.
Each frequency is activated by choosing it from a list in the
Main Menu (See Figure 13). Frequencies are grouped by
category:
Sonde
Active Line Trace
Passive Line Trace
Radio
1. Push the Menu Key
:
Figure 12: Menu Key
The Main Menu screen is then activated:
Figure 13: Main Menu
2. Using the Up and Down Keys, highlight the
frequency desired (Figure 14). In this example, the
operator is activating a 128 Hz frequency.
Figure 14: Highlighting a Desired Frequency (128 Hz)