Set‑up and operation, Pre‑operation inspection – RIDGID micro DL-500 User Manual
Page 9
micro DL-500 Self-Leveling 5-Dot Laser
7
Set‑Up and Operation
WARNING
Do not look into the laser beam. Looking
into the laser beam may be hazardous to
the eyes. Do not look at the laser beam
with optical aids (such as binoculars or tele‑
scopes).
Do not direct the laser beam towards other
people. Make sure the laser is aimed above
or below eye level. Laser beams may be
hazardous to the eyes.
Set‑up and operate the RIDGID micro DL‑ 500
Self‑Leveling 5‑Dot Laser and work area ac‑
cording to these procedures to reduce the
risk of injury eye exposure to the laser and
other causes, and prevent tool damage.
1. Check for an appropriate work area as
indicated in the General Safety section.
2. Examine the work to be done and de-
termine if the RIDGID micro DL-500 Self-
Leveling 5-Dot Laser is the correct piece
of equipment for the job. See Specifica-
tion section for more information.
• The micro DL-500 is designed for use at
distances up to 100 feet (30 m). Use in
bright sunlight may reduce the usable
distance. The laser viewing glasses
are designed to enhance the visibility
of the laser, but they do not protect
against laser radiation. Never look into
the laser.
• Always ensure the laser beam is aimed
at surfaces without reflective proper-
ties. Shiny surfaces may cause the laser
beam to be reflected back at the user
or others and may be hazardous to the
eyes. Wood, rough or painted surfaces
are generally acceptable. In some cas-
es, applying a commercially available
laser target plate may help in locating
the laser on surfaces.
• Make sure that the area is clear of by-
standers and other distractions to help
prevent inadvertent eye contact with
the laser beam.
Pre‑Operation Inspection
WARNING
Before each use, inspect your laser level
and correct any problems to reduce the risk
of injury and prevent tool damage.
Do not look into the laser beam. Looking
into the laser beam may be hazardous to
the eyes.
1. Make sure the unit is OFF and the sel-
fleveling mechanism locked (ON/OFF
switch turned fully counterclockwise).
2. Remove the batteries and inspect for
signs of damage. Replace batteries if
necessary. Do not use equipment if the
batteries are damaged.
3. Clean any oil, grease or dirt from the
equipment. This aids inspection and
helps prevent the tool from slipping
from your grip.
4. Inspect the laser for any broken, worn,
missing or binding parts or any condi-
tion which may prevent safe and normal
operation.
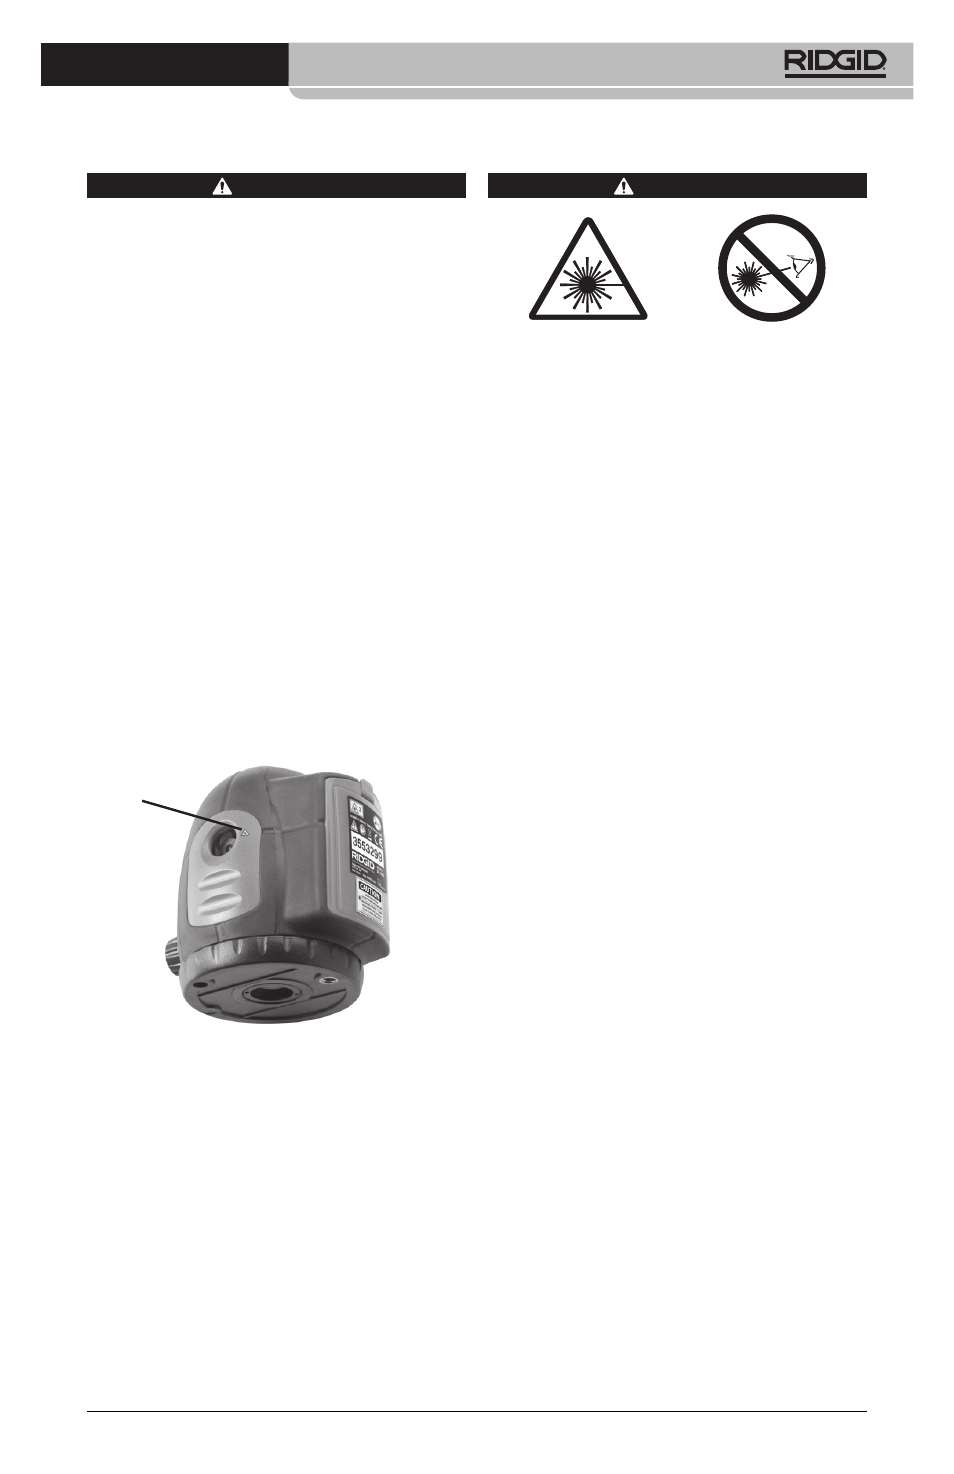
5. Check that the warning labels are pres-
ent, firmly attached and readable.
At Each Laser
Output Window
Figure 5 - Warning Labels
6. If any issues are found during the inspec-
tion, do not use the laser until it has been
properly serviced.
7. With dry hands, re-install the batteries
making sure to fully insert.
8. Following the Set-Up and Operation In-
structions, perform the level check. Do
not use the laser if it has not been prop-
erly checked.