Selecting the usb driver (usb driver) – Roland RD-300 User Manual
Page 59
61
Detailed Settings for Each Function
Assigning the [S1] [S2] buttons When S1/S2 Mode is Set to
“SYSTEM”
When this is set to SYSTEM, “S1/S2 Setting” appears in the lower right
of the screen. Pressing the [TONE EDIT] (S1/S2 Setting) button at this
point calls up the screen for the function assigned to the [S1] [S2]
buttons.
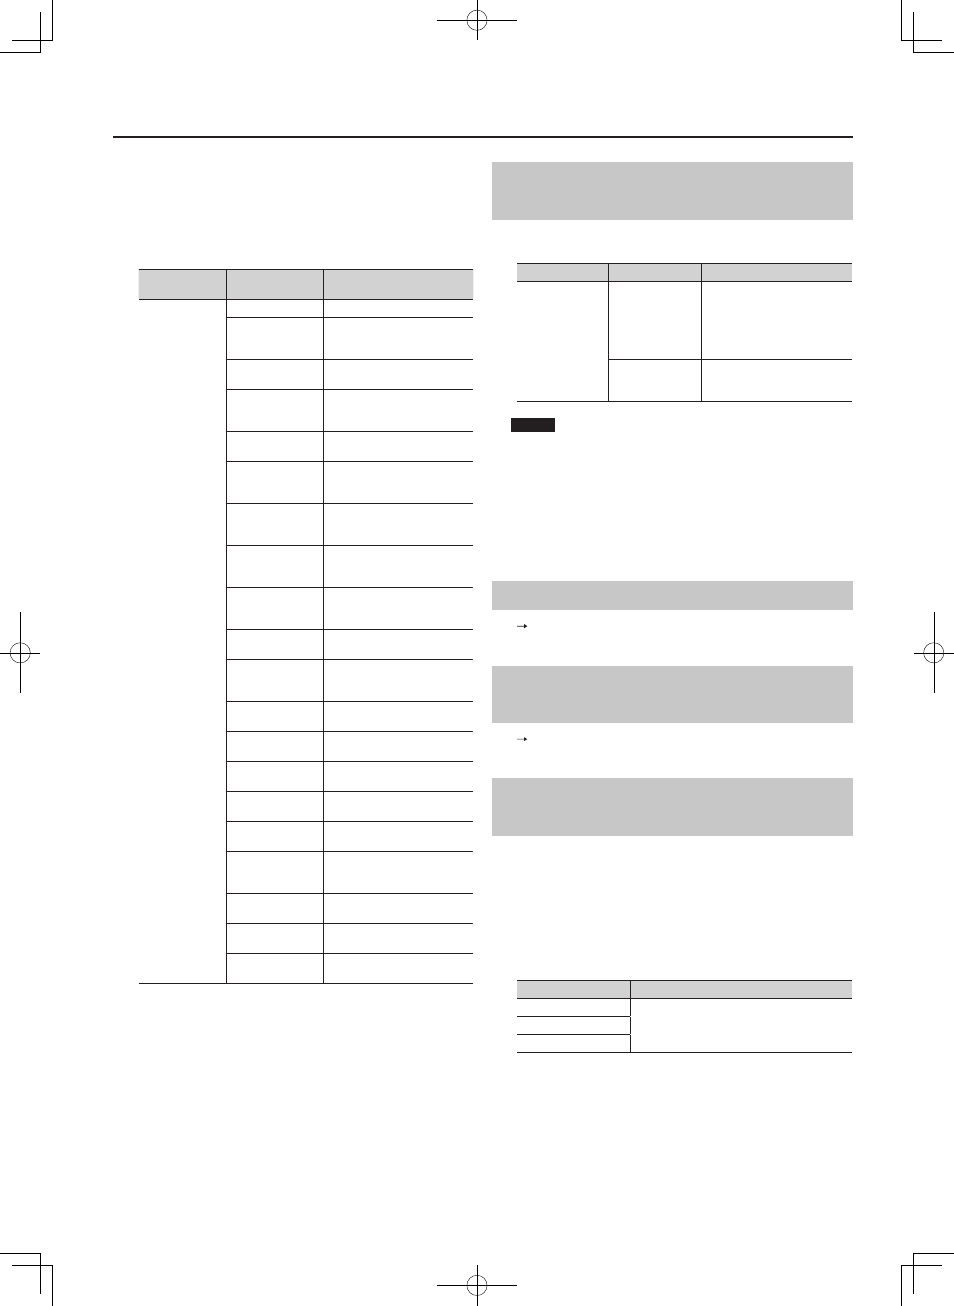
Parameter
Value
Function/Parameter Setting
Changed
S1/S2
00: OFF
No control
01:
COUPLE +1OCT
Playing a key will also sound
an additional note one octave
higher.
02:
COUPLE -1OCT
Playing a key will also sound an
additional note one octave lower.
03:
COUPLE +2OCT
Playing a key will also sound
an additional note two octave
higher.
04:
COUPLE -2OCT
Playing a key will also sound an
additional note two octave lower.
05:
COUPLE +5TH
Playing a key will also sound
an additional note a fifth (7
semitones) higher.
06:
COUPLE -4TH
Playing a key will also sound
an additional note a fourth (5
semitones) lower.
07:
OCTAVE UP
Each time you press the button,
the keyboard range will rise by
an octave (maximum 4 octaves).
08:
OCTAVE DOWN
Each time you press the button,
the keyboard range will lower by
an octave (maximum 4 octaves).
09:
START/STOP
The external sequencer will start/
stop.
10:
TAP TEMPO
The tempo will be modified to
the interval at which you press
the button.
11:
SONG PLY/STP
Starts and stops the song (p. 37).
12:
SONG RESET
Returns you to the beginning of
the song.
13:
SONG BWD
Rewinds the song.
14:
SONG FWD
Fast-forwards the song.
15:
MFX SW
Turns on/off multi-effect (p. 39).
16:
ROTARY SPEED
When using the rotary
effect, switches the rotary effect
between slow and fast.
17:
LIVE SET UP
Switches the Live Sets in
ascending order.
18:
LIVE SET DOWN
Switches the Live Sets in
descending order.
19:
PANEL LOCK
Switches the Panel Lock (p. 35) on
and off.
Using Program Change Messages to Switch
LIVE SETs (LIVE SET Ctrl Ch)
You can switch the RD-300NX’s Live Sets with MIDI messages from an
external MIDI device.
Parameter
Value
Description
LIVE SET Ctrl Ch
(LIVE SET Control
Channel)
1–16
Set the MIDI Receive channel for
receiving the MIDI mes-
sages (Bank Select and Program
Change) from the external MIDI
device to be used for switching
Live Sets.
OFF
When not switching Live Sets
from an external MIDI device, set
this to OFF.
NOTE
When the LIVE SET Control Channel settings are transmitted along
with the part’s MIDI receive channel, switching of Live Sets takes
priority over the switching of tones.
You can download the materials on MIDI from the Roland website.
Roland website:
http://www.roland.com/
Selecting the USB Driver (USB Driver)
Refer to the “Switching USB Drivers” (p. 81)
Switching the USB Memory Mode
(USB Memory Mode)
Refer to the “Changing the USB Memory Setting” (p. 81)
Switching the Pedal’s Polarity
(Damper/FC1/FC2 Polarity)
Switch the polarity of pedals connected to the RD-300NX.
This can be set individually for each of the Pedal jacks on the rear panel
(FC1, FC2, DAMPER).
On some pedals, the electrical signal output by the pedal when it is
pressed or released is the opposite of other pedals. If your pedal has an
effect opposite of what you expect, set this parameter to REVERSE.
If you are using a Roland pedal (that has no polarity switch), set this
parameter to STANDARD.
Parameter
Value
Damper Polarity
STND (STANDARD), REV (REVERSE)
FC1 Polarity
FC2 Polarity