Making detailed settings for the e. piano tones, Saving the settings, Restore the settings to initial conditions – Roland RD-300 User Manual
Page 44: Making detailed settings for the one touch tones
46
Making Detailed Settings for the ONE TOUCH Tones
Making Detailed Settings for the E. PIANO Tones
You can make detailed settings to adjust the E. PIANO sound that’s used when you press the [E. PIANO] button (p. 26).
These detailed settings can be saved for each variation.
1. In the ONE TOUCH E . PIANO screen, use [DEC] [INC] to select the variation that you want to edit .
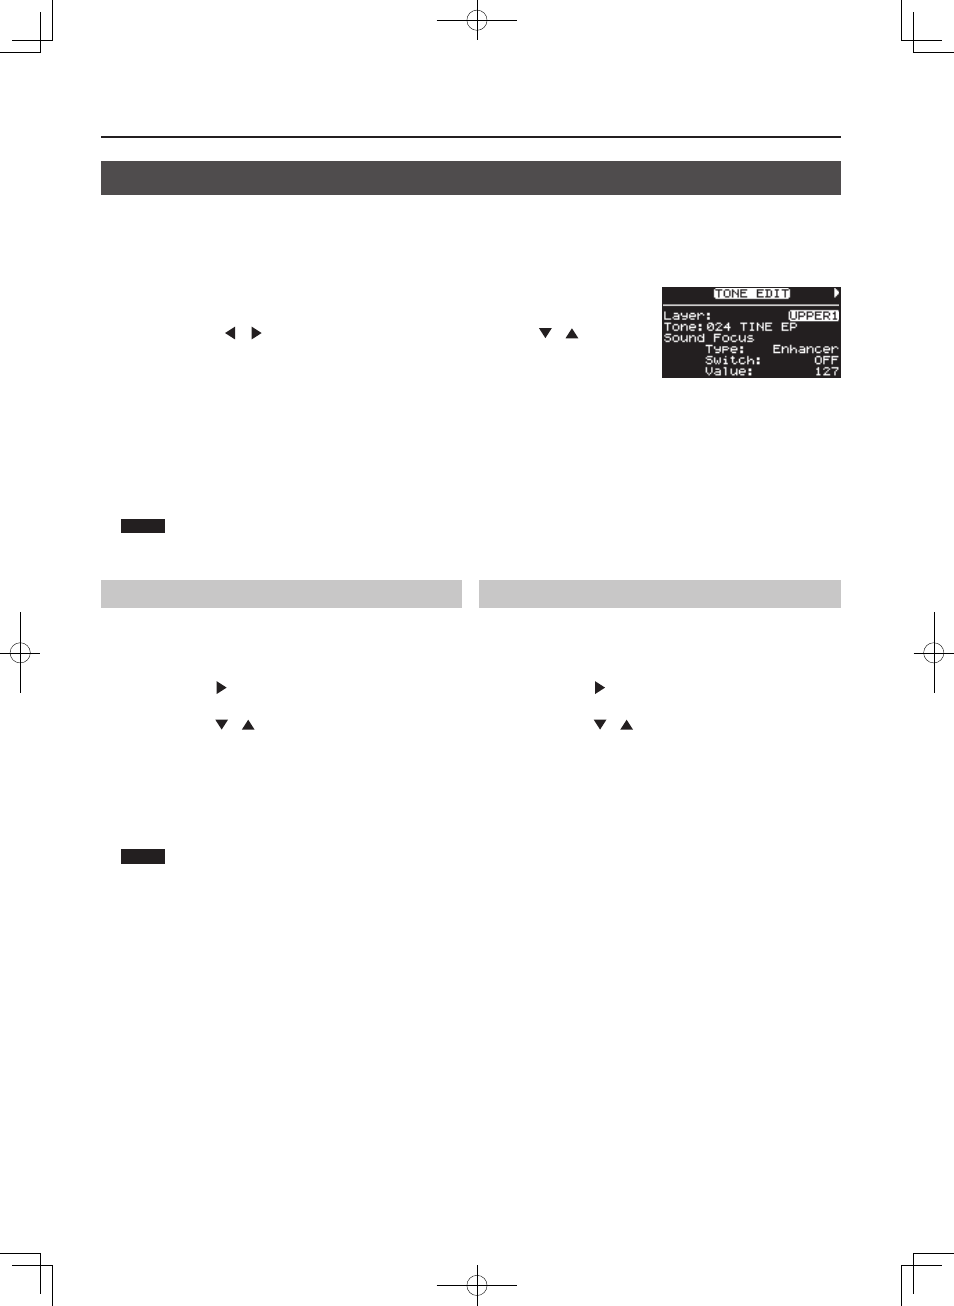
2. Press the [TONE EDIT] button .
The TONE EDIT screen will appear.
3. Press the Cursor [
] [
] buttons to switch screens, and press the Cursor [
] [
] buttons
to move the cursor to the parameter to be set .
To utilize the following menu commands, move the cursor to the command, press the [ENTER] button, and
then carry out the Write or Initialize command in the next screen.
1. Write
2. Initialize
4. Use the [DEC] [INC] buttons to edit the value .
For details on the parameters, refer to “Making Detailed Settings for Tones” (p. 47).
5. When you finish making settings, press the [EXIT/SHIFT] button .
You are returned to the ONE TOUCH E. PIANO screen.
NOTE
Depending on the piano tone selected, this setting may not be available.
Saving the Settings
Here’s how to save the One Touch E. PIANO settings.
1. Press the [TONE EDIT] button .
The TONE EDIT screen will appear.
2. Use the Cursor [
] button to access the last page of the
screen .
3. Use the Cursor [
] [
] buttons to move the cursor to “1 .
Write,” and press the [ENTER] button .
The confirmation message appears.
Press the [ENTER] button to save the settings. If you want to cancel,
press the [EXIT/SHIFT] button.
4. Press the [ENTER] button .
The settings will be saved.
NOTE
Never switch off the power while “Executing...” appears in the
display.
Restore the Settings to Initial Conditions
This restores the One Touch E. PIANO settings to their initial conditions.
1. Press the [TONE EDIT] button .
The TONE EDIT screen will appear.
2. Use the Cursor [
] button to access the last page of the
screen .
3. Use the Cursor [
] [
] buttons to move the cursor to “2 .
Initialize,” and press the [ENTER] button .
The Initialize Screen appears.
To cancel the Initialize, press the [EXIT/SHIFT] button.
4. Press the [ENTER] button .
The confirmation message appears.
To cancel the procedure, press the [EXIT/SHIFT] button.
5. Press the [ENTER] button once again .
The [E. PIANO] button’s tones are initialized.