Aligning print cartridges, Cleaning the print cartridge nozzles – Lexmark 7500 Series User Manual
Page 146
3
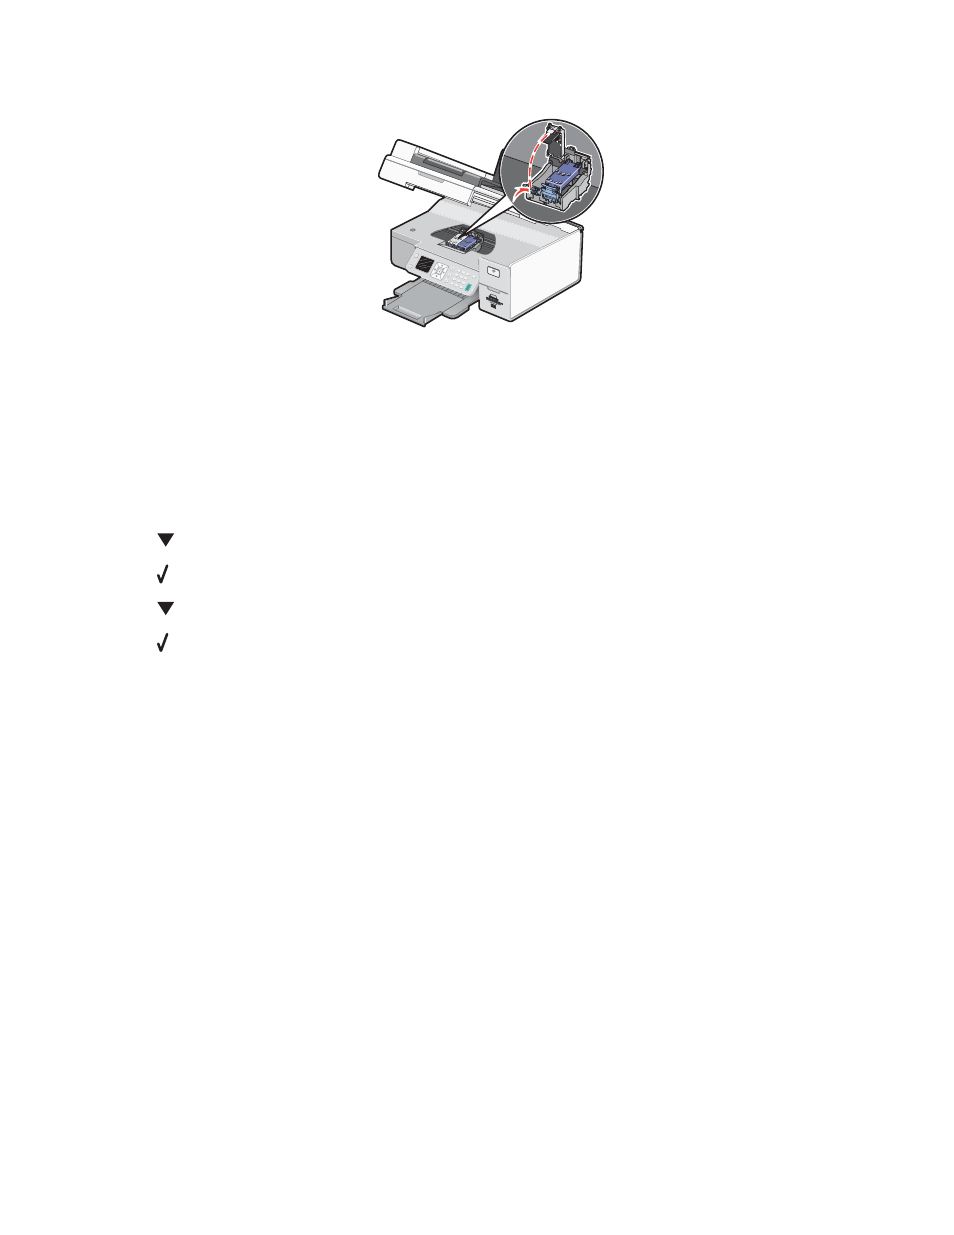
Press down on the cartridge carrier latch to raise the cartridge carrier lid.
4
Remove the used print cartridge.
Note: If you are removing both cartridges, repeat step 3 and step 4 for the second cartridge.
Related topics:
•
“Installing print cartridges” on page 144
Aligning print cartridges
1
Load plain paper.
2
Press
repeatedly until Maintenance is highlighted.
3
Press .
4
Press
repeatedly until Align Cartridges is highlighted.
5
Press .
An alignment page prints.
If you aligned the cartridges to improve print quality, print your document again. If print quality has not improved,
clean the print cartridge nozzles.
Related topics:
•
“Cleaning the print cartridge nozzles” on page 146
•
“Wiping the print cartridge nozzles and contacts” on page 147
•
“Improving print quality” on page 148
Cleaning the print cartridge nozzles
1
Load plain paper.
2
From the Finder desktop, double-click the Lexmark 7500 Series folder.
3
Double-click the Lexmark 7500 Series Utility icon.
4
From the Maintenance tab, click Clean Print Nozzles.
A page prints, forcing ink through the print cartridge nozzles to clean them.
5
To verify that the print quality has improved, print the document again.
6
If print quality has not improved, try cleaning the nozzles up to two more times.
Maintaining the printer
146