Using an rj11 adapter – Lexmark 9300 Series User Manual
Page 19
Setting the printer to use the Fax feature without a computer
You use this method to set up your printer for faxing when the printer is not connected to a computer or to a network.
This method is used when your printer functions as a standalone fax machine.
1
Turn the printer on.
2
Press
or
repeatedly until
Fax is highlighted.
3
Press .
The
Fax Mode menu appears.
4
Press
or
repeatedly until the
Fax Setup submenu is highlighted.
5
Press .
6
Press
or
repeatedly until the
Dialing and Sending submenu is highlighted.
7
Press .
The
Dialing and Sending menu appears.
8
In the
Your Fax Number field, enter your fax number using the keypad.
9
Press
or
repeatedly until you reach
Your Fax Name.
10
Use the keypad to enter your name. Spell out a name using the numbers associated with each letter as you would
on a telephone or cell phone.
11
Press
to save the information and exit.
Using an RJ11 adapter
Country/region
•
United Kingdom
•
Ireland
•
Finland
•
Norway
•
Denmark
•
Italy
•
Sweden
•
Netherlands
•
France
•
Portugal
To connect your printer to an answering machine, telephone, or other telecommunications equipment, use the
telephone line adapter included in the box with the printer in some countries or regions.
Note:
If you have DSL, do not connect the printer using a splitter because the fax feature may not work correctly.
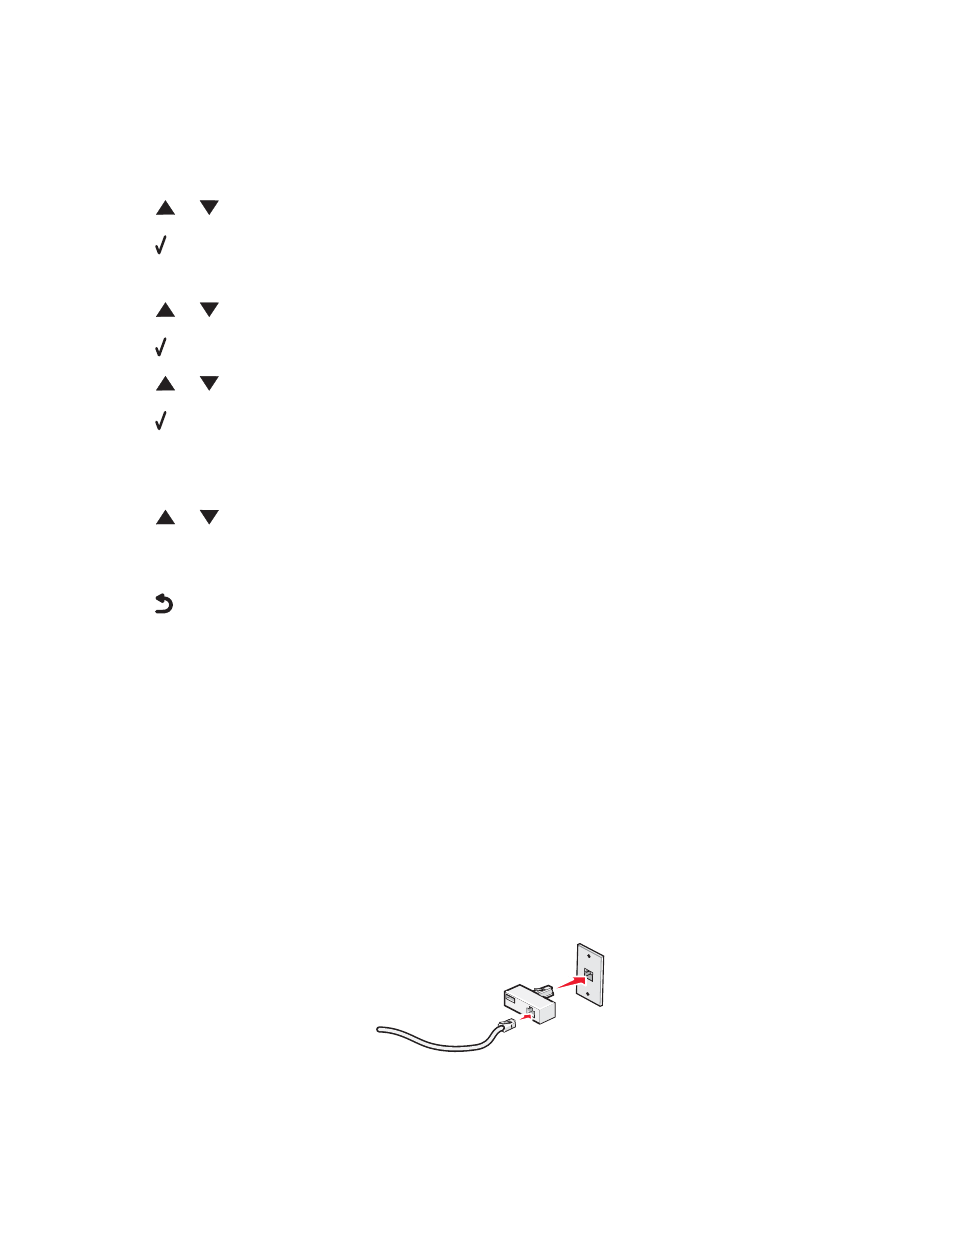
1
Connect the adapter to the telephone cord that came with the printer.
Note:
The UK adapter is shown. Your adapter may look different, but it will fit the telephone outlet used in your
location.
19