Setting the date and time – Lexmark 9300 Series User Manual
Page 150
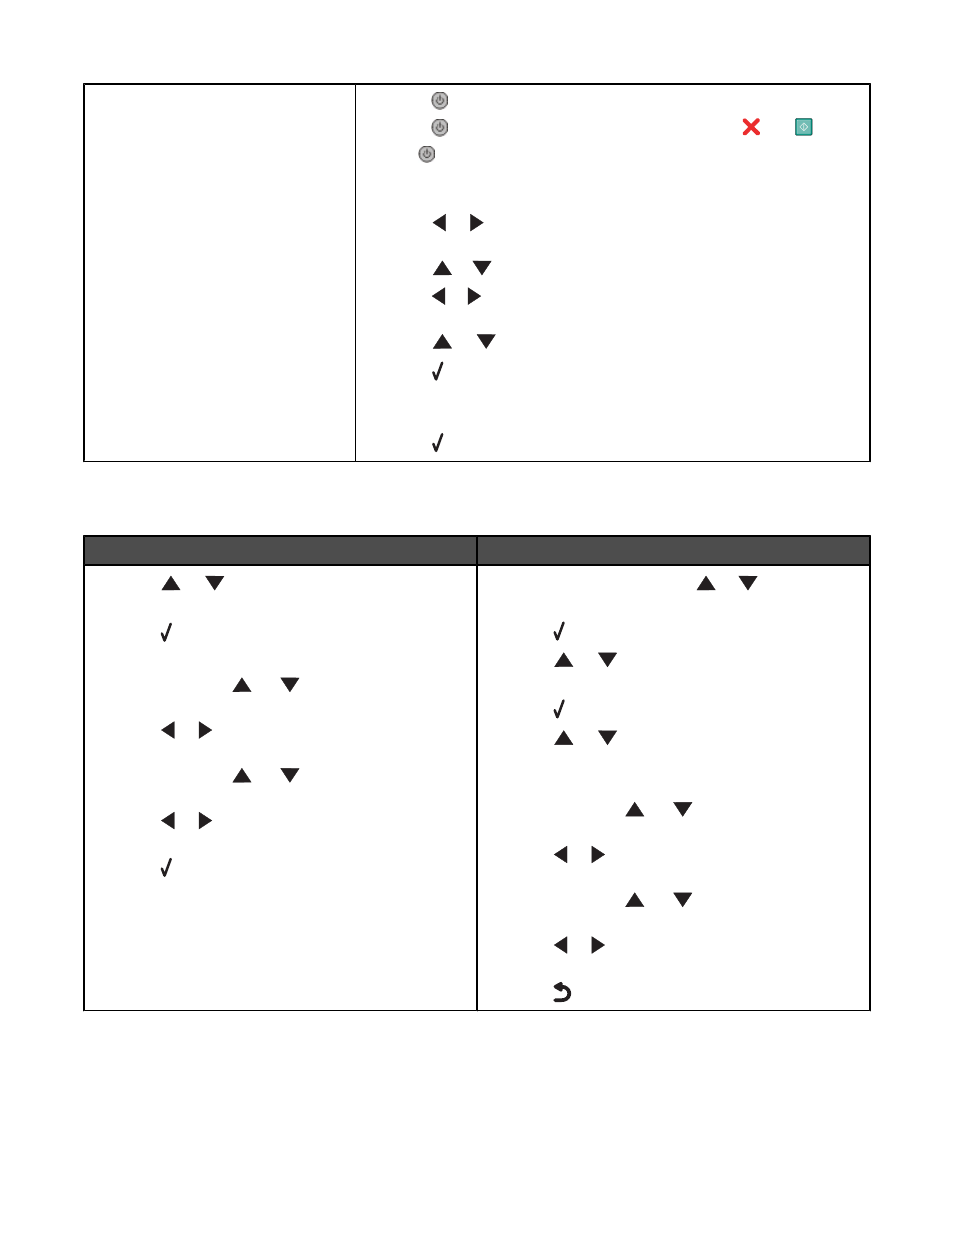
Selecting a different language after
initial setup
1
Press
to turn the printer off.
2
Press
once, and then immediately press and hold
and
.
The
light blinks as the printer comes on. The
Initial Setup menu
appears.
3
Release the buttons.
4
Press
or
repeatedly until the language you want appears on the
display.
5
Press
or
repeatedly until the option for
Country is highlighted.
6
Press
or
repeatedly until the your country or region appears on the
display.
7
Press
or
repeatedly until
Set Date and Time is highlighted.
8
Press .
9
Set the date and time. For more information, “Setting the date and time”
on page 150
10
Press .
Setting the date and time
You can set the date and time on the printer in two ways:
From the Initial Setup menu
From the Printer Default Settings menu
1
Press
or
repeatedly until
Set Date and
Time is highlighted.
2
Press .
The
Set Date and Time menu appears.
3
Use the keypad,
, or
to enter the current time
by hour, minutes, and AM, PM, or 24 hours.
4
Press
or
to advance from box to box after you
have entered the appropriate time.
5
Use the keypad,
, or
to enter the day, month,
and year.
6
Press
or
to advance from box to box after you
have entered the appropriate date.
7
Press .
1
From the main menu, press
or
repeatedly until
Setup is highlighted.
2
Press .
3
Press
or
repeatedly until
Change Printer
Default Settings is highlighted.
4
Press .
5
Press
or
repeatedly until
Set Date and
Time is highlighted.
The
Set Date and Time menu appears.
6
Use the keypad,
, or
to enter the current time
by hour, minutes, and AM, PM, or 24 hours.
7
Press
or
to advance from box to box after you
have entered the appropriate time.
8
Use the keypad,
, or
to enter the day, month,
and year.
9
Press
or
to advance from box to box after you
have entered the appropriate date.
10
Press
.
150