Label dispenser installation – SATO CL 408e User Manual
Page 167
Page 9-13
Section 9. Optional Accessories
SATO CL408e/CL412e Service Manual
PN 9001078
Rev. B
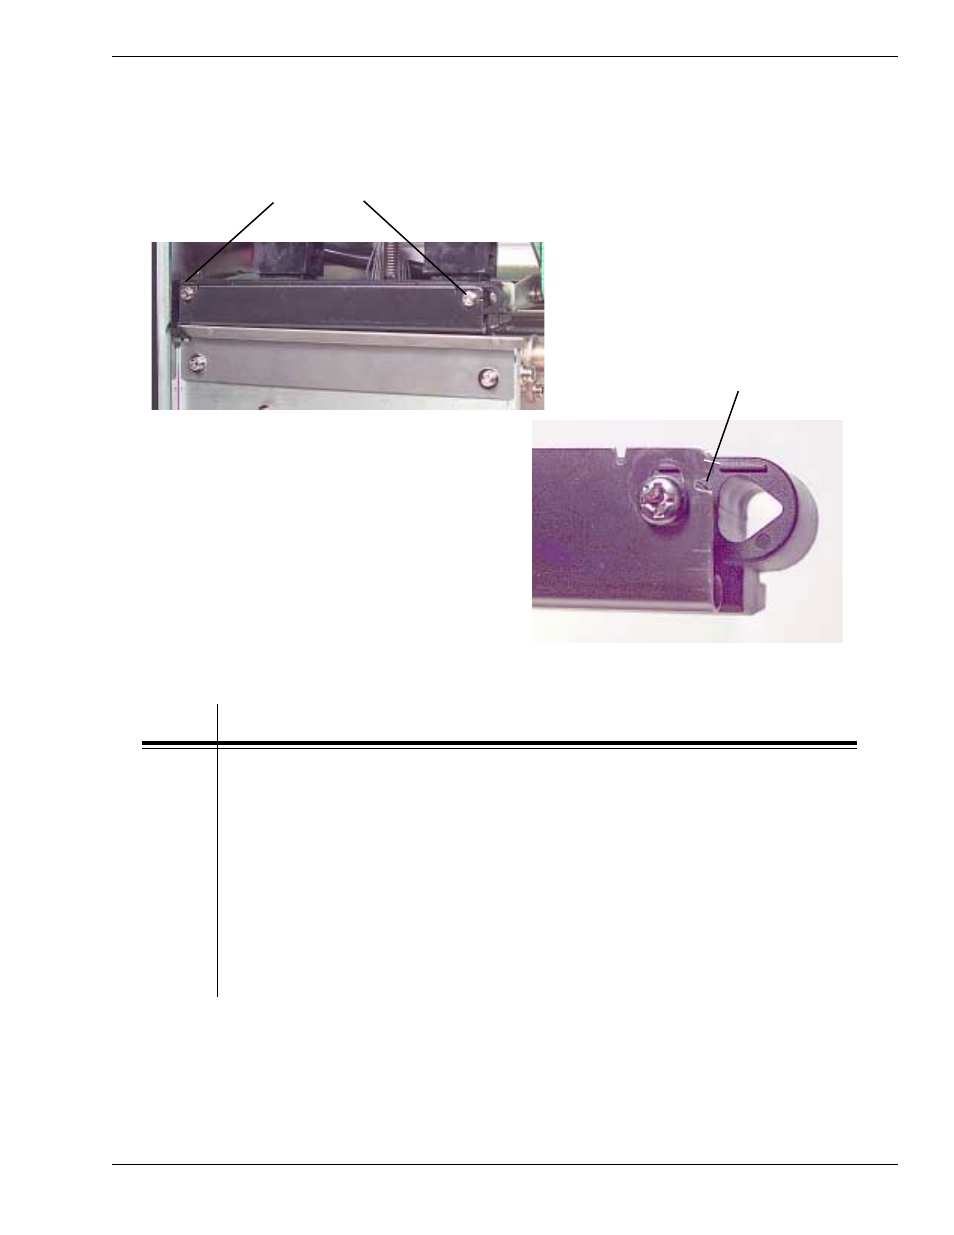
Fig. 9-23
Fig. 9-24
ADJUSTING SLOTS (BOTH ENDS
OF RIBBON TENSION PLATE)
INSTALL RIBBON TENSION
PLATE AND PEEL BAR
USING (2) SUPPLIED LONG
SCREWS
STEP
PROCEDURE
14.
Load the labels and route the label backing down the front of the
print mechanism and around the Backing Drive Roller. Verify that
label backing material feeds through the dispenser assembly and
onto the Backing Take Up Spindle Assembly. Secure the label stock
to the take up spindle by inserting the label end between the core
and label retainers. Figs. 9-25 & 9-26
15.
Manually turn the Backing Take Up Spindle counter clockwise to
take up all the slack in the backing. Swing the Label Dispenser
front mechanism into position until the latch engages. Take care
that the cable is properly routed to avoid crimping or damage.
Figs. 9-25, 9-27 & 9-28
Label Dispenser Installation