Turn on the recorder, Access main menu screen, Access vhs set up 1 screen – JVC HM-HDS1U User Manual
Page 37: Select vhs navigation mode, Return to normal screen, Set vhs navigation
EN
37
Set VHS Navigation
NAVIGATION
ON
VIDEO STABILIZER
OFF
TBC
ON
VIDEO CALIBRATION
ON
PICTURE CONTROL
AUTO
HDD/VHS SET UP
INITIAL SET UP
FUNCTION SET UP
VHS SET UP 1
VHS SET UP 2
HDD SET UP
SELECT OK END
SELECT WITH [
∞523]
THEN PRESS [OK]
INDEX
MENU
NAVIGATION
ON
VIDEO STABILIZER
OFF
TBC
ON
VIDEO CALIBRATION
ON
PICTURE CONTROL
AUTO
HDD/VHS SET UP
INITIAL SET UP
FUNCTION SET UP
VHS SET UP 1
VHS SET UP 2
HDD SET UP
SELECT OK END
SELECT WITH [
∞523]
THEN PRESS [OK]
INDEX
MENU
OFF
ON
Turn on the TV and select the AV mode.
If the recorder is turned on with HDD deck selected, there
may be about 30 seconds' delay in starting to show pictures
on the screen.
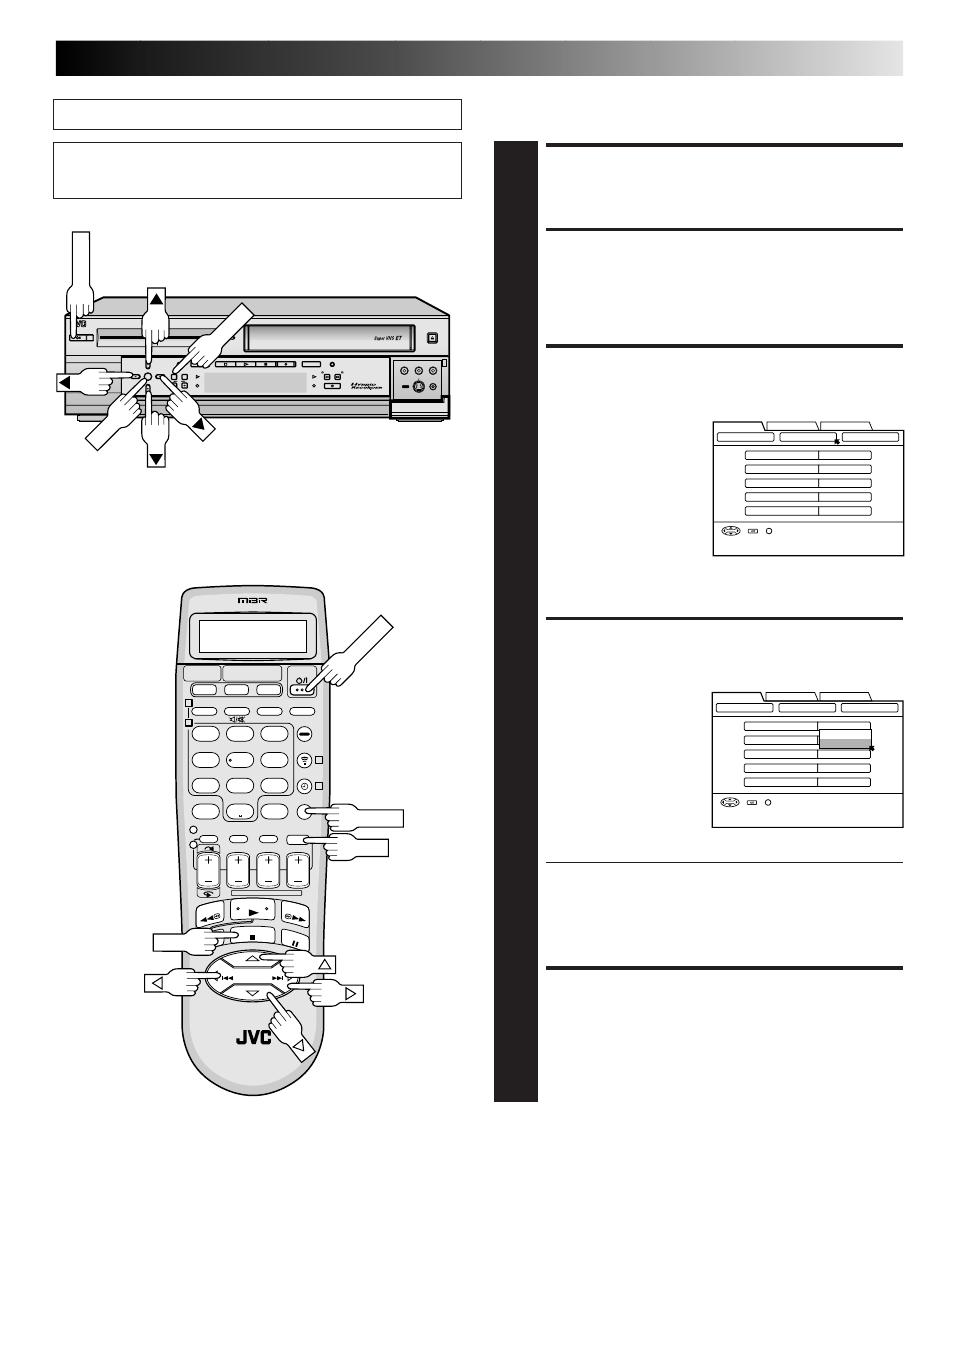
TURN ON THE RECORDER
1
Press POWER.
ACCESS MAIN MENU
SCREEN
2
Press MENU.
ACCESS VHS SET UP 1
SCREEN
3
1) At the top of the Main
Menu screen, move
the arrow to “HDD/
VHS SET UP” by
pressing
@# (or
23), then press fi (or
∞) or OK.
2) On the HDD/VHS Set
Up screen, move the
arrow to “VHS SET UP 1” by pressing
@# (or 23),
then press
fi (or ∞) or OK.
SELECT VHS NAVIGATION
MODE
4
1) On the VHS Set Up
1 screen, move the
arrow to “NAVIGA-
TION” by pressing
%fi (or 5∞), then
press OK.
2) Pressing
%fi (or
5∞) to select the
desired mode, then
press OK.
a– Select “ON” if you want to use the VHS Navigation.
When you set the VHS Navigation to “ON”, “VN”
appears on the display of the front panel.
b– Select “OFF” if you do not want to use VHS
Navigation.
RETURN TO NORMAL
SCREEN
5
Press MENU.
;;;
;;;
yyy
yyy
DIGITPURE TECHNOLOGY
HM-HDS1
;;
;;
;;
yy
yy
yy
POWER
S-VHS ET
S-VHS
HDD
OK
MENU
REC LINK
CH
NAVI
STOP
PLAY
PAUSE
REC
REW
FEW
A. DUB
EJECT
VIDEO
PAUSE
S-VIDEO
(M) L – AUDIO – R
F - 1
1
2
3
4
5
6
7
8
9
0
2
1
4
3
>
<
1
2
–
+
POWER
MENU
POWER
OK
MENU
OK
OK