Turn on cable box, Turn on the recorder, Access main menu screen – JVC HM-HDS1U User Manual
Page 16: Access initial set screen, Access cable box set screen, Select cable box output channel, Initial settings (cont.), Set cable box output channel & cable box brand
16
EN
Set Cable Box Output
Channel & Cable Box Brand
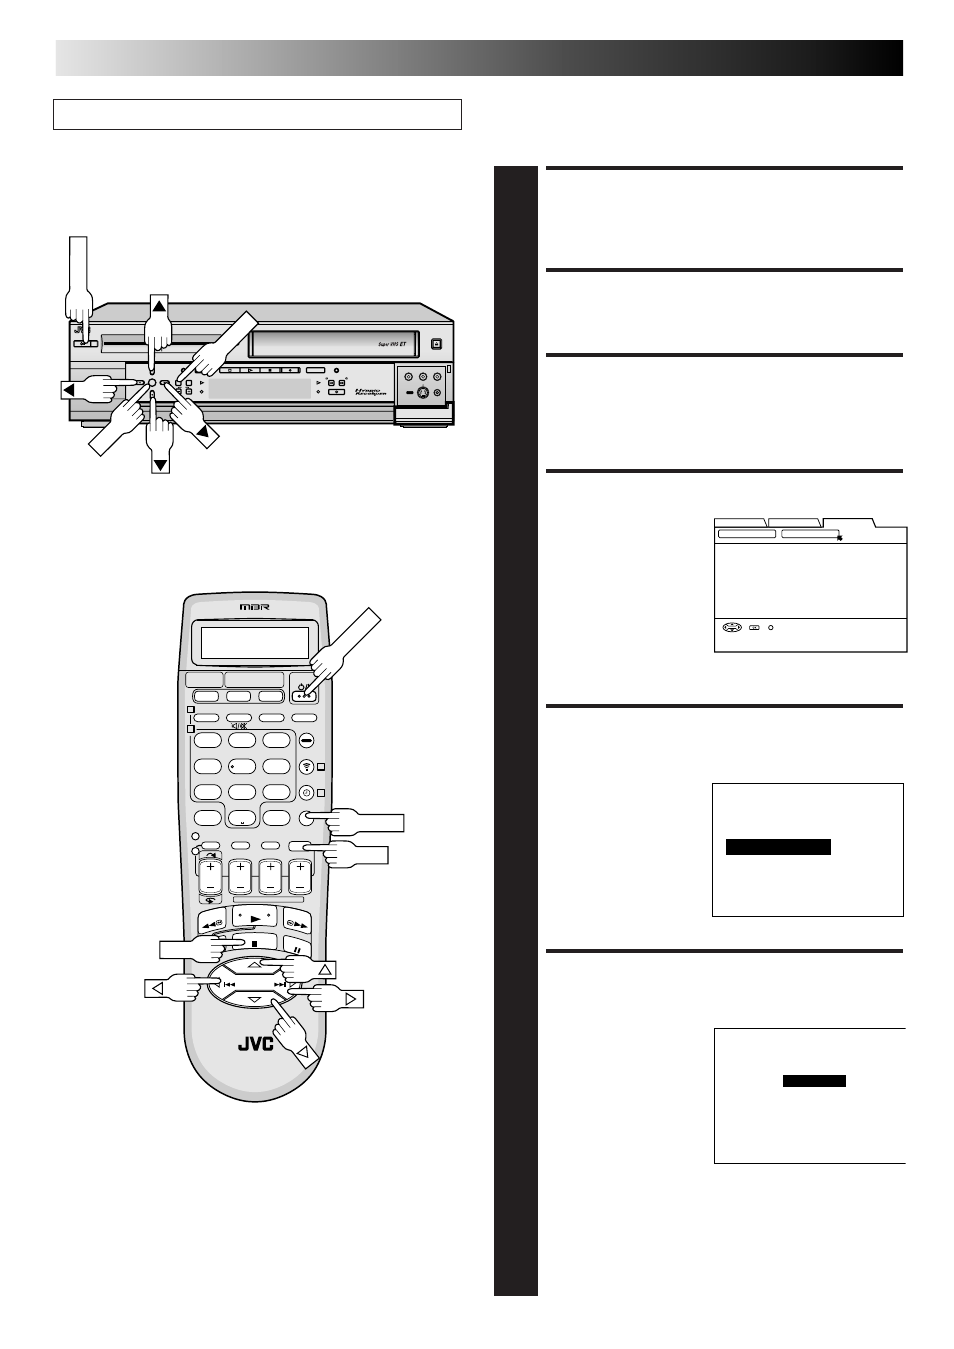
TURN ON CABLE BOX
1
Select a channel other than channel 9 on your cable
box.
TURN ON THE RECORDER
2
Press POWER.
ACCESS MAIN MENU
SCREEN
3
Press MENU.
ACCESS INITIAL SET SCREEN
4
1) At the top of Main
Menu screen, move the
arrow to “INITIAL SET
UP” by pressing
@#
(or
23), then press fi
(or
∞) or OK.
2) At the Initial Set Up
screen, move the arrow
to “INITIAL SET” by
pressing
@# (or 23), then press OK.
ACCESS CABLE BOX SET
SCREEN
5
Press
%fi (or 5∞) to
move the arrow to
“CABLE BOX SET”, then
press
# (or 3) or OK.
SELECT CABLE BOX
OUTPUT CHANNEL
6
If your cable box is
connected to your
recorder using an RF
connection,
press
%fi (or 5∞) until
the channel number
representing the cable
box’s output (CH2 –
CH9) appears on the
screen.
If your cable box is connected to your recorder’s REAR
or FRONT AUDIO/VIDEO IN connectors,
press
%fi
(or
5∞) until “ON L-1 REAR” or “ON F-1 FRONT”
appears on the screen.
Turn on the TV and select the AV mode.
INITIAL SETTINGS (cont.)
HDD/VHS SET UP
INITIAL SET UP
FUNCTION SET UP
SELECT OK END
SELECT WITH [
∞523]
THEN PRESS [OK]
TUNER SET
INITIAL SET
INDEX
MENU
INITIAL SET
CLOCK SET
GUIDE CHANNEL SET
CABLE BOX SET
DBS RECEIVER SET
CABLE BOX SET
ON CH7
PRESS[
5,∞], THEN[OK]
PRESS[MENU] TO END
INITIAL SET
CLOCK SET
GUIDE CHANNEL SET
CABLE BOX SET
DBS RECEIVER SET
SELECT WITH[
5,∞] THEN[OK]
PRESS[MENU] TO END
=
1
2
3
4
5
6
7
8
9
0
2
1
4
3
>
<
1
2
–
+
POWER
MENU
OK
OK
;;;
;;;
yyy
yyy
DIGITPURE TECHNOLOGY
HM-HDS1
;;
;;
;;
yy
yy
yy
POWER
S-VHS ET
S-VHS
HDD
OK
MENU
REC LINK
CH
NAVI
STOP
PLAY
PAUSE
REC
REW
FEW
A. DUB
EJECT
VIDEO
PAUSE
S-VIDEO
(M) L – AUDIO – R
F - 1
MENU
POWER
OK